How to Fix a Leaky Sauna
A leaky sauna can transform your tranquil escape into a source of irritation. Whether it’s a surprising drip or ongoing dampness, pinpointing the leak’s origin is essential for effective repairs.
This article explores the typical culprits behind sauna leaks and outlines the necessary tools and materials for a successful resolution. You’ll discover a detailed, step-by-step guide designed for various leak types, along with maintenance tips to help you sidestep future problems.
Bid farewell to leaks and get ready to enjoy a peaceful sauna experience!
Contents
Key Takeaways:
- Regularly inspect and maintain your sauna to identify potential sources of leaks, including issues with faulty wiring and blocked ventilation.
- Gather essential supplies such as waterproof sealant, cleaning solutions, and fiberglass cloth before attempting to fix a leaky sauna.
- Follow a step-by-step guide and carefully follow instructions to effectively repair different types of leaks.
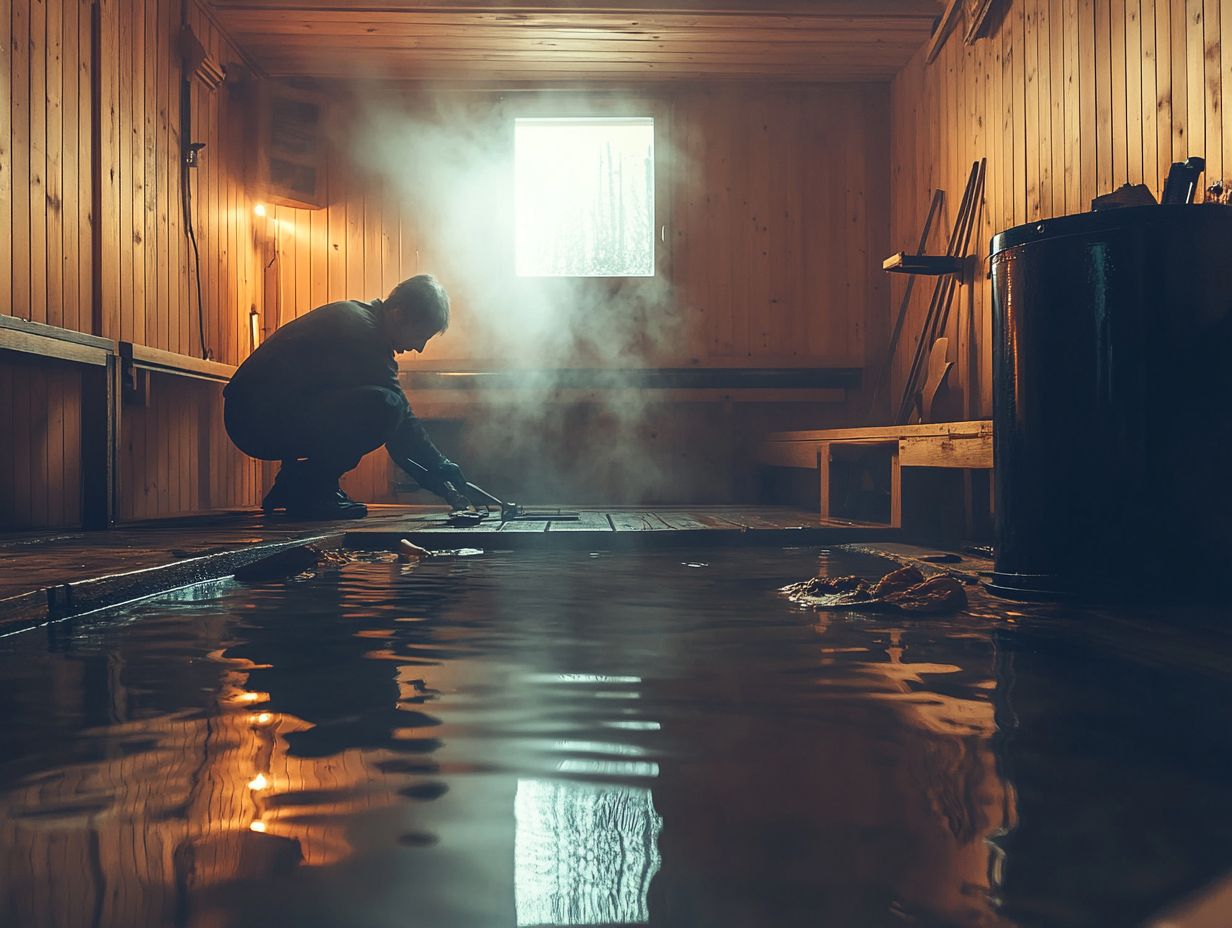
How to Find the Leak in Your Sauna
Identifying the source of a leak in your sauna is vital for preserving its functionality and ensuring an enjoyable sauna experience. Common culprits to watch for include a leaking roof, insufficient insulation, or even faulty wiring that could disrupt the heater control switch.
It’s also important to carefully check blocked ventilation, cracked tiles, and problems with the door seal, as these can all contribute to moisture intrusion. Conducting a thorough inspection will pinpoint the exact cause, enabling you to implement effective repairs and strategies for future prevention.
Common Causes of Sauna Leaks
Common causes of sauna leaks can vary from a faulty roof to wiring issues that impact the heater control switch, each capable of undermining the integrity and efficiency of your sauna.
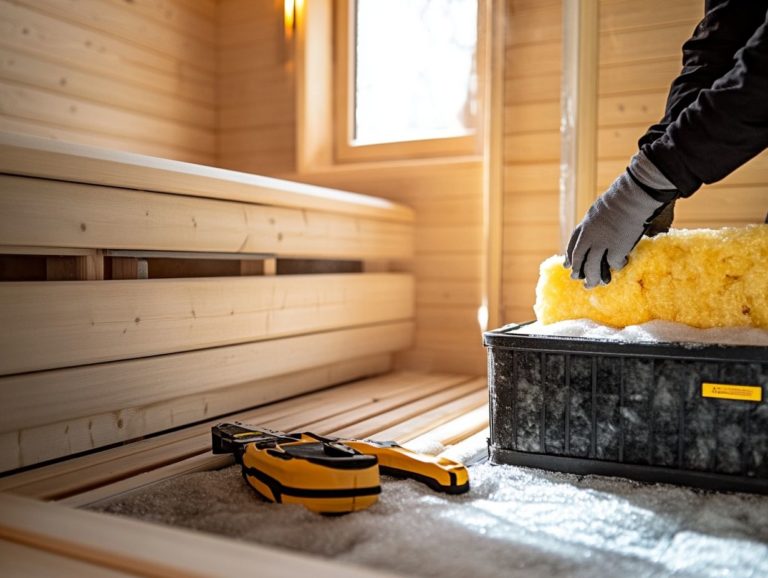
These problems can trigger a series of moisture-related issues that not only damage the sauna’s interior but also create unhealthy humidity levels. For instance, insufficient insulation allows precious heat to escape, forcing the sauna to work harder to maintain its ideal temperature, which in turn generates excess moisture. Blocked ventilation only compounds this issue, trapping humidity and leading to mold growth and unpleasant odors. To address these concerns, it’s vital to follow guidelines for maintaining safety standards in sauna facilities.
To counteract these effects, make sure you have proper insulation to keep the heat inside! Regularly check and clear ventilation pathways to promote better airflow, enhancing your sauna experience. Additionally, learning how to maintain a steam sauna can help you effectively prevent leaks.
Tools and Materials Needed for Repair
When you set out to repair leaks in your sauna, equipping yourself with the right tools and materials is absolutely vital for a successful maintenance process. A well-rounded toolkit, ranging from basic hand tools to specialized equipment for sauna heater inspection, gives you the power to tackle issues with precision.
Key supplies you ll want to have on hand include:
- effective cleaning solutions for mildew buildup removal,
- wood treatment products and heating elements (parts that help generate heat in the sauna) to maintain the sauna’s integrity,
- electrical repair components and services for any faulty wiring.
Essential Supplies for Fixing a Leaky Sauna
Essential supplies for addressing a leaky sauna include specialized cleaning solutions designed to tackle mildew buildup (a type of fungus that can grow in damp areas), limescale, and wood treatment products that safeguard the sauna’s integrity.
These cleaning solutions are available in various forms, from sprays to concentrates, with some specifically formulated to combat the stubborn residue often left behind by mildew and limescale. Effectiveness can vary widely, so it’s crucial for you to select products tailored for sauna environments to ensure they don t damage the wood or compromise the overall structure.
When constructing your sauna using cedar or thermowood, choosing the right wood treatment becomes paramount. Proper treatments not only enhance the wood’s natural resistance to moisture but also significantly extend its lifespan.
By combining the right cleaning and maintenance supplies, you can ensure both immediate functionality and the long-term health of your sauna. Don t wait until it s too late!
Step-by-Step Guide to Fixing a Leaky Sauna
Fixing a leaky sauna requires a methodical approach, where each step plays a crucial role in effectively addressing and repairing the different types of leaks you may encounter.
- Start by conducting thorough electrical inspections to pinpoint any faulty wiring or issues with the sauna heater and steam generator.
- Once that s sorted, shift your focus to sealing any leaks within the structure itself, ensuring a comprehensive and lasting fix.
Instructions for Repairing Different Types of Leaks
The steps to fix leaks in your sauna vary by issue, whether it s a leaking roof, blocked vents, or a faulty door seal.
To start, when addressing a leaky roof, it s crucial to assess the level of damage. This means performing a thorough inspection for any missing shingles or damaged flashing.
For a more streamlined repair process, gather these essential tools:
- Roofing hammer
- Asphalt shingles
- Roofing cement that is moisture-resistant
If you find that ventilation is blocked, cleaning or adjusting the vents improves air circulation. Consider utilizing a vacuum or a damp cloth to remove any debris that may have built up over time.
For a faulty door seal, opting for high-quality weather stripping material can effectively prevent air leaks. Make sure you have a utility knife and measuring tape ready for precise installation. Additionally, to ensure you enjoy your sauna safely, check out this guide on how to maximize safety in your sauna experience. Paying attention to these details ensures your sauna stays warm and inviting.
Preventing Future Leaks
Ensuring that future leaks are prevented in your sauna is crucial for maintaining its longevity and elevating your overall sauna experience. Not only does this preventive measure safeguard your investment, but it can also lead to reductions in energy costs linked to heating and repairs.
Maintenance Tips for a Leak-Free Sauna
Maintenance tips for a leak-free sauna involve simple steps to keep your sauna steamy and inviting and prevent problems like blocked vents or faulty electrical systems.
To hit these targets, it s crucial for you to implement regular cleaning solutions specifically tailored for sauna surfaces. These solutions tackle mildew and bacteria while keeping the wood in prime condition.
Monitoring air circulation is equally important. Check your air circulation to avoid costly repairs later! Adequate airflow helps stave off stale moisture that could lead to structural issues.
You should also routinely check the condition of your sauna stones. Ensuring they are clean and free of cracks is vital, as damaged stones can hinder heat retention. For those managing larger facilities, understanding maintaining a commercial sauna: key differences is crucial. Applying specialized wood treatments will not only boost durability but also enhance the aesthetic appeal of your sauna.
Regular inspections are the cherry on top, allowing you to catch any wear and tear early on, ensuring your sauna experience remains comfortable, safe, and beneficial for your health.
Frequently Asked Questions
How do I know if my sauna is leaking?
If you notice water pooling or dripping from your sauna, it is likely that there is a leak. You may also notice a musty odor or mold growth near the sauna.
What causes a sauna to leak?
There are several potential causes of sauna leaks, including damaged seals, cracks in the walls or floor, faulty plumbing connections, or issues related to blocked vents.
Can I fix a leaky sauna on my own?
It depends on the severity and source of the leak. Small cracks or holes can usually be patched with specialized sealant, but larger or more complex leaks may require professional assistance.
How do I fix a leaky sauna seal?
If the seal around the door or windows of your sauna is leaking, it can often be fixed by replacing the seal with a new one. Make sure to clean the area thoroughly and use a high-quality sealant for best results.
If you suspect leaks, take action now to ensure your sauna remains a comfortable and enjoyable space!
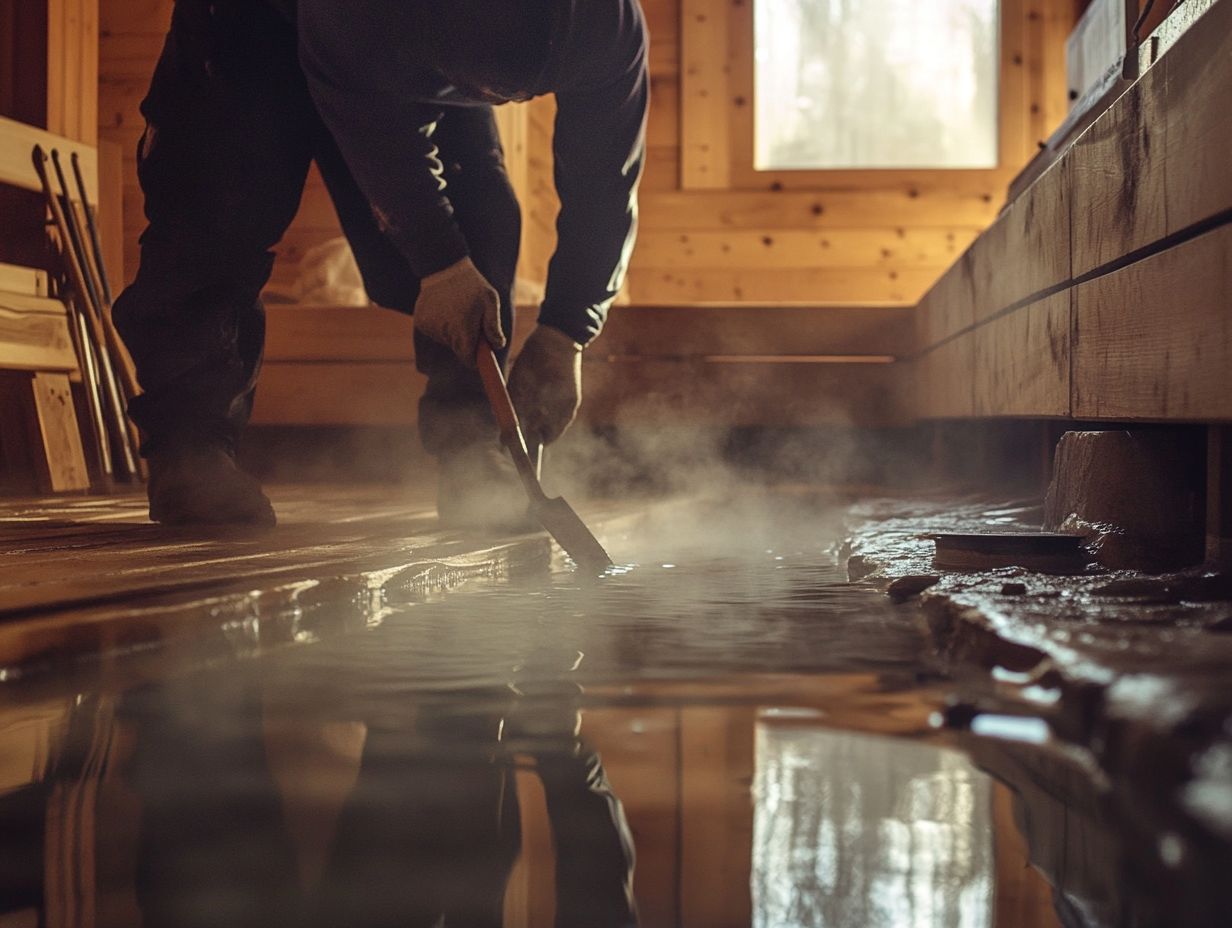
What should I do if my sauna is leaking from the walls or floor?
If your sauna walls or floor are leaking, it could indicate a serious problem. Don t wait! Call a professional sauna technician to diagnose the issue and recommend the best solution.
Is it important to fix a leaky sauna?
Fixing a leaky sauna quickly is crucial. It helps prevent damage to your sauna and the surrounding area.
Leaks can cause mold to grow and weaken the sauna’s structure, putting it at risk.