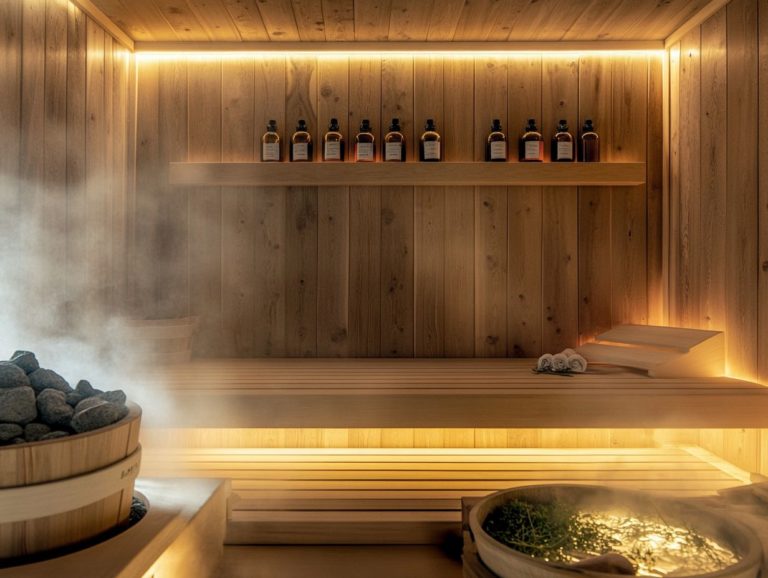
“Safety Considerations for DIY Sauna Builds”
Building your own DIY sauna can be a truly rewarding endeavor! It grants you a personal sanctuary for relaxation while also saving you money and allowing for customization to suit your preferences.
As you embark on this project, it s crucial to keep sauna safety considerations at the forefront. Be aware of electrical and fire hazards, along with ensuring proper sauna ventilation and insulation.
This guide will outline the essential sauna materials and tools you ll need. We will provide a comprehensive step-by-step building process and share valuable tips for maintaining your DIY sauna. This ensures it remains a safe and enjoyable haven for years to come.
Contents
- Key Takeaways:
- Benefits of Building Your Own Sauna
- Important Safety Considerations
- Materials and Tools Needed
- Step-by-Step Guide to Building a DIY Sauna
- Maintenance and Upkeep of DIY Saunas
- Frequently Asked Questions
- What are some key safety considerations to keep in mind when building a DIY sauna?
- Why is proper ventilation important in a DIY sauna build?
- What kind of electrical wiring should I use for my DIY sauna?
- What are some safe heating sources for a DIY sauna?
- How can I ensure proper insulation in my DIY sauna build?
- What steps should I take to ensure the overall safety of my DIY sauna?
Key Takeaways:
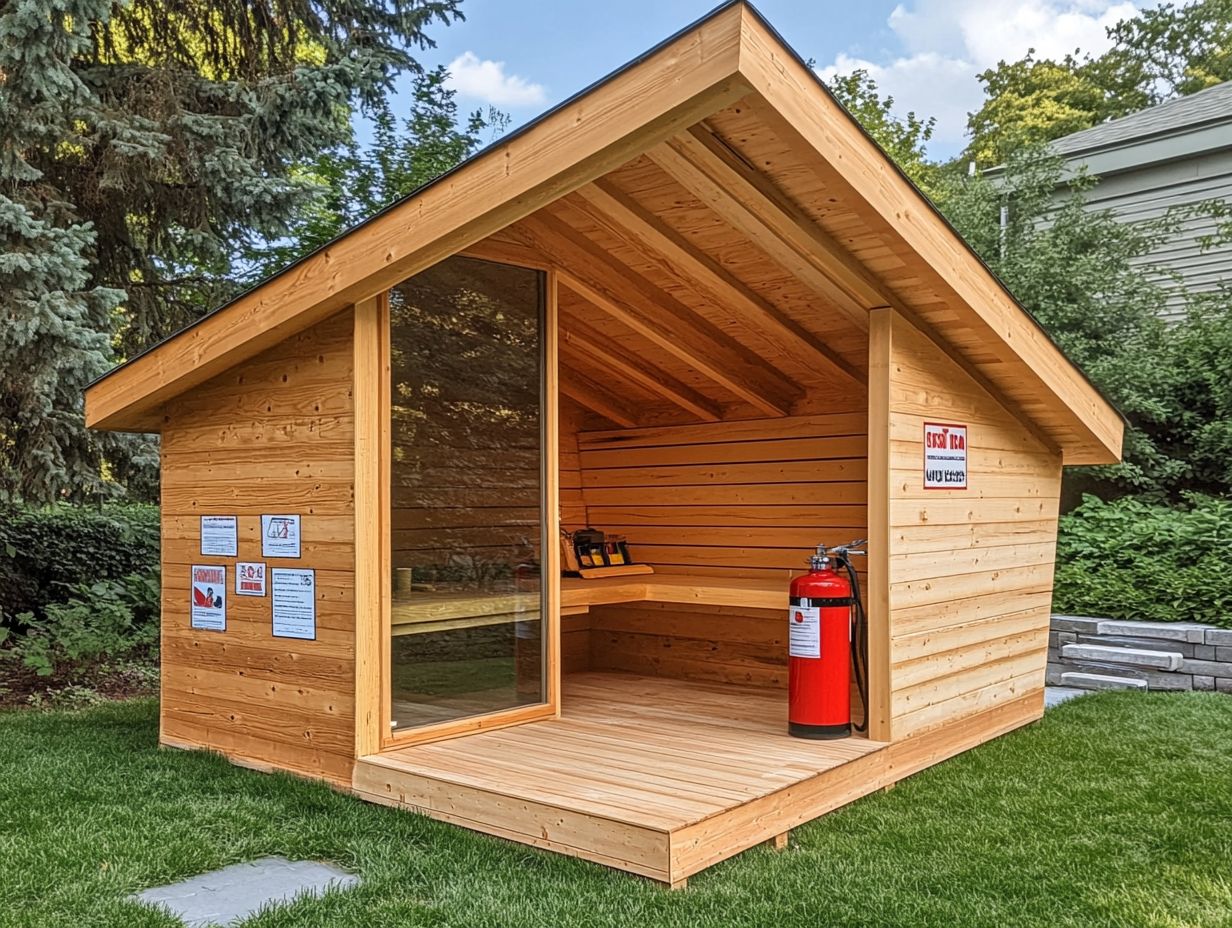
- Building your own sauna can save you money and allow for customization of your sauna space.
- Proper sauna safety considerations, such as electrical and fire safety, ventilation, and insulation, are crucial when building a DIY sauna.
- Regular maintenance and upkeep are important for keeping your DIY sauna safe and clean, ensuring a positive sauna experience.
What is a DIY Sauna Build?
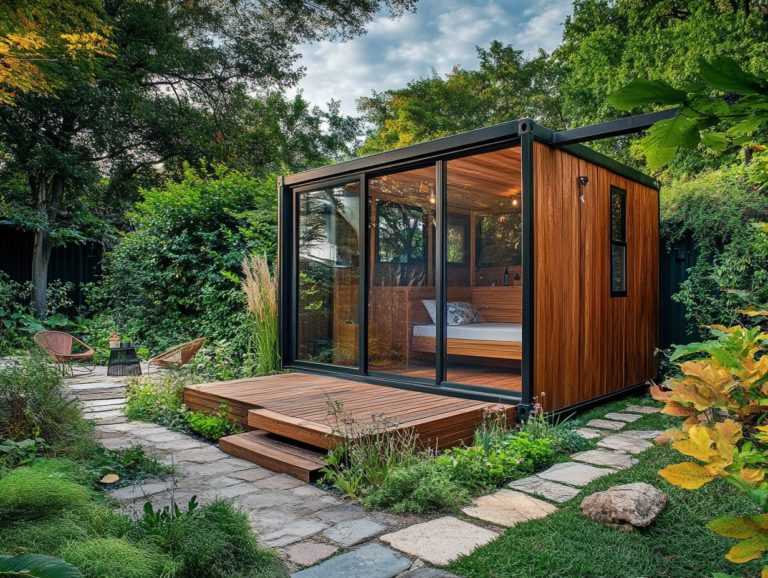
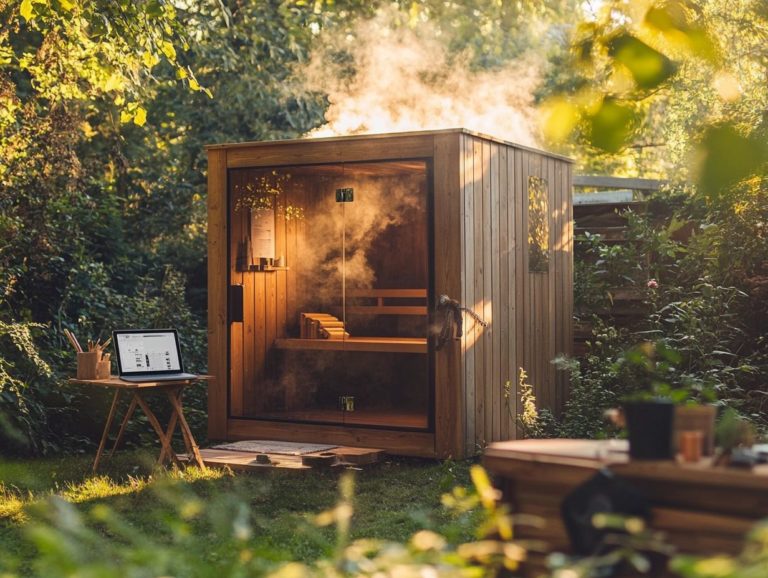
A DIY sauna build is an exciting journey where you create your own sanctuary, whether it s an indoor sauna or an outdoor sauna. You can use various readily available sauna kits and materials.
This project enables you to tailor your sauna experience to meet how warm you want it to be while harmonizing with the aesthetics of your home or garden.
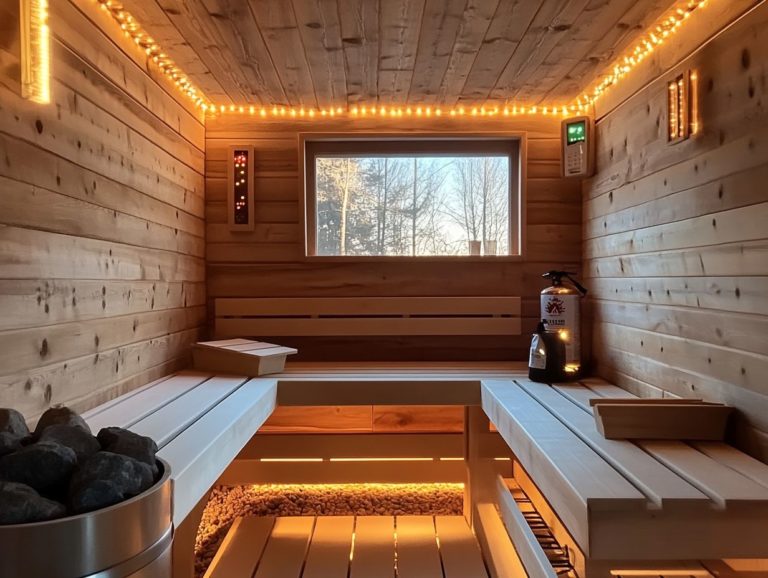
By familiarizing yourself with essential components, including sauna heaters whether electric, gas, or wood-burning you can design a space that offers numerous health benefits and fosters relaxation.
Embarking on a DIY sauna adventure not only grants you the flexibility to choose between an indoor retreat or an outdoor haven but also deepens your connection with the artistry of installation. Opting for high-quality materials, like aromatic cedar wood, introduces a sense of luxury while ensuring durability and moisture resistance.
The installation process can be quite straightforward, particularly when you utilize pre-fabricated sauna kits that come with clear, concise instructions.
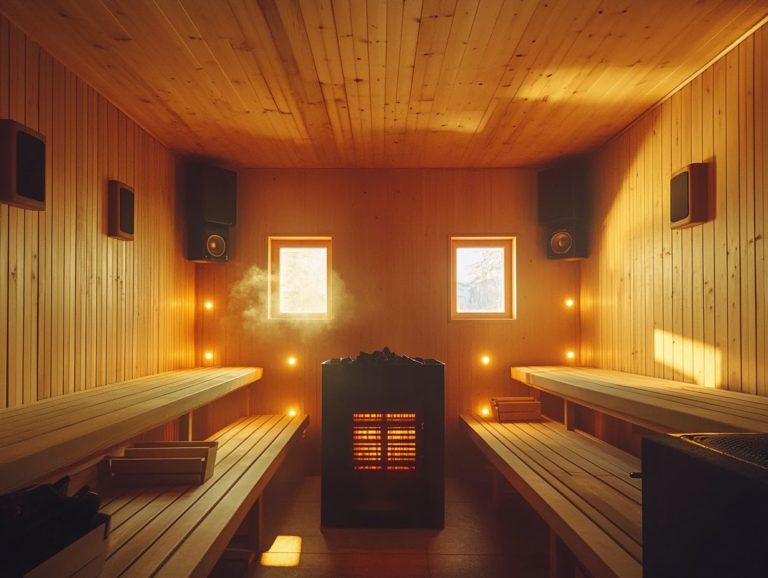
Enhancing your sauna with features like adjustable lighting and sound systems can transform it into a tranquil oasis, perfectly tailored to your preferences and promoting overall well-being.
Benefits of Building Your Own Sauna
Building your own sauna offers a wealth of benefits! It elevates your thermal comfort and promotes health, especially in terms of relaxation and detoxification.
You can also select your preferred materials and choose between wood-burning or electric heaters. This enriches your sauna experience, transforming each session into a personalized retreat tailored to your needs.
Cost Savings and Customization
One of the most significant perks of building your own DIY sauna is the potential for substantial cost savings compared to hiring professionals. You also enjoy the freedom to customize it extensively based on your preferences and available space.
By using sauna kits that come with pre-cut materials, you can streamline the entire process while ensuring that your sauna aligns perfectly with your aesthetic and functional needs, whether you choose to install it indoors or outdoors.
This level of flexibility allows you to create a relaxing oasis that’s tailored specifically to your lifestyle, all without the hefty price tag that comes with professional installation.
Many DIY enthusiasts discover they can achieve significant financial benefits by sourcing materials themselves or opting for basic kits, which often include detailed instructions and essential components.
These sauna kits not only make assembly easier but also foster creativity, enabling you to adjust the design, size, and layout to your liking. Whether it’s fine-tuning the heater type, selecting the ideal wood finish, or choosing the perfect lighting options, customizing a sauna becomes a fulfilling experience that reflects your personal tastes and practical needs.
Start your DIY sauna project today and enjoy relaxation like never before!
Important Safety Considerations
When you embark on a DIY sauna project, understanding key safety considerations is essential for a safe and enjoyable experience. Adhere to electrical safety regulations, especially when installing an electric sauna heater or other electrical components.
Prioritize fire safety by choosing suitable sauna materials that can withstand high temperatures. Ensure proper ventilation to maintain air quality and thermal comfort during your sauna sessions.
Electrical and Fire Safety
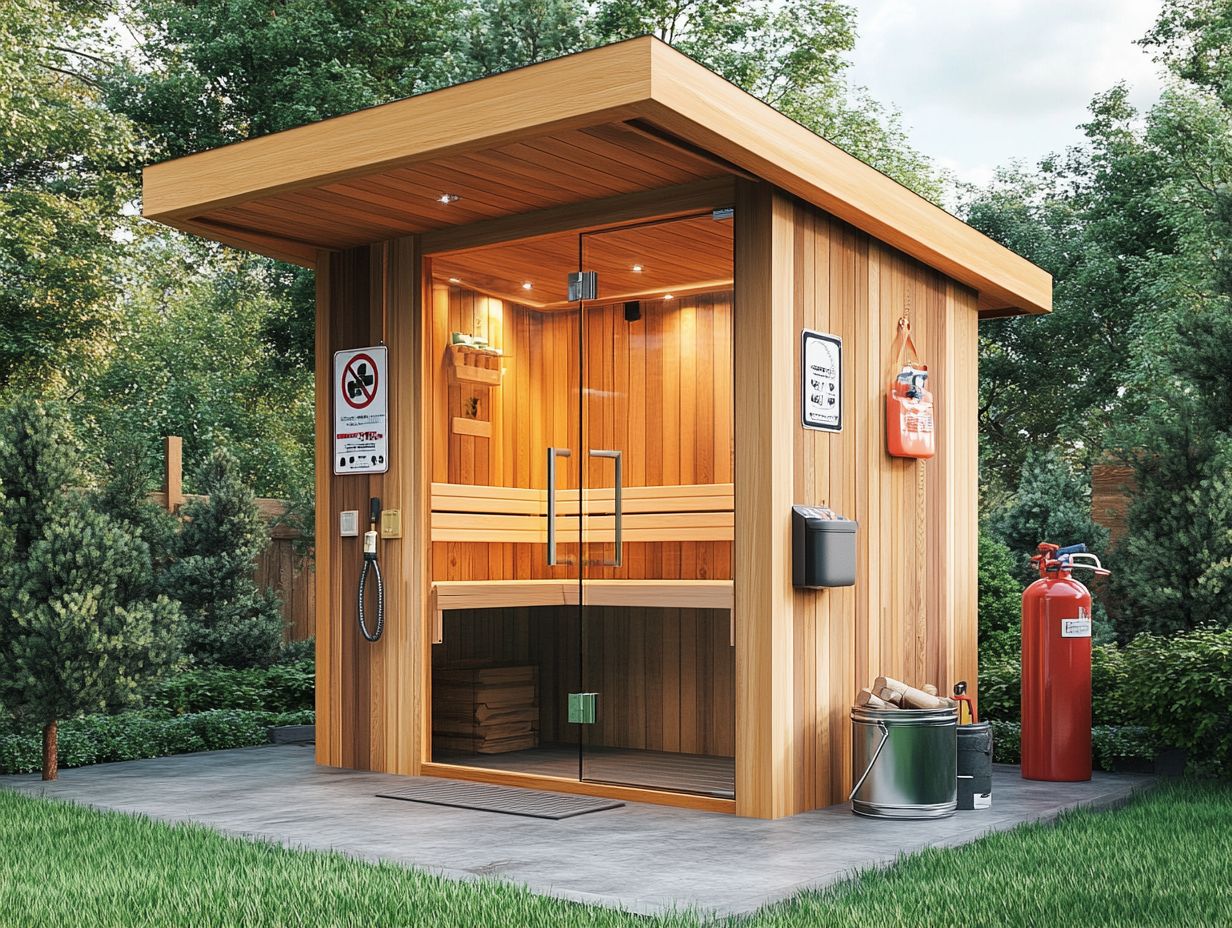
Electrical and fire safety are critical when constructing your DIY sauna, particularly with sauna heaters whether electric, gas, or wood-burning. Follow local electrical codes, ensure proper wiring installation, and select the right sauna heater that meets safety standards. This approach minimizes the risks of overheating or fire hazards.
When installing any sauna heater, maintain adequate clearance from flammable materials and ensure proper ventilation. Hire a licensed electrician for wiring; it ensures adherence to safety protocols and reduces the chance of electrical malfunctions.
Install a dedicated circuit for the heater to mitigate overload risks. If choosing gas heaters, ensure proper venting to prevent carbon monoxide buildup, while wood-burning stoves require thoughtful placement away from walls and furniture.
Regular maintenance is essential. Check for leaks or frayed wires to enhance sauna safety, turning it into a relaxing haven rather than a hazardous environment.
Proper Ventilation and Insulation
Proper ventilation and insulation are vital for creating a safe and enjoyable DIY sauna, affecting both air quality and energy efficiency. Ensure appropriate ventilation to circulate fresh air and prevent humidity buildup.
Using high-quality insulation materials, like fiberglass, enhances thermal comfort and reduces energy costs. A well-planned airflow system with strategically placed vents and exhaust fans facilitates air exchange.
When selecting insulation, opt for materials like mineral wool or rigid foam to improve heat retention. Consider laying a concrete foundation to help regulate temperature, as it absorbs and releases heat slowly.
These elements will elevate your sauna experience and extend the lifespan of your structure. Don’t overlook their importance in any DIY construction project.
Materials and Tools Needed
Your DIY sauna project’s success depends on your selection of materials and tools. Choose sauna materials that withstand heat and moisture, like high-quality cedar wood, known for its durability and pleasant aroma.
Familiarize yourself with the essential tools for installation to streamline the building process and achieve a polished, professional finish.
Take these precautions now to ensure a safe and enjoyable sauna experience!
Recommended Materials and Tools
For your effective DIY sauna build, consider using sturdy sauna kits that provide all the essential components. High-grade cedar wood is a must not just for its structural integrity but also for its visual appeal. Pair that with fiberglass insulation to ensure optimal thermal performance.
Don t forget to gather the right tools, like saws, drills, and measuring instruments, to make the installation process seamless. This will guarantee that your sauna meets both safety and comfort standards.
Beyond the basic structure, think about adding a vapor barrier, a protective layer that keeps moisture out, to manage moisture levels effectively. Adding this small detail can greatly improve the longevity of your sauna and prevent any potential damage during sauna sessions.
Cedar wood is an exceptional choice, renowned for its resistance to warping and decay, not to mention its delightful natural aroma that elevates the entire sauna experience. By opting for fiberglass insulation in your sauna, you ll achieve superior thermal efficiency, keeping the heat in and the cold out leading to energy savings over time.
These selected materials create an inviting and sustainable retreat designed for ultimate relaxation and rejuvenation.
Step-by-Step Guide to Building a DIY Sauna
Creating your own DIY sauna requires a meticulous, step-by-step approach. This ensures your project aligns with your design preferences while elevating the overall sauna experience.
This comprehensive guide provides essential instructions for installation, covering everything from laying a solid foundation and constructing the sauna room to selecting the perfect sauna heater that complements your aesthetic vision.
Instructions and Tips for Each Stage
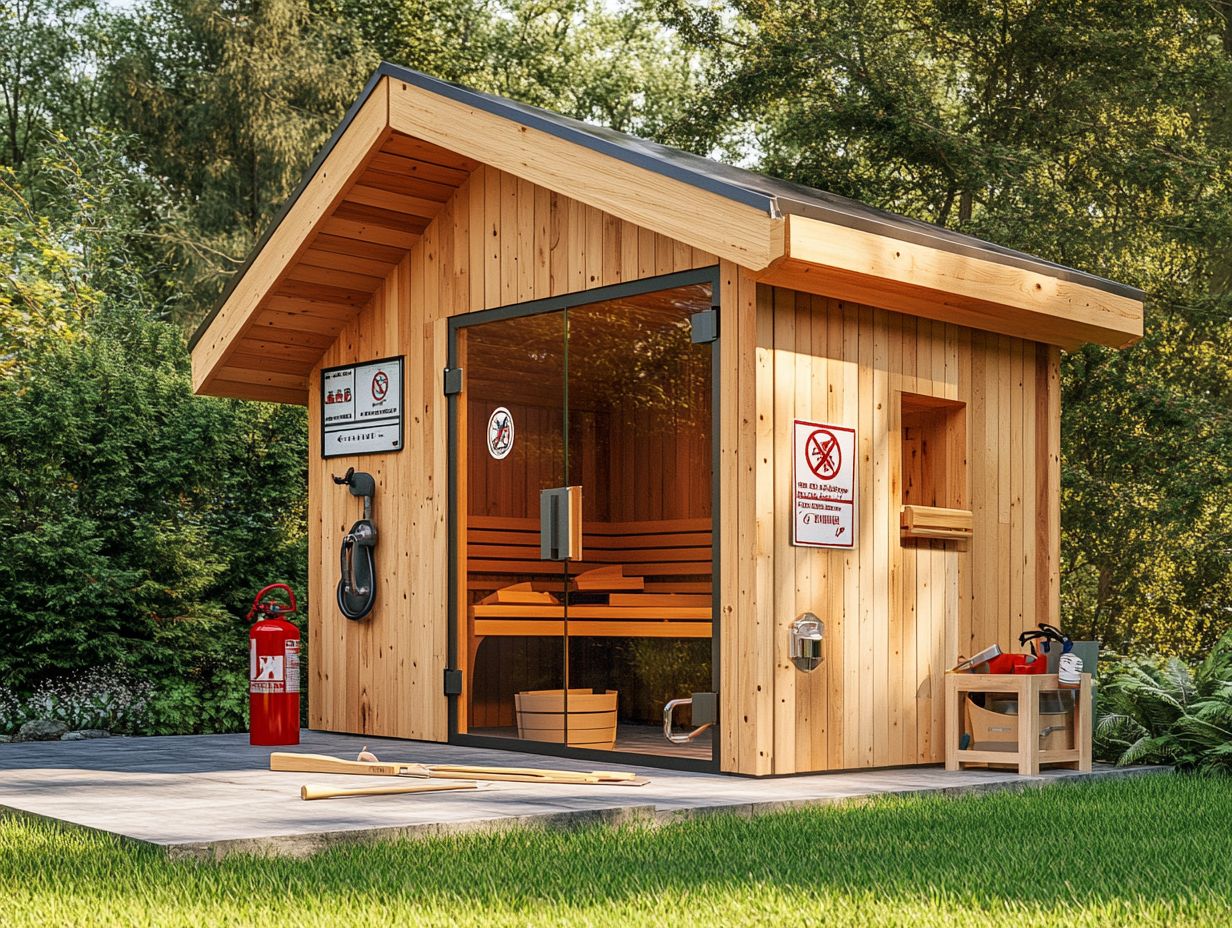
Detailed instructions and tips for each stage of your DIY sauna and the benefits of heat therapy installation and sauna kits are essential for achieving a successful build. From preparing the concrete foundation to installing the sauna heater, whether it be an electric sauna or a wood-burning sauna, every single stage is crucial in crafting a space that truly optimizes your sauna sessions.
By choosing the right wood type, insulation, and placing the benches wisely, you can significantly enhance both the functionality and comfort of your sauna. Tools such as stud finders and moisture meters become essential in guaranteeing a solid build and consistent performance.
Make sure the sauna heater you choose meets your design and heating needs. It’s important to pay close attention to the specifications of the sauna heater.
Plan and execute with care to transform your sauna into your very own personal wellness retreat, an essential space for health benefits.
Maintenance and Upkeep of DIY Saunas
Regular maintenance and upkeep of your DIY sauna are essential for ensuring its longevity and safety while enhancing your overall sauna experience. This involves conducting routine checks on sauna materials and ventilation, ensuring cleanliness after each sauna session, and adhering to safety protocols.
By doing so, you create a welcome environment that maximizes thermal comfort, promoting relaxation and maximizing health benefits over time.
How to Keep Your Sauna Safe and Clean
Maintaining the safety and cleanliness of your sauna is essential. It enhances both the longevity of the structure and your overall experience.
Regular inspections of the materials and adherence to proper hygiene practices are key. After each sauna session, take a moment to clean the surfaces in your sauna room, check for any signs of wear or damage, and implement safety measures for sauna use to prevent accidents or malfunctions.
To keep your sauna in pristine condition, opt for a mild, natural cleaner suitable for cedar wood that won t harm the wood or equipment. Make it a habit to clean regularly; wipe down the benches and walls of your indoor sauna with a damp cloth after each use.
Make sure to check the temperature gauges for electric heaters and gas heaters regularly and familiarize yourself with the correct operating conditions to prevent potential issues.
Regularly inspecting electrical components for the sauna heater and ensuring proper ventilation are also critical for safety. These practices are essential for anyone looking to fully enjoy their outdoor retreat for relaxation and health benefits.
Frequently Asked Questions
What are some key safety considerations to keep in mind when building a DIY sauna?
Here are some key safety tips for your DIY sauna: proper ventilation, correct electrical wiring, safe heating sources including infrared heaters and adequate insulation.
Why is proper ventilation important in a DIY sauna build?
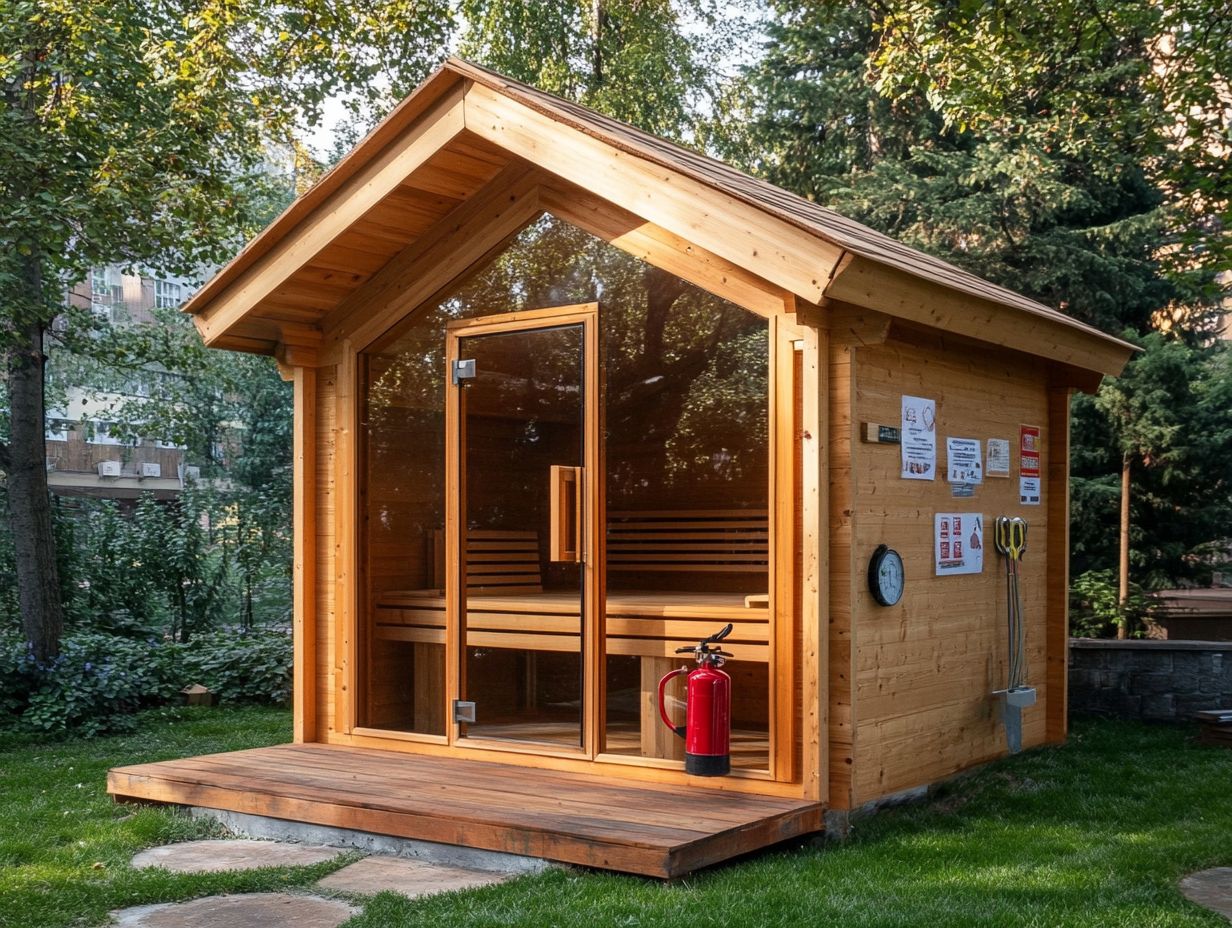
Proper ventilation is crucial in a DIY sauna build to ensure the circulation of fresh air and prevent the buildup of excessive heat and humidity, which can lead to discomfort and even health risks for sauna users.
What kind of electrical wiring should I use for my DIY sauna?
When it comes to electrical wiring for a DIY sauna, it’s important to use high-quality, heat-resistant materials found in sauna kits and ensure that the wiring is installed by a licensed electrician to guarantee safety and compliance with building codes.
What are some safe heating sources for a DIY sauna?
The most common and safe heating sources for a DIY sauna include electric heaters and wood-burning stoves. Carefully follow manufacturer instructions and safety precautions when using these heating sources.
How can I ensure proper insulation in my DIY sauna build?
Proper insulation is essential for a DIY sauna build to maintain a comfortable and safe temperature. This can be achieved by using high-quality insulation materials, sealing any gaps or cracks, and following specific insulation guidelines for sauna structures.
What steps should I take to ensure the overall safety of my DIY sauna?
In addition to the specific safety considerations mentioned above, regularly inspect and maintain your DIY sauna, follow all safety instructions and precautions, and never leave the sauna unattended while in use.
Don’t forget to regularly inspect your sauna! Keeping it safe means every session is worry-free.
Start your sauna journey safely today!

