“Best Practices for DIY Sauna Insulation”
Insulating your sauna might not be the very first thought that crosses your mind, but it is vital for your comfort and efficiency.
When done right, proper insulation elevates your sauna experience. It allows you to retain heat more effectively while cutting down on energy costs. This article delves into the significance of insulation, compares different materials, and provides a step-by-step guide for preparation and DIY installation.
You’ll also uncover valuable tips for maintaining that insulation, so you can enjoy lasting benefits.
Are you prepared to turn your sauna into a cozy retreat? Start your journey to a more comfortable sauna experience today!
Contents
- Key Takeaways:
- The Benefits of Insulating Your Sauna
- Discover Different Insulation Options for Your Sauna
- Preparing Your Sauna for Insulation
- Steps for DIY Sauna Insulation
- Tips for Maintaining Insulation
- Frequently Asked Questions
- Want to know the best DIY sauna insulation tips?
- Which insulation should I choose for my DIY sauna?
- Is a vapor barrier necessary for my DIY sauna?
- Can I use recycled materials for insulation in my DIY sauna?
- How do I seal gaps and seams in my DIY sauna insulation?
- What safety precautions should I take when installing insulation in my DIY sauna?
Key Takeaways:
- Proper insulation is crucial for a safe, efficient, and comfortable sauna experience. It helps retain heat, reduce energy costs, and prevent moisture damage.
- When choosing insulation materials, consider their R-value, heat and moisture resistance, and suitability for saunas. Common options include fiberglass, mineral wool, and foil bubble wrap.
- Before insulating your sauna, thoroughly clean and measure the space to ensure a proper fit. Use tools such as a utility knife, tape measure, and staple gun for installation. Regular maintenance, such as sealing any gaps, can prolong the effectiveness of insulation.
The Benefits of Insulating Your Sauna
Insulating your sauna provides a wealth of benefits that go beyond just comfort. It s essential for enhancing energy efficiency, optimizing heat retention, and minimizing heat loss during your sauna sessions.
With proper insulation, you achieve a stable sauna temperature. This creates a more enjoyable atmosphere especially important for those who prioritize their health regime.
A well-insulated sauna lowers heating costs and reduces your carbon footprint, making it an environmentally conscious choice in the expanding outdoor sauna community.
Why Proper Insulation is Important
Proper insulation directly influences heat retention and moisture control, significantly affecting your overall sauna experience.
When you optimize insulation, you maintain those sought-after high temperatures while keeping energy consumption in check. Factors like how well a material keeps heat are key; lower values mean better insulating properties, ensuring the heat stays right where it should.
Pay close attention to the R value, a measurement of how well insulation resists heat flow. It s essential for optimal temperature retention.
The U value, which indicates how heat transfers through materials, is equally important for preserving the integrity of your sauna walls.
Effective insulation not only prevents condensation problems that could lead to structural damage but also enhances your comfort by ensuring a consistent temperature throughout your sauna session.
Discover Different Insulation Options for Your Sauna
When considering insulating your sauna, you’ll encounter a range of insulation materials, each with distinct thermal properties and advantages.
These choices significantly influence your sauna s overall efficiency and performance, ensuring that you enjoy a truly optimal experience.
Comparing Different Materials
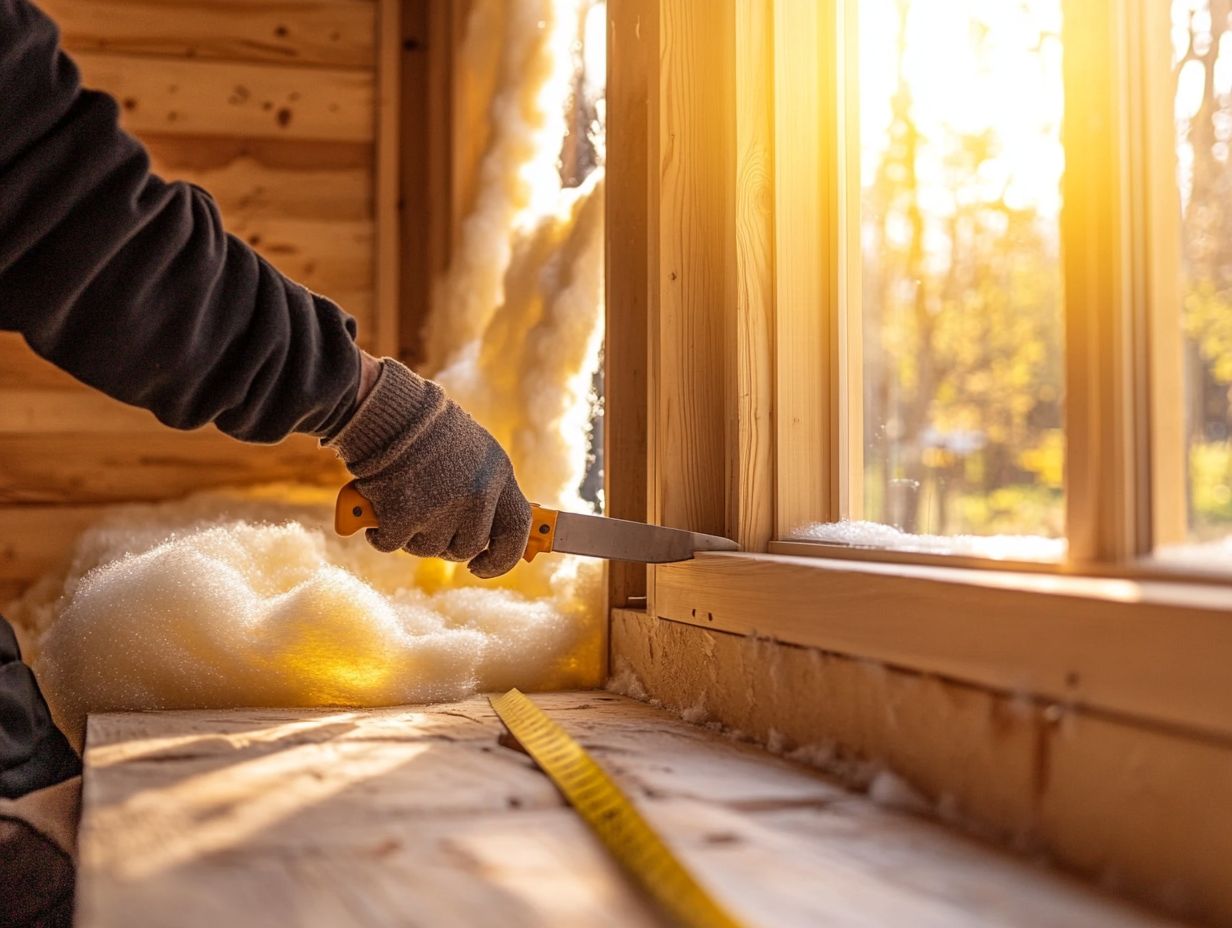
Comparing different insulation materials for your sauna enables you to make a well-informed choice based on key factors like thermal resistance, durability, and overall effectiveness in maintaining that perfect sauna temperature.
Understanding the unique properties of each option can elevate your sauna experience significantly. Take mineral wool, for instance; it s celebrated for its soundproofing and fire-resistant qualities, delivering excellent thermal resistance, though it might absorb moisture over time.
Then there’s fiberglass, a go-to choice for many due to its affordability and effective insulation, but it doesn t always handle high humidity as well as other options.
On the flip side, hemp insulation presents a sustainable alternative, boasting impressive breathability and moisture resistance, ensuring it stands the test of time in those heat-intensive environments.
Each material has its own distinct advantages and limitations that you ll want to weigh carefully before settling on the best option for your sauna.
Preparing Your Sauna for Insulation
Preparing your sauna for insulation requires a meticulous approach. Begin by thoroughly cleaning the space to create a pristine environment.
Next, accurately measure the dimensions to guarantee that the insulation materials will be installed effectively. Attention to detail in these initial steps sets the foundation for a well-insulated sauna experience.
Cleaning and Measuring the Space
Cleaning and measuring the sauna space is a crucial first step before installing insulation. This ensures that all walls and building components are free from contaminants and accurately sized for the insulative materials.
Start the cleaning process by removing any debris, such as old insulation, dust, and moisture. These elements can significantly undermine the effectiveness of your new insulation.
Once the area is clear, grab a moisture meter to assess the humidity levels within the walls, ensuring no dampness lingers.
Next, take precise measurements of the sauna’s dimensions, keeping an eye out for any irregularities in the structure that could impact the insulation fit. With these measurements in hand, you can create a tailored plan for insulation installation, optimizing energy efficiency while maintaining a comfortable atmosphere in your sauna.
Steps for DIY Sauna Insulation
Implementing DIY sauna insulation can be a rewarding endeavor that elevates your sauna’s performance. It’s essential to grasp the necessary materials and tools to ensure effective execution of the project.
Materials and Tools Needed
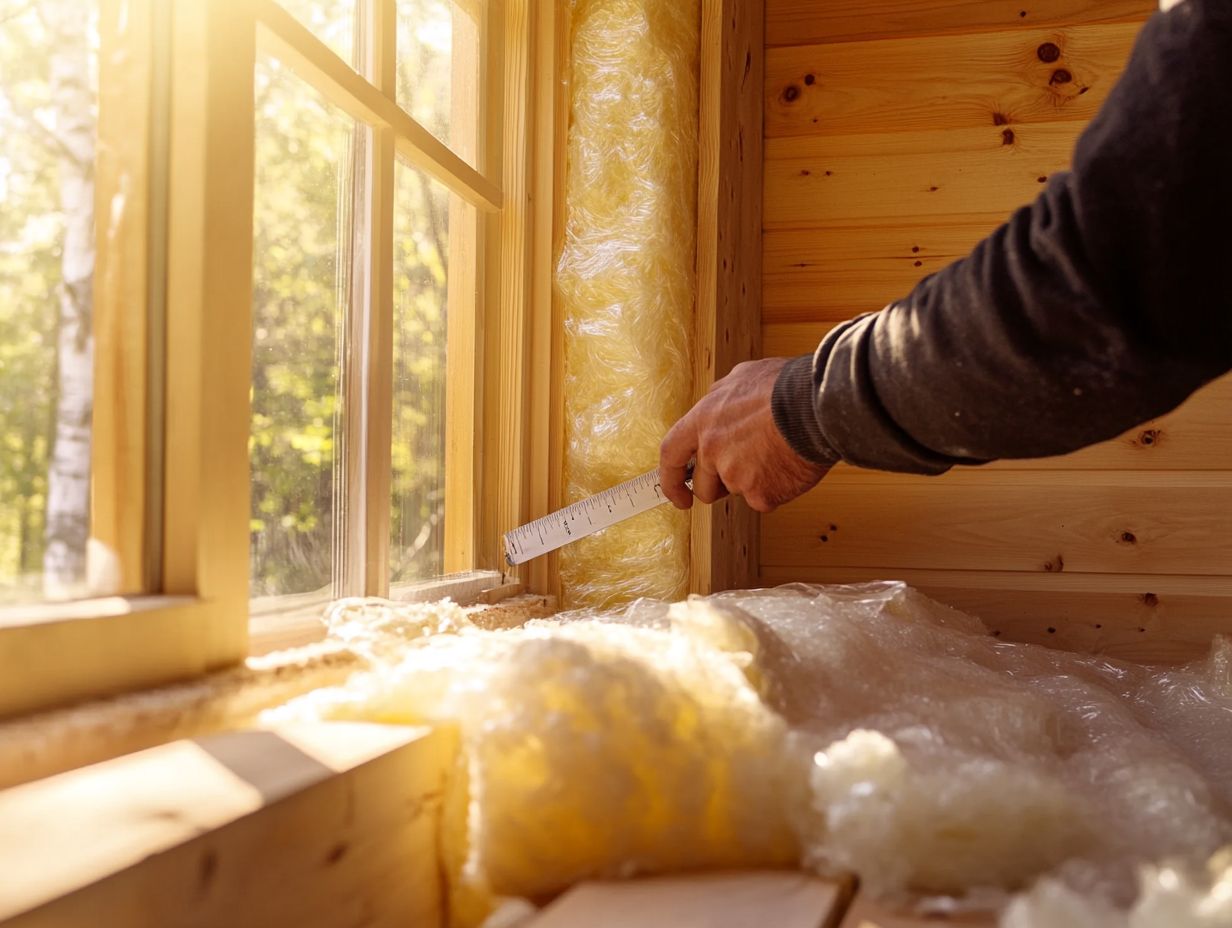
- Insulation Boards: Essential for heat retention.
- Spray Foam: Acts as an excellent thermal barrier.
- Rigid Insulation: Adds extra structural integrity.
- Vapor Barrier: Keeps moisture out to prevent damage.
- Construction Tools: Necessary for installation.
As you complete the project, adding tongue-and-groove cedar enhances the aesthetic appeal and provides durability with an innate resistance to humidity. Collectively, these materials and tools create a comfortably warm sauna environment, allowing you to indulge in a truly rejuvenating experience that maximizes your relaxation.
Step-by-Step Instructions
Adopting a step-by-step approach to insulation installation ensures your sauna achieves optimal insulation, maximizing heat retention while minimizing heat loss.
This careful approach boosts your sauna’s efficiency and creates a more enjoyable experience for users by maintaining consistent temperatures. Start by gathering the essential materials insulation boards, vapor barriers, and a staple gun.
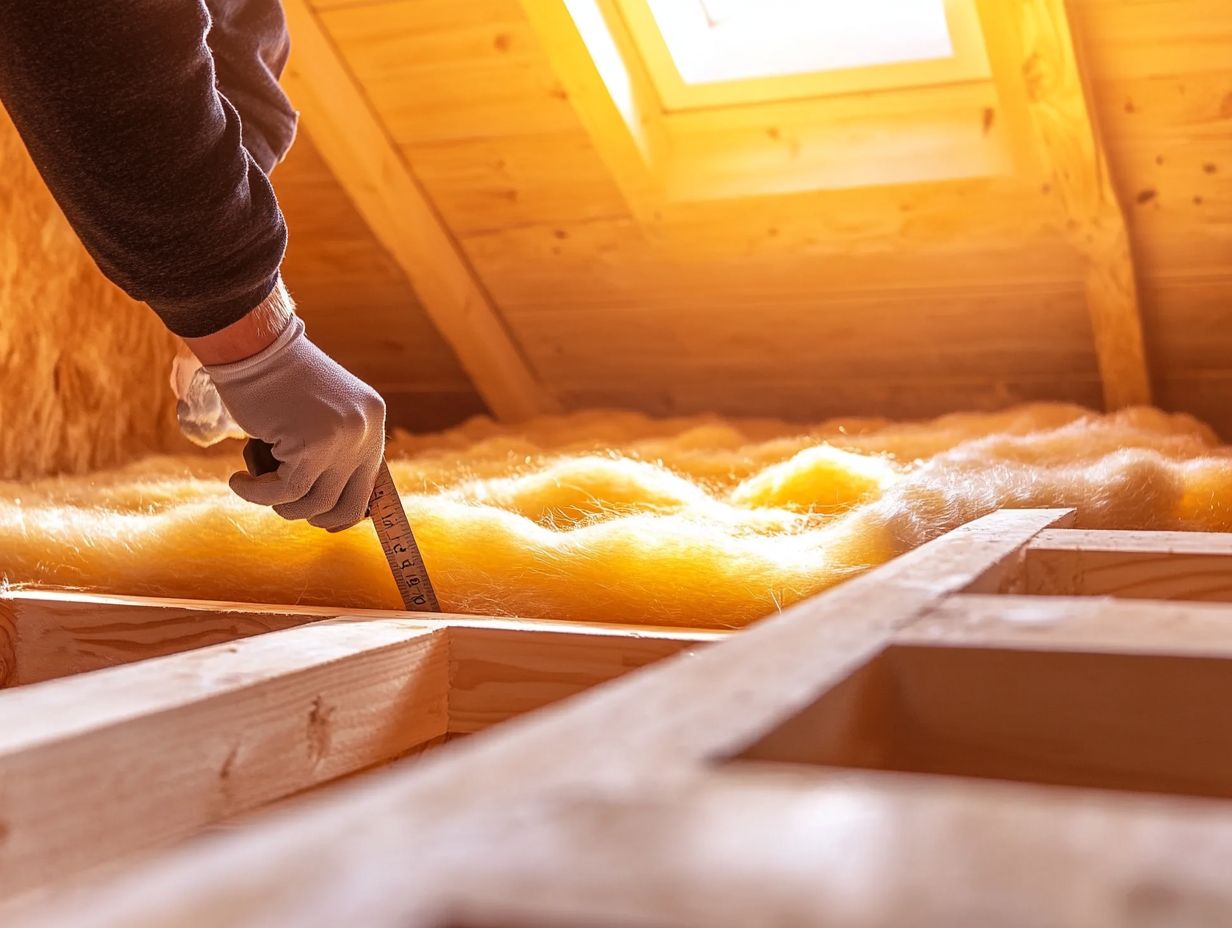
- Measure the walls and ceiling to accurately assess the amount of insulation needed.
- Cut the insulation boards to fit snugly into their designated spaces.
- Seal any gaps to prevent air leaks, as neglecting this can significantly compromise your sauna’s heat retention.
- After installing the insulation, apply a vapor barrier to safeguard against moisture buildup, preserving the longevity of the structure.
By following this structured process, you will create an effective, energy-efficient sauna that perfectly meets your heating needs.
Tips for Maintaining Insulation
Maintaining insulation in your sauna is crucial for ensuring its long-term effectiveness and optimal performance. By controlling moisture levels, you can prevent potential damage and preserve the integrity of this rejuvenating space.
How to Keep Your Sauna Insulation Effective
To keep your sauna insulation effective, conduct regular maintenance checks. This ensures moisture control and stable sauna temperatures during use.
Implementing these strategies extends your insulation’s life and enhances your sauna experience. Regularly inspect insulation for wear or moisture damage.
Using a humidity meter can provide valuable insights into moisture levels, allowing you to make timely adjustments. To maintain temperature consistency, periodically check the heater settings and ensure that the sauna door seals are functioning properly.
These proactive measures help create a comfortable and inviting atmosphere while safeguarding the sauna’s structural integrity.
Frequently Asked Questions
Want to know the best DIY sauna insulation tips?
The best practices for DIY sauna insulation include using natural materials like mineral wool or fiberglass, properly sealing all gaps and seams, and using a vapor barrier to prevent moisture build-up.
Which insulation should I choose for my DIY sauna?
When choosing insulation for your DIY sauna, it’s best to use natural materials like mineral wool or fiberglass. These materials can withstand high heat and provide effective insulation.
Is a vapor barrier necessary for my DIY sauna?
Yes, using a vapor barrier is essential when insulating your DIY sauna to prevent moisture build-up and mold growth. Be sure to seal all gaps and seams before installing the vapor barrier.
Can I use recycled materials for insulation in my DIY sauna?
While using recycled materials for insulation is possible, it is not recommended. These materials may not withstand high heat and could release harmful chemicals into the sauna.
How do I seal gaps and seams in my DIY sauna insulation?
To seal gaps and seams in your DIY sauna insulation, use high-temperature silicone caulk or foil tape. Apply the sealant evenly and allow it to dry completely before installing the vapor barrier.
What safety precautions should I take when installing insulation in my DIY sauna?
Yes, wearing protective gear, such as gloves and a mask, is crucial when handling insulation materials to avoid skin irritation and respiratory issues. It’s also recommended to ensure proper ventilation in the sauna during and after installation.
Don’t wait! Start your sauna maintenance today for the best experience!

