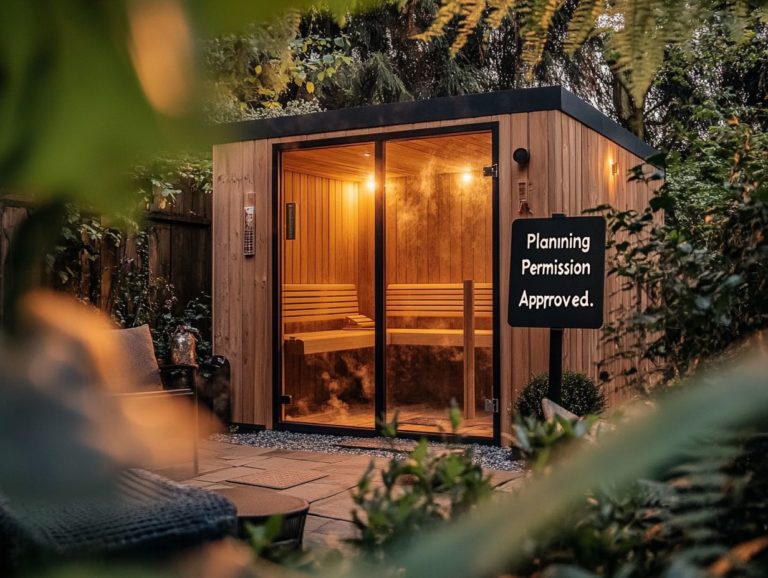
“5 Tips for a Successful DIY Sauna Project”
Building a DIY sauna can truly be a rewarding and relaxing endeavor, providing you with a personal retreat that adds comfort to your home.
This guide presents five essential tips to ensure your DIY sauna project is a success. It covers everything from careful planning and selecting the ideal location to gathering building materials and prioritizing safety.
It also highlights common pitfalls to sidestep, explores various sauna styles like electric and wood-burning saunas perfect for DIY enthusiasts, and helps you find budget-friendly sauna kits to kickstart your project. Additionally, it shares creative design ideas along with sustainable practices.
Jump in and create your own soothing sanctuary at home!
Contents
- Key Takeaways:
- 1. Plan and Research Thoroughly
- 2. Choose the Right Location
- 3. Gather the Necessary Materials and Tools
- 4. Follow Safety Precautions
- 5. Regular Maintenance is Key
- How Can a DIY Sauna Project Benefit You?
- What Are the Common Mistakes to Avoid in a DIY Sauna Project?
- What Are the Different Types of Saunas and Which One Is Best for a DIY Project?
- What Are Some Budget-Friendly Options for a DIY Sauna?
- What Are Some Creative Design Ideas for a DIY Sauna?
- How Can One Incorporate Sustainable Practices in a DIY Sauna Project?
- Frequently Asked Questions
Key Takeaways:
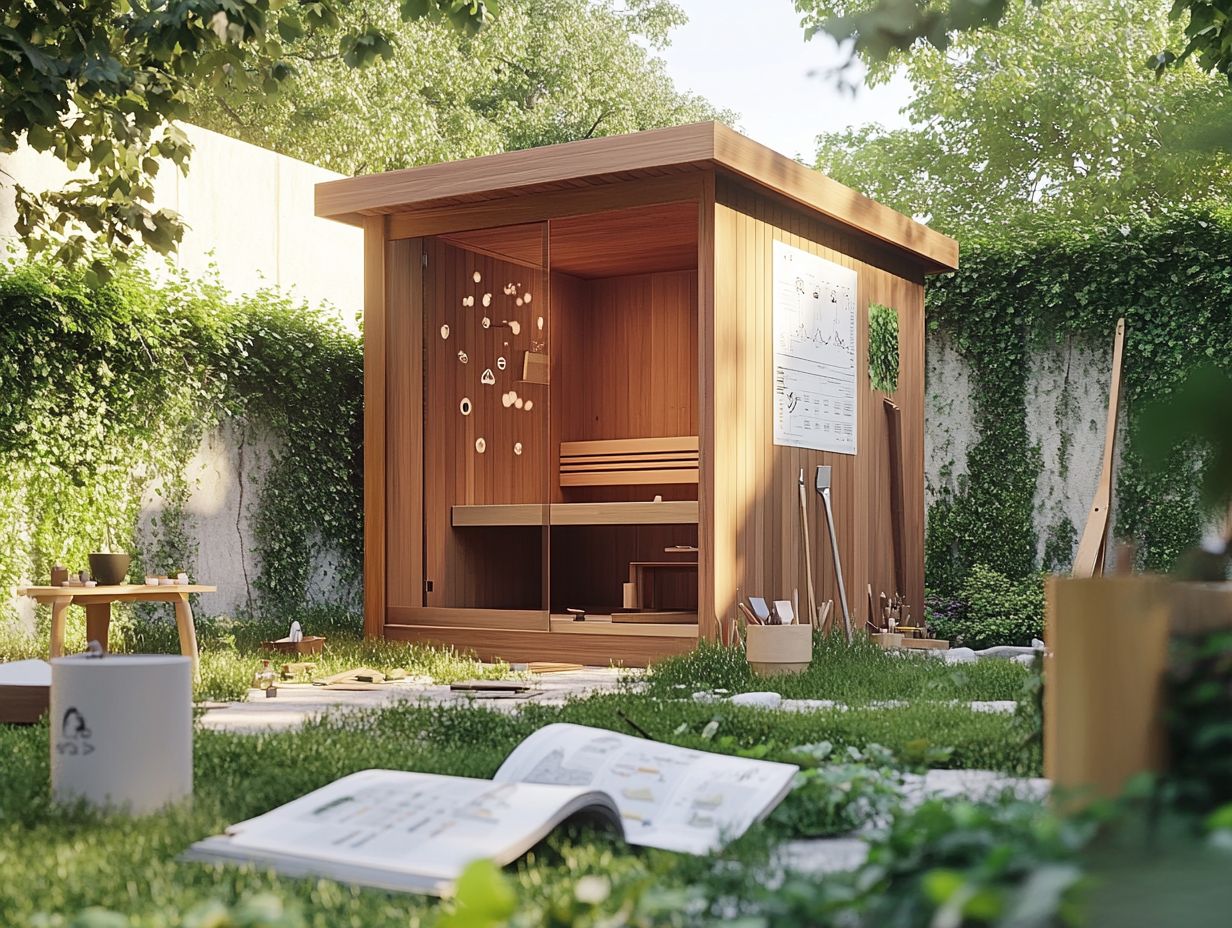
- Proper planning and research are crucial for a successful DIY sauna project.
- The location of your sauna can greatly impact its effectiveness and safety.
- Make sure to have all necessary materials and tools before starting your project.
- Safety precautions should be followed at all times to avoid accidents.
- Regular maintenance is necessary to keep your sauna structure in top condition and ensure its longevity.
1. Plan and Research Thoroughly
Planning and researching thoroughly before you dive into your DIY sauna project is essential. This careful preparation ensures that your home sauna fits well with what you need, especially if you’re drawn to the traditional Finnish designs.
Understanding the various construction methods and styles is crucial for selecting the right option for your space. From the charm of traditional wood-fired saunas to the sleek appeal of modern infrared models, each type offers unique experiences and health advantages, such as enhanced circulation and detoxification.
Regular sauna sessions can significantly boost your relaxation and stress relief, making them an invaluable addition to your wellness routine. The market offers many sauna kits that come equipped with features like adjustable temperature controls, built-in lighting, and sound systems. These enhancements can elevate your sauna experience, turning an ordinary session into a sanctuary for rejuvenation.
2. Choose the Right Location
Selecting the perfect location for your sauna is crucial, as it impacts not only how easily you can access your sauna sessions but also the overall ambiance and effectiveness of your ventilation solutions.
Several factors should guide your choice for that ideal spot. For instance, being close to amenities like a shower can greatly enhance your experience, making transitions between heating up and cooling down seamless and effortless.
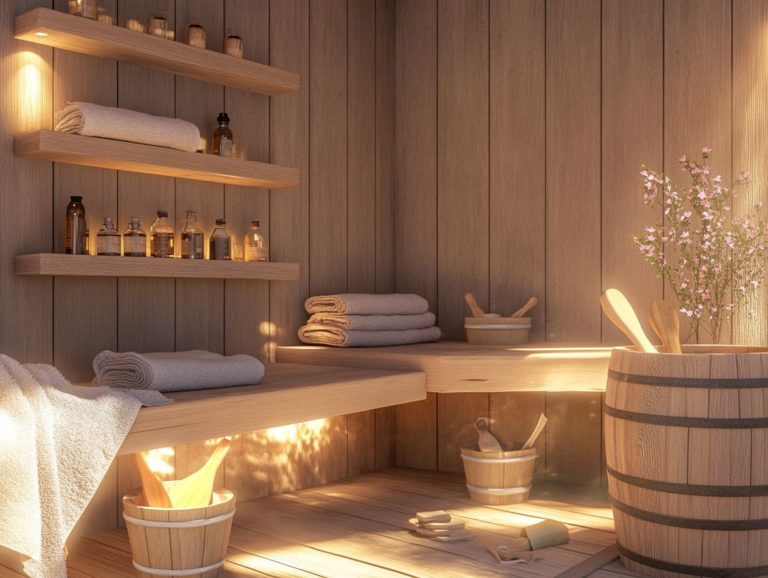
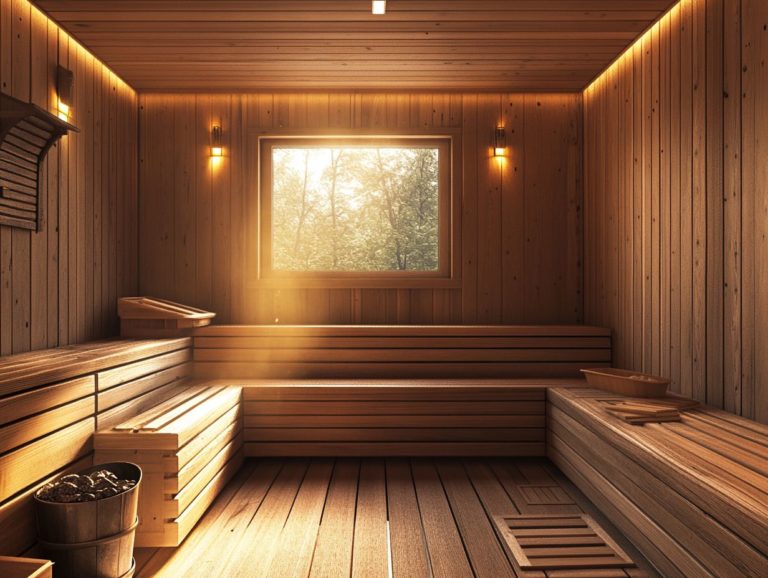
You also want to ensure ample space for a thoughtful sauna layout that fosters a relaxing atmosphere. Think about how your chosen location can elevate the sauna’s ambiance; the dance of natural light in an outdoor setting or the inviting warmth of indoor wood finishes can transform your experience.
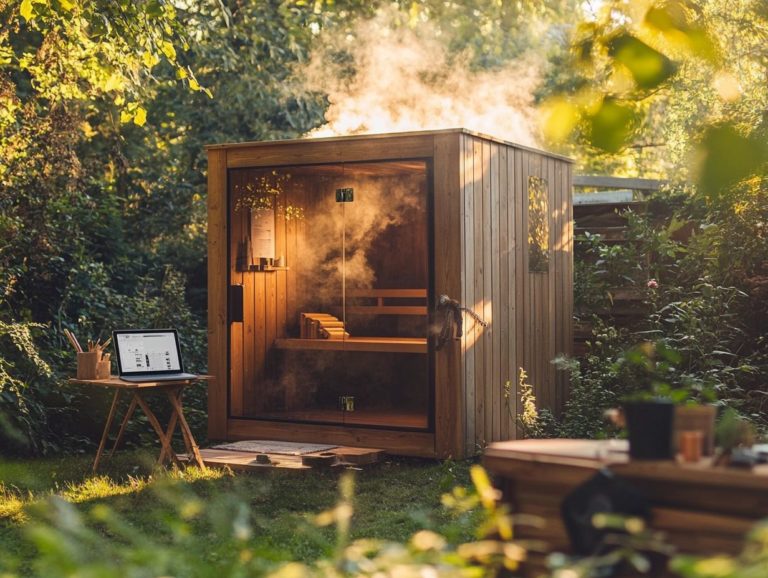
Ultimately, both outdoor sauna and indoor sauna options offer distinct advantages. An outdoor sauna immerses you in nature, while an indoor installation grants you year-round accessibility and privacy.
3. Gather the Necessary Materials and Tools
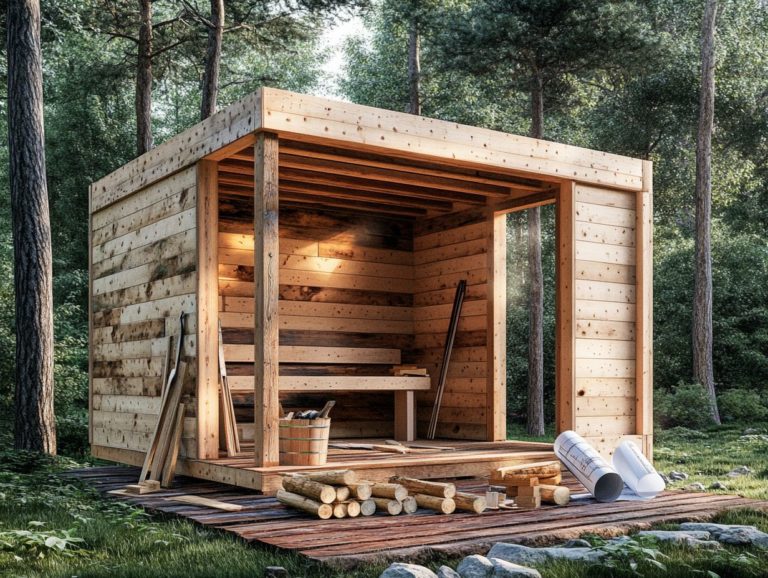
Gathering the right materials and tools is a crucial step in your DIY sauna project. The quality of building materials like cedar wood, effective insulation, and the appropriate sauna heater will directly impact the functionality and overall experience of your sauna.
The choice of wood is particularly important; options like cedar and hemlock are favored for their resistance to heat and moisture, helping to prevent warping over time. You ll also want to invest in proper insulation materials, such as fiberglass or foam boards, which help keep the heat in and reduce energy costs.
In terms of selecting a sauna heater, consider both the size of your sauna and the type of heating element be it an electric sauna heater or a wood-burning stove to align with your personal warmth preferences.
And don t forget the essential accessories; sauna rocks, a reliable thermometer, and quality seating materials will significantly enhance your relaxation and enjoyment during every sauna session.
4. Follow Safety Precautions
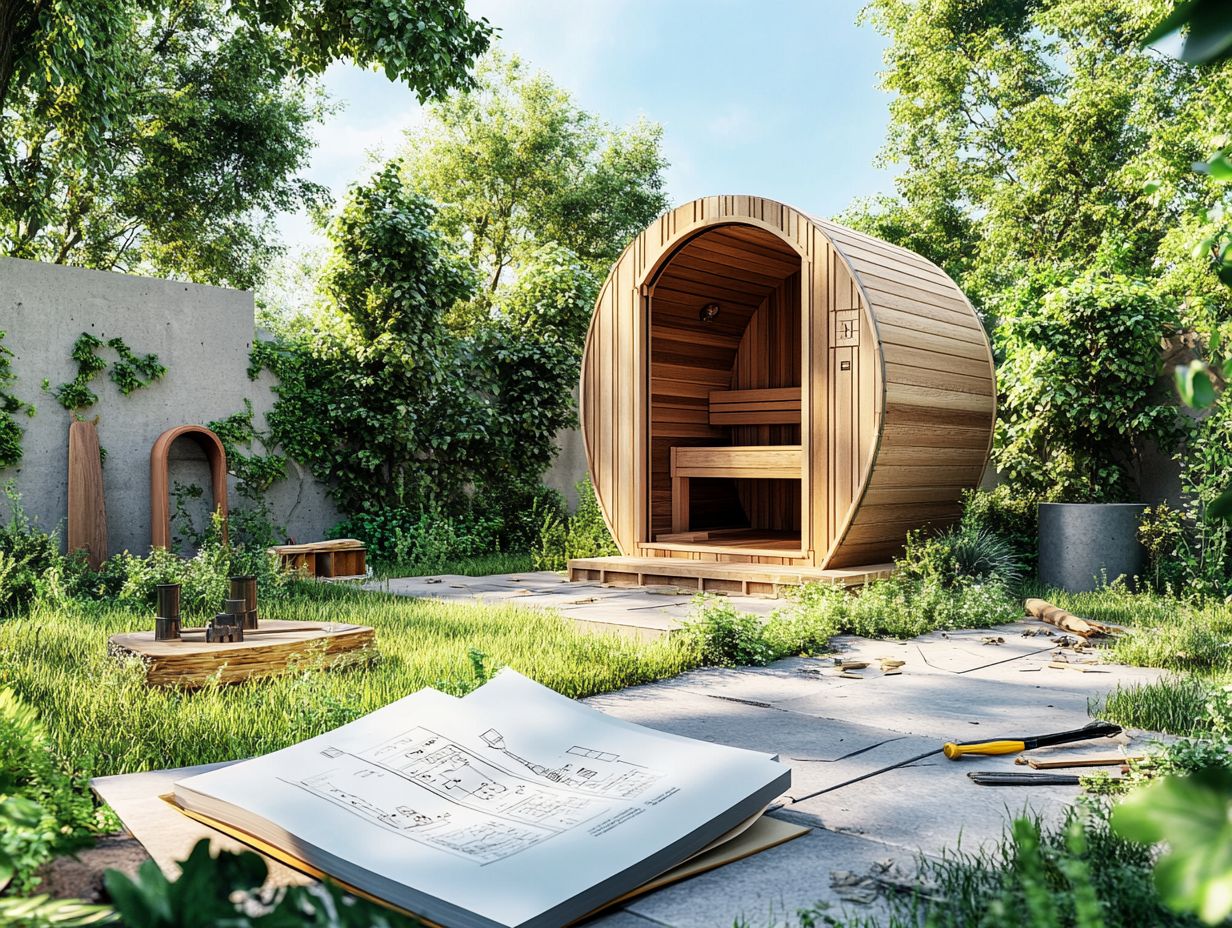
Following safety precautions is absolutely essential when constructing your DIY sauna. This includes everything from proper electrical installation to using water-resistant materials to avoid potential hazards during your sauna sessions.
For electrical safety, consult a certified electrician to handle the wiring and circuit breakers. This minimizes the risk of shock or fire, which is a top priority. Opting for moisture-resistant wood and adding effective vapor barriers can reduce the chances of mold growth and structural damage.
Regular maintenance is crucial. It not only keeps your sauna in top shape but also ensures a safe environment for you and your family. Check for leaks, ensure adequate ventilation, and clean surfaces with non-toxic solutions to enhance the longevity of your sauna.
5. Regular Maintenance is Key
Regular maintenance is essential for preserving the longevity and functionality of your DIY sauna. By doing so, you ensure that the materials remain in optimal condition while protecting against water damage.
To achieve this, develop a routine. Use gentle, non-toxic cleaners that won’t harm the wood or other materials. Check for moisture resistance regularly to maintain your sauna’s integrity.
Cedar and hemlock need special care to last longer. This includes periodic oil treatments to maintain the wood’s natural properties. Proper care of sauna accessories like benches, heaters, and control panels will significantly enhance their lifespan.
Use soft cloths for cleaning and ensure efficient ventilation to prevent humidity-related damage.
How Can a DIY Sauna Project Benefit You?
Imagine the incredible benefits you’ll enjoy when you build your own DIY sauna! You can experience comfortable heat, unlock health benefits through regular sauna sessions, and create a personal sanctuary tailored to your unique rituals and aesthetic preferences.
Making sauna use a regular part of your routine can alleviate stress and provide you with a place to unwind. Better blood flow from the heat can reduce muscle soreness and speed up recovery after workouts.
The act of sweating feels invigorating and helps your body detoxify from everyday toxins. Customizing your sauna setup, from your choice of wood to ambient lighting and soothing essential oils, can enhance your experience. Each session becomes not just a health practice, but a cherished moment of personal bliss.
What Are the Common Mistakes to Avoid in a DIY Sauna Project?
When you start a DIY sauna project, it s vital to recognize common pitfalls that could derail your efforts. Inadequate planning, poor design choices, and the use of subpar materials can all compromise the quality of your final product.
Neglecting ventilation can lead to dampness and discomfort, while insufficient insulation may hurt energy efficiency and heat retention. Ignoring the importance of a proper layout could ruin your experience.
To avoid these mistakes, prioritize a well-planned ventilation system that promotes a steady flow of fresh air. Choose high-quality insulation materials designed for heat retention, and arrange your benches and heaters thoughtfully to maximize functionality.
By dedicating time to thorough research and effective planning, you ll pave the way for a more successful and enjoyable sauna experience. Start planning your DIY sauna today and enjoy a retreat right in your home!
What Are the Different Types of Saunas and Which One Is Best for a DIY Project?
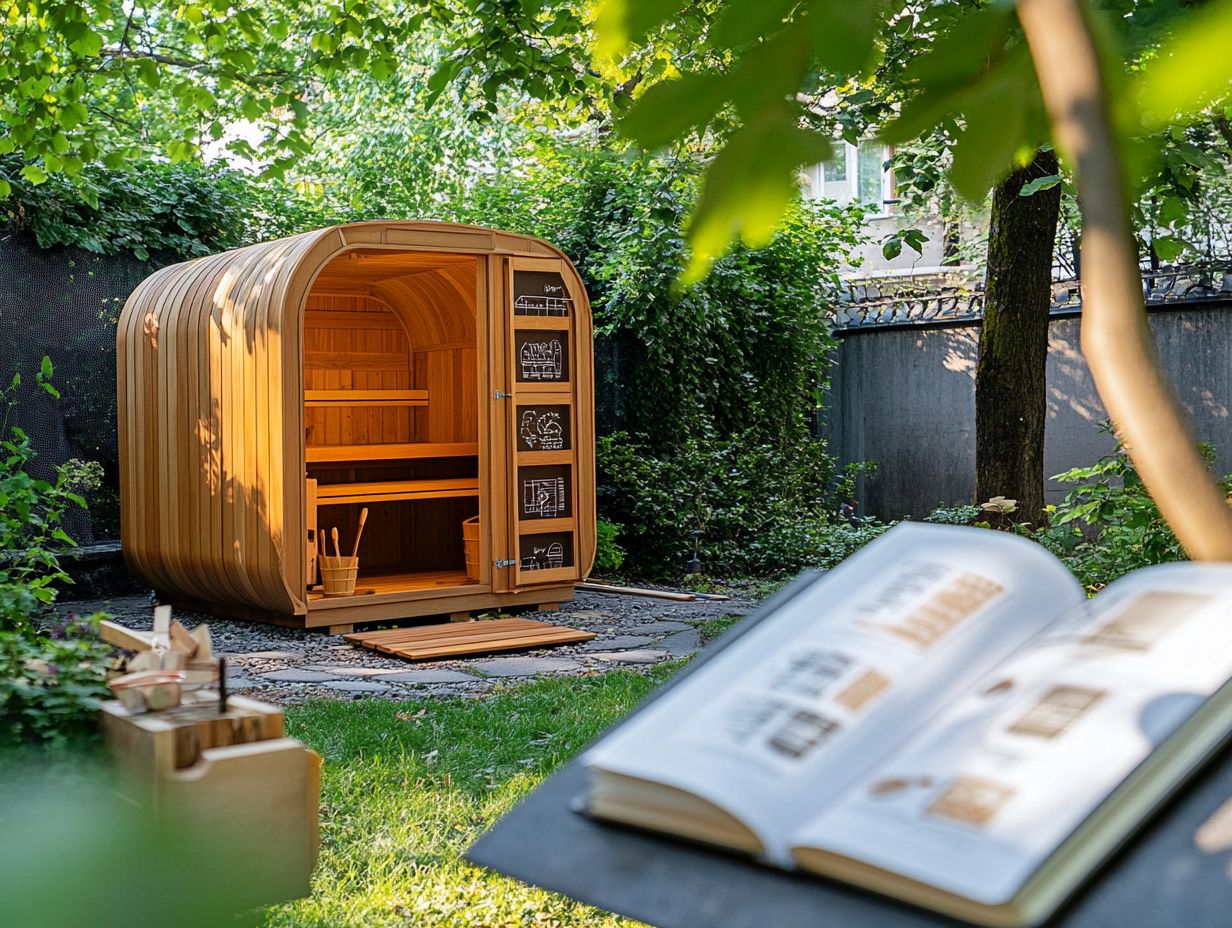
Understanding the various types of saunas available wood-burning, electric, and infrared is crucial for selecting the one that aligns perfectly with your DIY project and lifestyle. Each sauna style has its unique features and benefits, and knowing these can elevate your experience.
By looking into their heating sources, equipment, and maintenance requirements, you can make informed choices that cater to your preferences. For example, wood-burning saunas create a traditional atmosphere with timeless charm. However, they require a proper chimney and a steady supply of wood, making them ideal for those who enjoy the ritual of tending to a fire.
Electric saunas offer ease of installation and immediate heat, making them perfect for DIY enthusiasts who prioritize convenience. Infrared saunas, known for their energy efficiency, utilize light waves to warm the body directly, which might be just what you need if you re looking for low-maintenance options.
Grasping these nuances can significantly streamline both the construction and upkeep processes, ensuring you enjoy your sauna experience to the fullest.
What Are Some Budget-Friendly Options for a DIY Sauna?
You can easily build an affordable DIY sauna project. By exploring affordable sauna kits and thoughtfully selecting cost-effective building materials, you can maintain quality without sacrificing your overall sauna experience.
Opting for readily available yet durable materials like pine or cedar allows you to strike a perfect balance between cost and longevity. Investing in a quality heater may feel like a hefty upfront expense, but it can greatly enhance efficiency, leading to substantial savings on your energy bills over time.
Utilizing online tutorials and forums can offer valuable insights and recommendations, ensuring your choices align with both your budget and aesthetic preferences. This thoughtful approach not only makes your sauna project affordable but also guarantees a satisfying and rejuvenating experience for years to come.
What Are Some Creative Design Ideas for a DIY Sauna?
Infusing creativity into your DIY sauna design can transform a basic structure into a stunning custom sanctuary that truly reflects your personal style while enhancing both aesthetics and the overall sauna experience.
By considering your layout options, you can craft an engaging space that maximizes comfort and usability. Incorporating unique finishes like reclaimed wood paneling or modern tile work will not only create a warm, inviting atmosphere but also boost durability.
Practical accessories, such as built-in benches with storage, mood lighting, and aromatic diffuser systems, can elevate your sauna experience. With a keen focus on functionality, elements like expansive windows for natural light or sound systems for immersive relaxation will turn your sauna into a personal haven of tranquility.
How Can One Incorporate Sustainable Practices in a DIY Sauna Project?
Incorporating sustainable practices into your DIY sauna project is not just a nod to the environment; it also guarantees the longevity of your sauna by utilizing eco-friendly materials and ways to resist moisture.
By selecting sustainable wood options like certified cedar or hemlock, you can create a stunning and resilient structure while minimizing your carbon footprint. You should choose energy-efficient sauna heaters whether powered by renewable energy sources or those designed with advanced insulation techniques to reinforce your greener approach.
To enhance your project’s eco-friendly ethos, consider repurposing materials and using non-toxic finishes. Proper ventilation is crucial, as it preserves air quality and protects your chosen materials, ensuring that your sauna remains a sanctuary of wellness for years to come.
Frequently Asked Questions
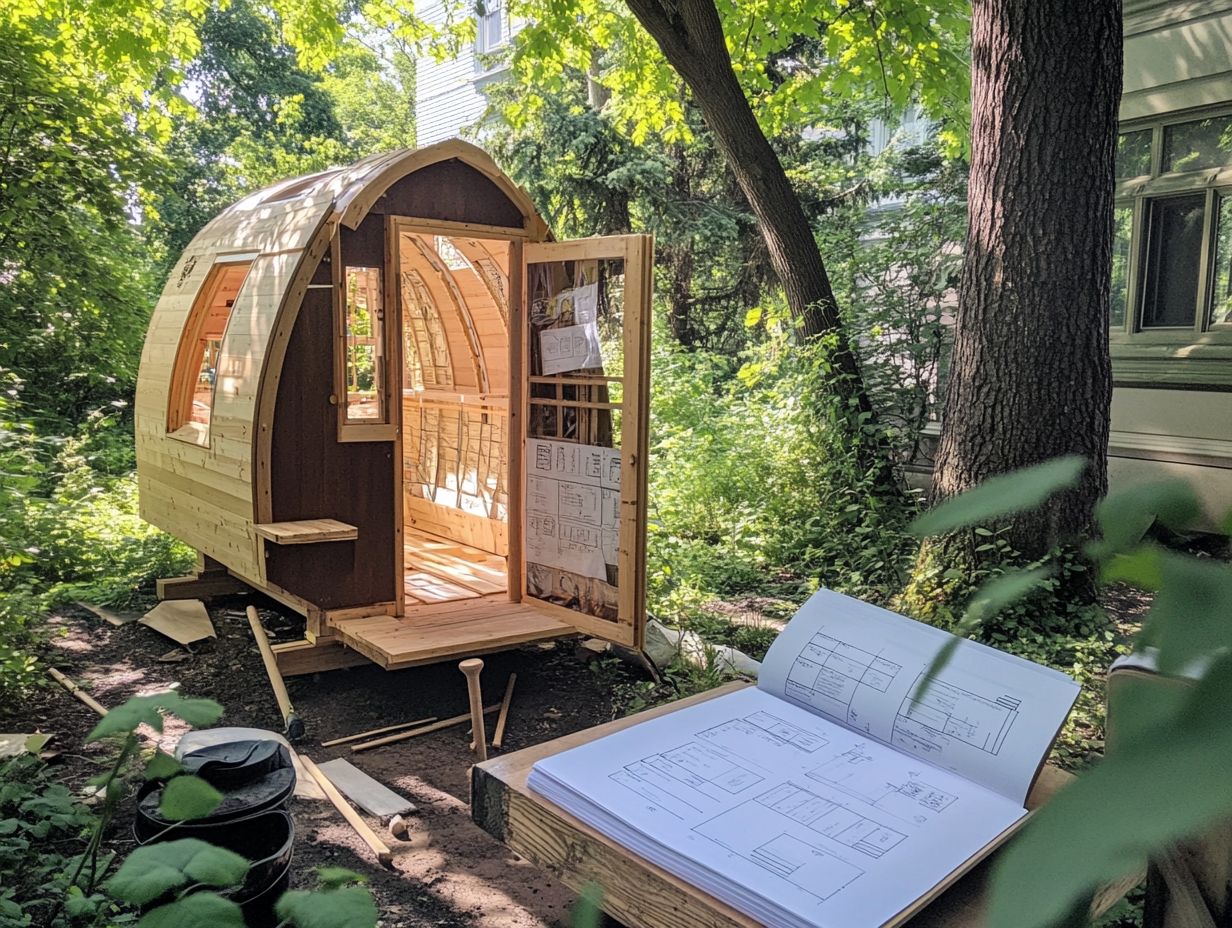
Kick off your sauna project with these top five tips!
-
1. Plan and research before starting: Make sure you have a detailed plan and do thorough research on materials, design, and how to set it up.
-
2. Choose the right location: Find a suitable spot for your sauna that is well-ventilated and has easy access to electricity.
-
3. Use high-quality materials: Invest in good quality wood, insulation, and heating elements for durability and efficiency.
-
4. Pay attention to safety: Follow safety guidelines and regulations, like using proper ventilation and installing a carbon monoxide detector, a device that alerts you if harmful gases are present.
-
5. Don’t be afraid to ask for help: DIY projects can be challenging. Seek advice from professionals or experienced DIYers if needed.
Can I build a DIY sauna without any prior experience?
Yes, you can! With proper research and the right tools, building a DIY sauna can be rewarding.
What type of wood is best for a DIY sauna project?
Cedar is the most commonly used wood for saunas due to its resistance to moisture, durability, and pleasant aroma. Other suitable options include hemlock, redwood, and pine.
How long does it take to build a DIY sauna?
The duration of a DIY sauna project can vary based on the size, design complexity, and your level of experience. On average, it can take anywhere from a few days to a couple of weeks.
Do I need a building permit to build a DIY sauna?
In most cases, you will not need a building permit, as they are considered temporary structures. Check with your local building department to ensure compliance with regulations.
How can I make my DIY sauna more energy-efficient?
To make your sauna more energy-efficient, use proper insulation and seal any gaps or cracks. Consider using a timer or smart thermostat!

