“Building a DIY Sauna: Essential Things to Know”
Building your own sauna at home can be a truly rewarding and relaxing endeavor. It provides a harmonious blend of functionality and personal flair.
This guide reveals the essential benefits of embarking on a DIY sauna journey. You’ll emphasize significant cost savings and a wealth of customization options, particularly through sauna kits.
You ll discover the necessary components, from selecting the right materials to choosing suitable heaters. Follow a detailed step-by-step guide to construction.
You ll also find invaluable tips for sauna maintenance and safety considerations. Get ready to enjoy your very own sanctuary of warmth and wellness at home!
Contents
- Key Takeaways:
- Benefits of Building Your Own Sauna
- Essential Components for a DIY Sauna
- Step-by-Step Guide to Building a DIY Sauna
- Tips for Maintaining Your DIY Sauna
- Safety Considerations for DIY Saunas
- Frequently Asked Questions
- What are the essential things to know before building a DIY sauna?
- What size and location is suitable for a DIY sauna?
- What materials and tools are needed for building a DIY sauna?
- What are the heating options for a DIY sauna?
- How important is proper ventilation and insulation for a DIY sauna?
- Can a DIY sauna add value to my home?
Key Takeaways:
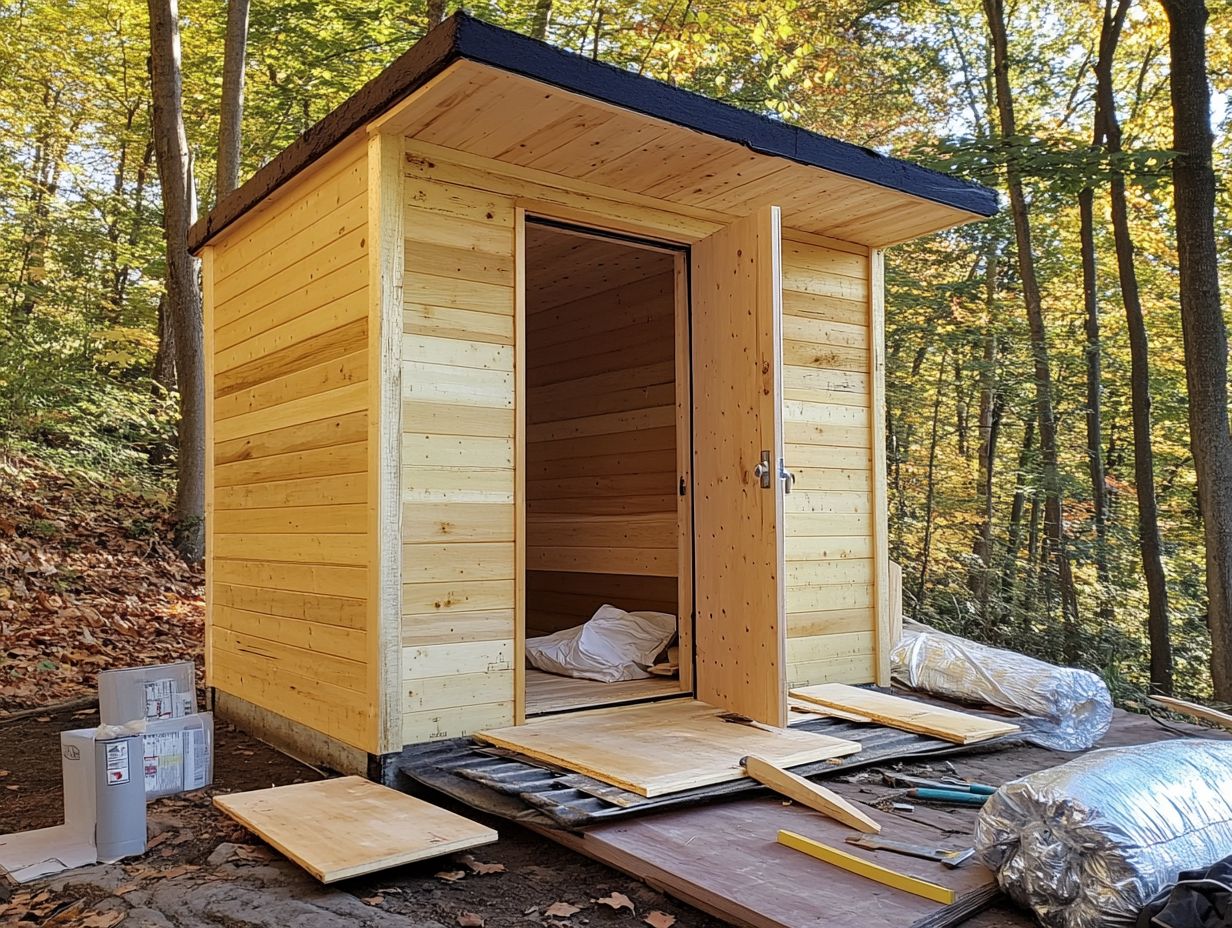
- Building your own sauna can save you money and allow for customization to suit your preferences.
- Essential components for a DIY sauna include a heater and quality materials for proper heat insulation.
- Proper maintenance and safety precautions are crucial for a safe and enjoyable DIY sauna experience.
What is a DIY Sauna?
A DIY sauna offers you a personalized experience in the comfort of your home. You can indulge in the myriad health benefits tied to regular sauna sessions, such as a delightful release of endorphins, which are hormones that promote feelings of happiness, and a deep sense of relaxation.
With options ranging from classic traditional wood-burning models to sleek electric heaters, crafting a sauna at home has become a sought-after home improvement endeavor.
This trend aligns perfectly with the rise of wellness culture, where self-care is celebrated. Homeowners are turning to sauna kits that include all the essential components for assembly, often accompanied by clear instructions for a successful DIY project.
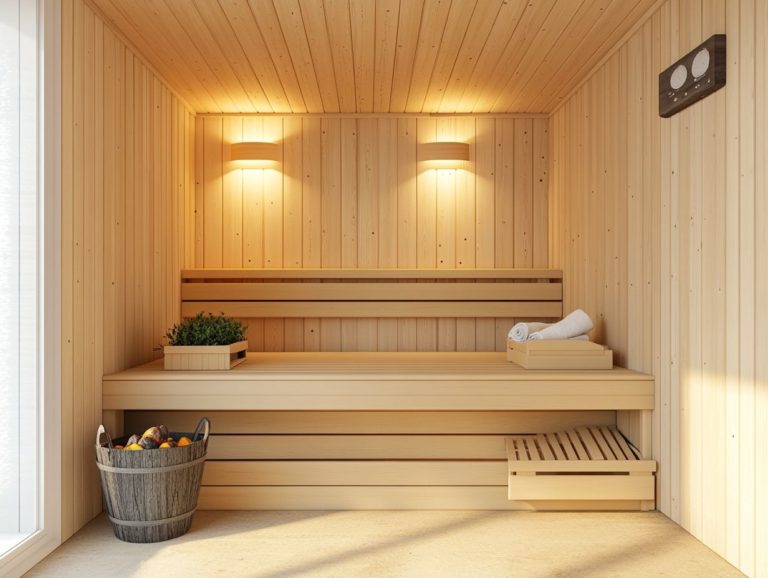
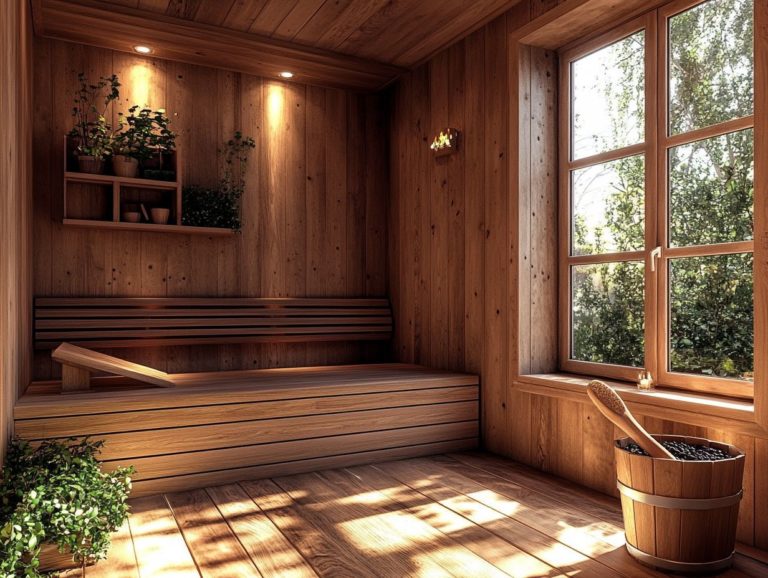
Traditional saunas, with their warm wooden interiors, exude rustic charm. Electric heaters bring convenience and rapid heating. Using a sauna in your own space not only enhances relaxation but also aids in detoxification and supports your physical well-being.
These personal retreats transform from mere luxuries into valuable additions to a holistic lifestyle, further supported by the North American Sauna Society.
Benefits of Building Your Own Sauna
Building your own sauna presents a wealth of benefits. You can enjoy significant health advantages, including improved warmth and comfort and heightened relaxation thanks to the release of endorphins.
You can also customize the sauna experience to align perfectly with your preferences, a notion supported by the North American Sauna Society and their guidelines on sauna designs.
Cost Savings and Customization
One standout benefit of building your own DIY sauna is the potential for substantial cost savings over pre-built options. You have the freedom to select from various sauna kits and materials, customizing the design to suit your unique needs and budget.
By choosing the DIY route, you can handpick specific components, like the popular cedar wood, known for its durability and natural moisture resistance. This choice elevates the aesthetic appeal of your sauna and enhances its functionality.
Customizable features, such as bench configurations and heating options, allow you to create a one-of-a-kind sauna experience that pre-built models cannot provide.
These choices help you keep overall building costs manageable while enabling you to create a personalized retreat that enriches your relaxation and wellness routines all while keeping your expenses in check.
Essential Components for a DIY Sauna
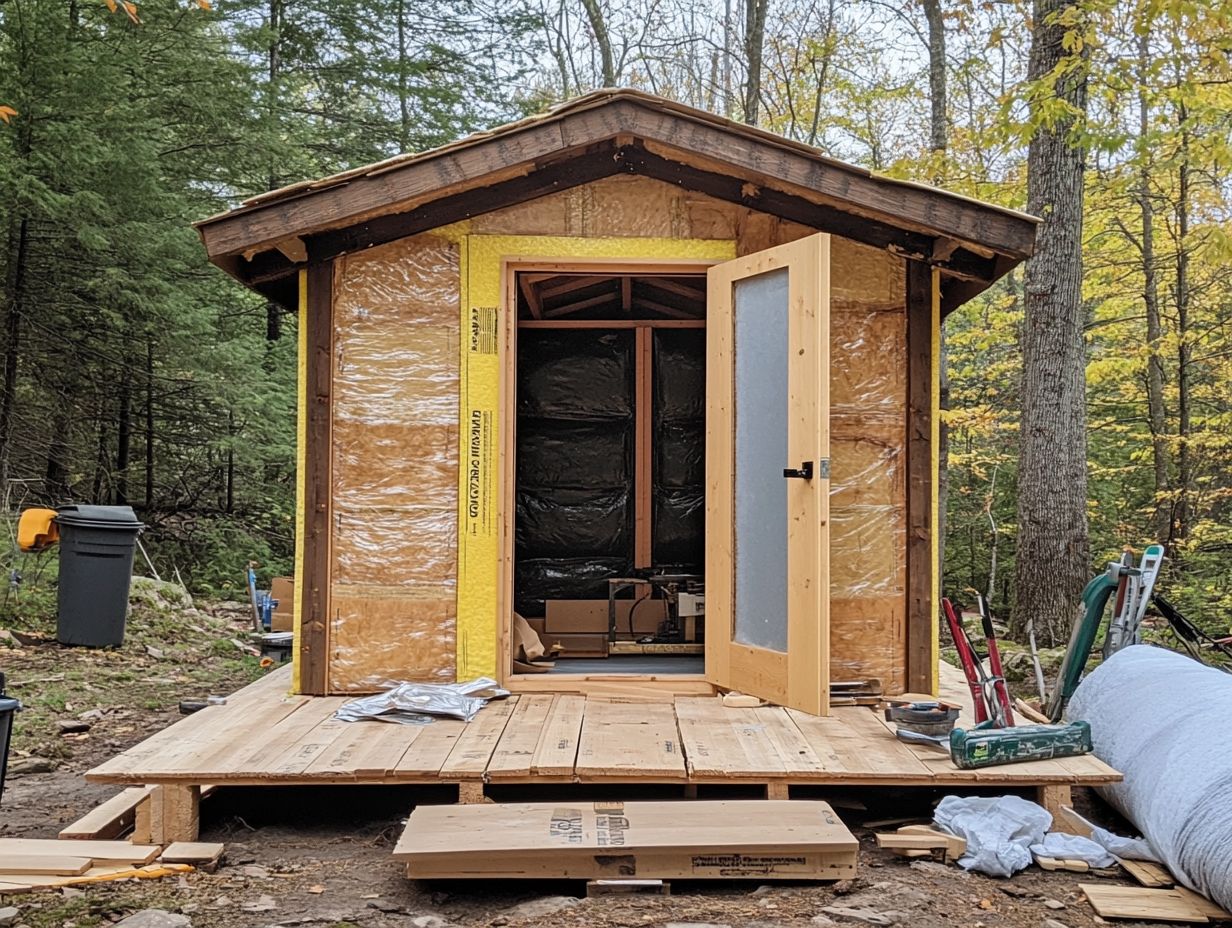
Crafting a DIY sauna is an exciting journey. Integrating essential components will ensure an optimal experience. You ll need a reliable sauna heater, whether it s a traditional wood-burning stove or an electric option, tailored to your preferences. This will help maintain proper air circulation.
Prioritize quality building materials, such as wooden panels. These materials provide insulation and enhance the sauna’s interior, creating a cozy and warm atmosphere for your experience.
Sauna Heater and Materials
Selecting the right sauna heater is essential for creating the perfect ambiance and temperature. Options include wood-burning stoves and electric heaters, and pairing them with materials like cedar wood can elevate both aesthetics and functionality.
Understanding the pros and cons of each heater type is key. Wood-burning stoves offer a traditional charm but require regular maintenance and a steady supply of firewood. Electric heaters provide convenience and precise control, but they may lead to higher electricity bills, necessitating careful budget management.
For materials, choosing high-quality options like cedar, hemlock, or pine significantly enhances insulation, durability, and sensory enjoyment. These choices impact heat retention and play a crucial role in the heater’s performance, influencing relaxation and health benefits, especially in dry saunas.
Step-by-Step Guide to Building a DIY Sauna
Constructing a DIY sauna can be immensely rewarding. Follow a comprehensive step-by-step guide that covers everything you need, including the ideal sauna dimensions, insightful construction tips, and thoughtful design for the sauna interior.
By adhering to these guidelines, you ll ensure that your final product meets both functional needs and aesthetic desires. This creates a space that truly enhances your relaxation experience.
Preparation and Construction Process
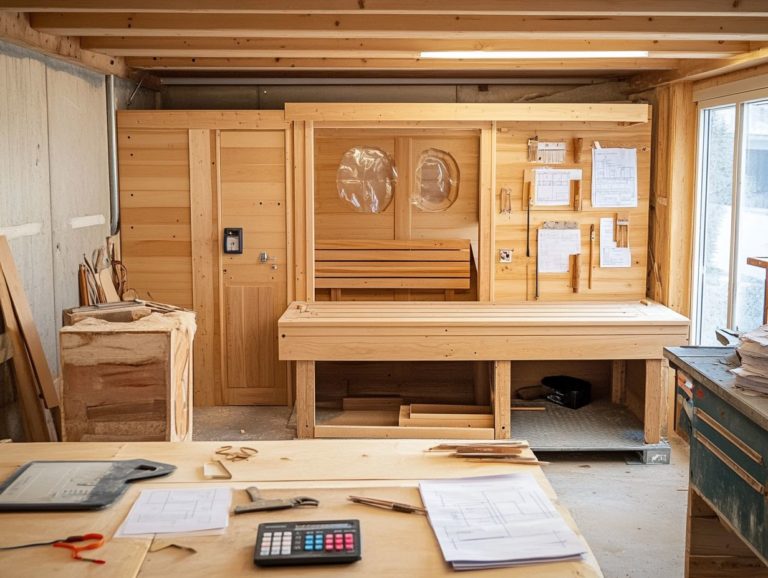
Preparation is essential for a successful sauna construction process. Plan a well-designed air flow system that keeps the sauna fresh. This involves careful planning of the layout, selecting the right construction materials, and ensuring a well-designed ventilation system.
Choosing the right materials is vital for durability and heat retention. Cedar is a popular choice, known for its resistance to warping and delightful aroma, enhancing the sauna’s overall aesthetic. Proper ventilation helps regulate humidity and airflow, ensuring a pleasant sauna experience.
Positioning the sauna door for easy access while minimizing heat loss is key. This maintains a cozy atmosphere and allows guests using the changing room to enter comfortably.
For the sauna bench, placing it at the right height allows users to maximize their heat exposure. This creates an inviting environment for communal sauna rituals. By blending aesthetic appeal with functional design, you can craft a sauna that promotes relaxation and enhances overall wellness, fitting perfectly into modern wellness rooms.
Tips for Maintaining Your DIY Sauna
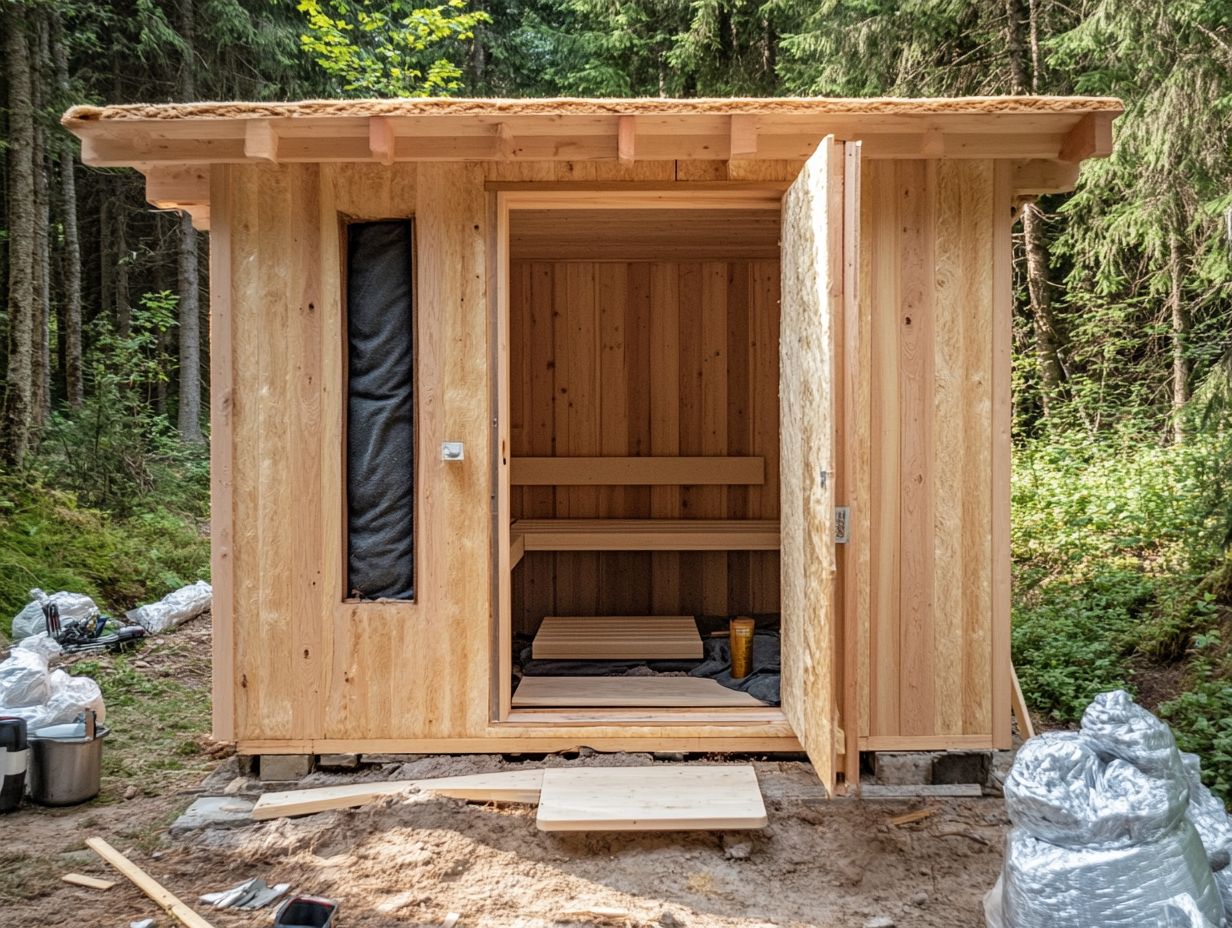
Keep your DIY sauna in top shape for years to come. Regular checks and cleaning will ensure it performs well. This involves checking the sauna heater and accessories regularly, cleaning the space, and providing a changing room and shower nearby for your guests’ convenience.
By prioritizing these aspects, you enhance your sauna experience and protect your investment for years to come. Start your sauna journey today and enjoy the warmth and relaxation it brings!
Cleaning and Proper Use
Regular cleaning and proper use of your sauna are essential for maintaining hygiene and extending its lifespan, particularly with respect to sauna accessories. This ensures that your sauna accessories are well cared for, creating a welcoming and relaxing environment.
To achieve this, it’s vital to understand the specific cleaning techniques tailored to the various materials in your sauna, such as wood, glass, and stone. For wooden surfaces, a gentle soap solution followed by thorough rinsing will effectively remove sweat and moisture buildup without harming the finish. For glass panels, opt for a streak-free cleaner to maintain clarity. Stones can be cleaned effortlessly using a damp cloth, preserving their natural beauty.
Regularly inspecting and maintaining your sauna accessories, like towels and benches, enriches the overall experience. This contributes to your sauna maintenance routine. Practicing respectful sauna usage is equally important. Shower beforehand, keep conversations to soft tones, and ensure all personal items are neatly organized. These practices create a serene atmosphere for everyone involved during social occasions.
Safety Considerations for DIY Saunas
When you’re embarking on the journey of creating a DIY sauna, prioritizing safety is crucial, particularly regarding fire hazards.
Implement essential measures to prevent fire hazards related to sauna heaters. Ensure a reliable ventilation system is installed to maintain fresh air quality. This will help enhance your overall sauna experience.
Preventing Fire and Other Hazards
Preventing fire hazards in your DIY sauna requires careful selection and installation of the sauna heater. Conduct regular inspections of the surrounding area and implement an effective ventilation system to mitigate risks.
Choosing the right heater is paramount; consider both the power and type, whether electric or wood-burning, ensuring it adheres to safety standards. During installation, maintain adequate distances from combustible materials and securely fasten all wiring to prevent damage.
Don t skip regular maintenance checks; they are vital for safety. Inspect the heater elements and clear away debris from the area to greatly reduce fire risks. Effective ventilation is crucial for expelling excess heat and moisture, minimizing potential hazards.
By embracing best practices, such as using cedar wood for the sauna interior and ensuring proper insulation techniques, you can fully enjoy your DIY sauna experience with complete peace of mind.
Frequently Asked Questions
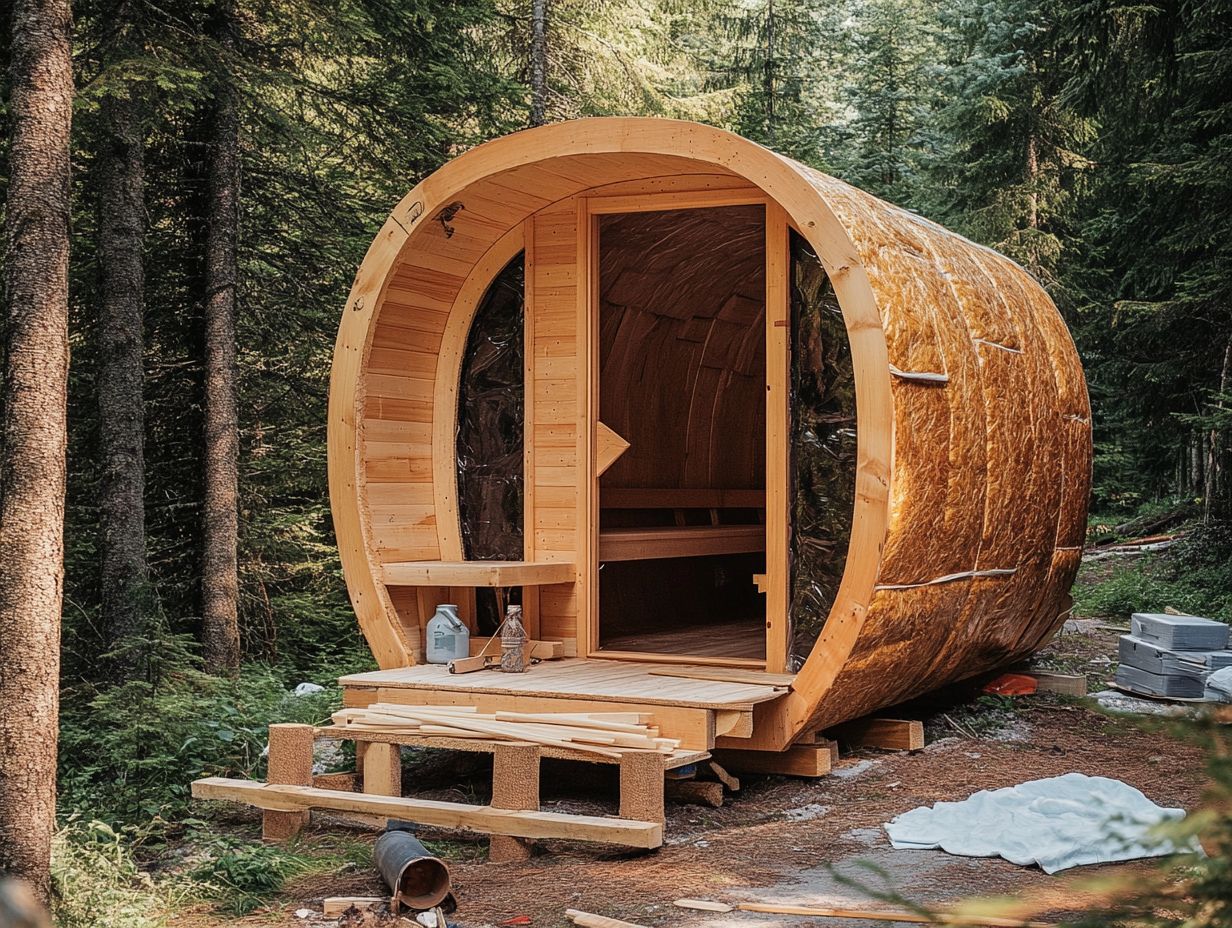
What are the essential things to know before building a DIY sauna?
The essential things to know before building a DIY sauna include:
- Understanding size and location requirements
- Necessary materials and tools
- Heating options
- Proper ventilation and insulation for safety and functionality
What size and location is suitable for a DIY sauna?
The standard size for a DIY sauna is between 4-8 feet by 6-8 feet, depending on the number of users. Choose a well-ventilated and dry location, such as a spare room or basement, with easy access to water and electricity.
What materials and tools are needed for building a DIY sauna?
The materials needed for a DIY sauna include:
- Wood for the frame and interior
- Insulation
- Sauna benches
- A door
Tools needed include:
- A saw
- A drill
- A level
- A caulking gun
You may also need electrical supplies, such as wiring and a light fixture, depending on your design.
What are the heating options for a DIY sauna?
The two main heating options for a DIY sauna are traditional wood-fired stoves or electric heaters. Wood-fired stoves provide a more authentic sauna experience, while electric heaters are more convenient and easier to control. Consider your budget, location, and personal preference when choosing.
Start planning your DIY sauna today for a relaxing retreat at home!
How important is proper ventilation and insulation for a DIY sauna?
Proper ventilation and insulation are essential for a DIY sauna. They keep the air fresh and the heat contained.
Without proper ventilation, mold and mildew can form. Inadequate insulation can also lead to high energy costs.
Can a DIY sauna add value to my home?
Absolutely! A DIY sauna can significantly boost your home’s value.
A well-built DIY sauna can be a standout feature for your home. Keep in mind the cost and time involved if you plan to build one just for resale.

