“DIY Sauna Installation: What You Should Know”
Imagine stepping into your very own oasis of relaxation right in the comfort of your home. Installing a sauna can transform your space into a personal wellness retreat, offering a wealth of health benefits like enhanced circulation and stress relief.
Before diving in, consider these crucial factors for an amazing sauna experience. You’ll want to weigh the options between infrared and traditional models and familiarize yourself with the installation process and maintenance requirements.
This guide will provide everything necessary for a successful DIY sauna project, ensuring that your journey to wellness is both rewarding and enjoyable.
Contents
Key Takeaways:
- Installing a sauna at home offers stress relief and improved circulation.
- Consider space, budget, and power options before starting your DIY project.
- Follow proper steps for preparation, installation, and maintenance for a successful sauna.
Benefits of Installing a Sauna at Home
Installing a sauna at home presents a wealth of benefits that elevate both your physical and mental well-being. The soothing heat melts away stress, and invigorating sauna rituals accelerate recovery this DIY sanctuary is packed with advantages tailored just for you.
Whether you opt for an indoor or outdoor sauna, you can easily tailor your sauna experience to fit your lifestyle perfectly. Regular sauna use is linked to improved cardiovascular health and relaxation, making it a wise investment for anyone seeking a healthier way of living.
The gentle heat eases tension and promotes better circulation, ensuring that blood flows freely throughout your body. This boost in circulation can significantly aid muscle recovery after workouts, supporting your active lifestyle.
Engaging in sauna rituals followed by a refreshing cold plunge can kickstart your detoxification processes, helping your body eliminate toxins and purify your skin. Many users report noticeable improvements in skin health, complete with a natural glow and fewer imperfections.
By embracing these practices regularly, you adopt an approach to overall wellness that harmonizes body and mind, fostering an overall sense of vitality and well-being.
Factors to Consider Before Starting
Before you embark on your sauna installation journey, it s essential to consider several key factors that will ensure not only a successful build but also an enjoyable experience. The design of your sauna is paramount; whether you choose a traditional wood-burning sauna or an infrared option, your heat source will significantly influence your overall experience.
Understanding the electrical requirements and selecting high-quality materials like cedar or hemlock wood plays a crucial role in both the aesthetics and safety of your home sauna.
The size and location of your sauna are critical considerations that affect functionality and comfort. Ensuring adequate ventilation and selecting a versatile spot that offers privacy can greatly enhance your relaxation experience.
Adhering to safety standards is also essential. Improper wiring or insufficient insulation can present potential hazards. By meeting electrical codes, you maintain the overall stability and performance of your sauna, allowing you to enjoy the soothing warmth with peace of mind.
Ultimately, these thoughtful choices will transform your sauna experience into a serene retreat.
Types of Saunas
You ll find a variety of saunas available, each offering unique features and experiences tailored to your preferences. As a homeowner, you can opt for an indoor sauna that ensures convenience and privacy, or choose an outdoor sauna for a delightful connection with nature.
Among the popular choices, infrared saunas stand out for their efficient heating, while traditional wood-burning saunas provide that timeless, classic ambiance.
If you re a DIY enthusiast, there are numerous sauna kits on the market, allowing you to effortlessly craft your own personalized sauna experience with minimal fuss.
Start your sauna journey today for a healthier, happier you!
Comparison of Infrared and Traditional Saunas
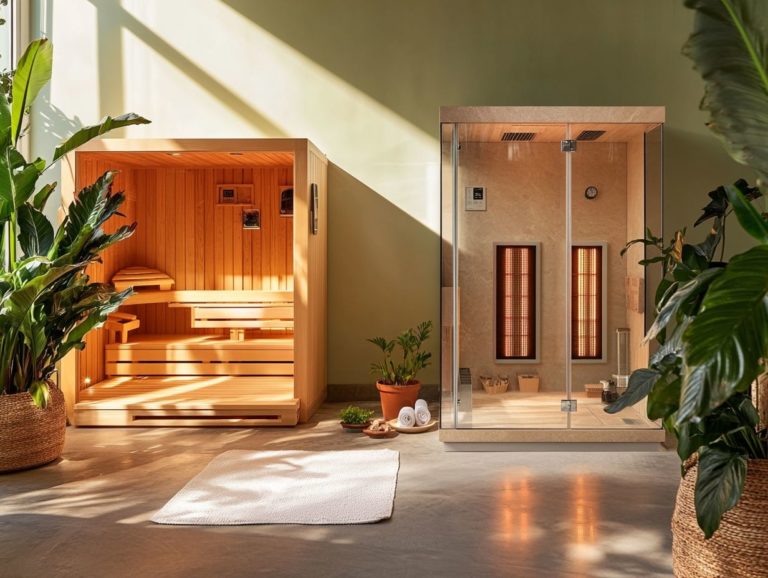
Comparing infrared saunas to traditional saunas reveals intriguing distinctions in their operation, efficiency, and overall user experience. Infrared saunas use advanced technology to emit infrared heat, which penetrates the skin more deeply, offering benefits like enhanced detoxification and reduced muscle soreness. In contrast, traditional saunas rely on a heat source, such as a wood-burning stove or electric heater, to warm the air and create a more humid environment.
Understanding these differences is essential to selecting the sauna option that best suits your needs. Infrared saunas typically operate at 120 F to 150 F, allowing for longer sessions without overwhelming heat. This lower temperature is appealing for those who are heat-sensitive. Traditional saunas operate between 150 F to 195 F, providing that intense, steam-filled atmosphere many enthusiasts crave for an authentic experience.
Both sauna types offer significant health benefits, including improved circulation, enhanced skin health, and stress relief, making them valuable additions to any wellness routine. Users often express differing preferences based on these characteristics, highlighting the importance of understanding how each sauna type works to maximize health outcomes.
Steps for Installing a Sauna
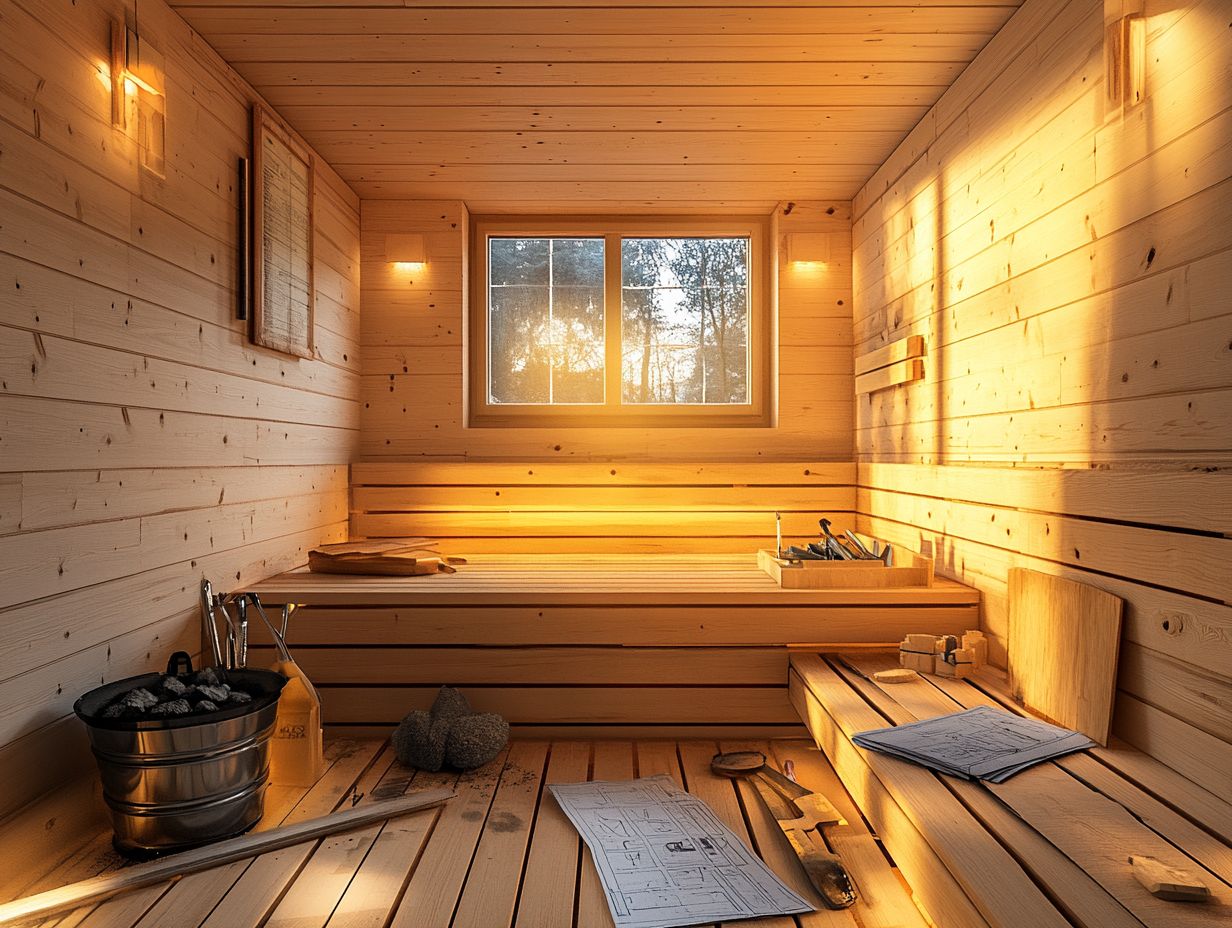
Installing a sauna whether you choose a DIY approach or a pre-made kit entails several essential steps for a successful and enjoyable experience.
Planning and Design
It all begins with meticulous planning and design. Determine the ideal location and type of sauna indoor or outdoor. Choose your materials, such as cedar or hemlock wood, before moving on to constructing the structure.
Building the Structure
After choosing a location and materials, you can begin building the structure. This stage involves careful assembly to ensure stability and safety.
Installing Components
Next, install necessary components like sauna controls and lighting to elevate your experience. Attention to detail during installation is crucial for achieving a safe and visually appealing sauna that you’ll truly enjoy.
Preparation and Materials Needed
Preparation is key to a successful sauna installation, requiring a comprehensive understanding of the necessary materials and tools. Start by gathering essential materials, such as high-quality cedar wood for construction, insulation for optimal heat retention, and the right sauna controls to regulate temperature and humidity.
Meeting electrical requirements is crucial, especially if you re opting for an electric sauna heater; this ensures both safety and functionality during your sauna experience. A well-thought-out layout will enhance usability and elevate your sauna s aesthetic appeal.
To kick off the installation, selecting the right type of wood like Western red cedar or Nordic spruce is vital for durability and moisture resistance. Choosing proper insulation materials, such as fiberglass or foam boards, helps maintain ideal temperatures.
Don t overlook the hardware screws, brackets, and hinges are essential for ensuring the structure s integrity. Integrating electrical components like a heater, thermostat, and lights requires careful planning to comply with safety codes.
Prioritize safety by adhering to electrical guidelines and conducting thorough inspections to prevent hazards. This ensures you can fully relax and enjoy the soothing benefits of your sauna.
Don’t wait start planning your sauna today for a healthier tomorrow!
Building the Sauna Structure
Building your sauna structure is an incredibly rewarding journey that demands careful planning and strict adherence to design specifications. Start by constructing the frame using carefully selected sauna materials, such as cedar wood, which is celebrated for its resilience against moisture and temperature fluctuations.
As you move forward, make sure to install insulation properly to optimize heat retention and elevate your sauna experience. Once the structural build is complete, think about incorporating elements like benches and lighting. Additionally, consider learning what you should wear in a sauna to create a space that is both comfortable and inviting.
The placement of benches is particularly crucial, as it can significantly influence how functional the space is for your needs. Choosing high-quality insulation materials, like fiberglass or reflective barriers, is essential.
These materials help maintain consistent temperatures, ensuring that each sauna session is genuinely enjoyable. Including controls for temperature and humidity levels allows you to tailor your sauna experience to your preferences.
With thoughtful planning and the right materials, your finished sauna will serve as a sanctuary of relaxation and a testament to your craftsmanship and design sensibility.
Electrical and Plumbing Considerations
When you’re installing a sauna, grasping the electrical and plumbing requirements is crucial for ensuring both safety and functionality. If you re opting for an electric sauna heater, make sure your electrical system can handle the heater’s wattage specifications.
You might need to call in a licensed electrician to ensure everything meets safety standards. Plumbing considerations come into play if you plan to add features like a cold plunge or a water supply for steam generation. Additionally, if you’re unsure about how to use the sauna properly, it’s important to learn what you need to know about sauna etiquette, so it’s vital to account for these needs during the installation process.
Properly assessing the amperage and circuit requirements is essential, especially for larger units that might need a dedicated circuit to manage the load effectively. You should also understand the plumbing requirements, including the installation of water lines and drainage systems, to create a seamless user experience.
Incorporating safety measures, such as ground fault circuit interrupters (GFCIs), safety devices that prevent electrical shock, and ensuring adequate ventilation, is equally important. Consulting professionals not only gives you peace of mind but also ensures compliance with local regulations.
This ultimately enhances both the safety and performance of your sauna.
Maintenance and Safety Tips
Maintaining your sauna is key for a safe and enjoyable experience over time. Proper care directly influences both its functionality and longevity.
Regular maintenance should include routine cleaning of the benches, walls, and floors to prevent dirt and bacteria buildup. Inspecting electrical components and ensuring adequate ventilation will greatly enhance the safety of your sauna.
By following these maintenance tips, you ll not only preserve the integrity of your sauna but also maximize your health benefits and overall enjoyment.
Regular Maintenance and Cleaning
Regular maintenance and cleaning are essential practices that keep your sauna in peak condition and elevate your overall experience. Establishing a routine is vital; make it a habit to wipe down surfaces with a damp cloth after each use.
Conduct a more thorough cleaning every few weeks to prevent moisture buildup and minimize the risk of mold. Don’t overlook regular inspections of electrical components and ensuring proper ventilation these steps are critical for your sauna’s safety and longevity.
Incorporating natural cleaning products like vinegar or baking soda can offer a safe and effective way to tackle grime. You might also want to consider scheduling a deeper clean every season, which could involve scrubbing the walls and floors with a soft brush.
Creating a maintenance schedule that includes checks for wood integrity and hardware will help ensure your sauna remains functional over time. By following these practices, you re not just enhancing your relaxation experience; you re also fostering a healthier environment while extending the lifespan of your sauna.
What features are you most excited to add to your sauna?
Safety Guidelines to Follow
Following safety guidelines is essential to ensure a safe and enjoyable sauna experience, safeguarding both you and the sauna itself. Key practices include verifying that all electrical requirements are met before use.
Ensure the sauna is well-ventilated to prevent overheating and stay hydrated throughout your session. Adhering to recommended time limits inside the sauna is vital to mitigate potential health risks, allowing you to fully appreciate the relaxation and health benefits without compromising your wellbeing.
Creating the right environment begins with checking electrical installations, as faulty wiring can lead to dangerous situations. Drink plenty of water before and after your session to replenish fluids lost through perspiration, enhancing your overall health benefits.
A general guideline suggests limiting sauna sessions to about 15-20 minutes for newcomers, while seasoned users may extend their time to around 30 minutes.
By understanding these key practices, you can optimize your sauna experience, making it both enjoyable and safe.
Cost and Time Estimates
Grasping the cost and time estimates associated with sauna installation gives you the power to make well-informed choices regarding your project, whether you re leaning towards a DIY sauna or selecting a sauna kit.
The overall cost fluctuates based on several factors, including the type of sauna be it infrared (a type of sauna that uses light to produce heat), traditional, indoor, or outdoor along with the quality of materials chosen and any extra features you wish to incorporate.
As for installation time, it largely hinges on your experience level and the project’s complexity. DIY installations may take longer than those involving pre-packaged sauna kits. Additionally, it’s important to consider what you should know about sauna licensing to ensure everything is compliant.
Factors That Affect Cost and Time
Several factors significantly influence the cost and time estimates associated with your sauna installation, ultimately impacting your budget and scheduling. The type of sauna you choose be it a DIY sauna or a pre-built sauna kit will greatly affect both your expenses and the duration of the installation.
The quality of materials you select, like cedar or hemlock wood, along with any desired features such as sauna lighting and controls, will also play a vital role in determining the final cost and time commitment necessary for a successful setup. Additionally, knowing what to bring for safe sauna experiences can enhance your overall enjoyment and safety.
Sourcing high-quality materials may raise your initial costs but can lead to enhanced durability and reduced maintenance down the line. Labor considerations are also important; hiring professionals for installation can boost your overall expenses.
Tackling the project yourself might save you some cash, but it could extend your timeline due to a lack of experience. Specific features, such as custom benches or advanced sauna heaters, can further complicate budget estimates, making careful planning essential.
Understanding these dynamics is crucial for making informed decisions that meet your quality and budgetary needs.
Frequently Asked Questions
Can I install a sauna in my home by myself?
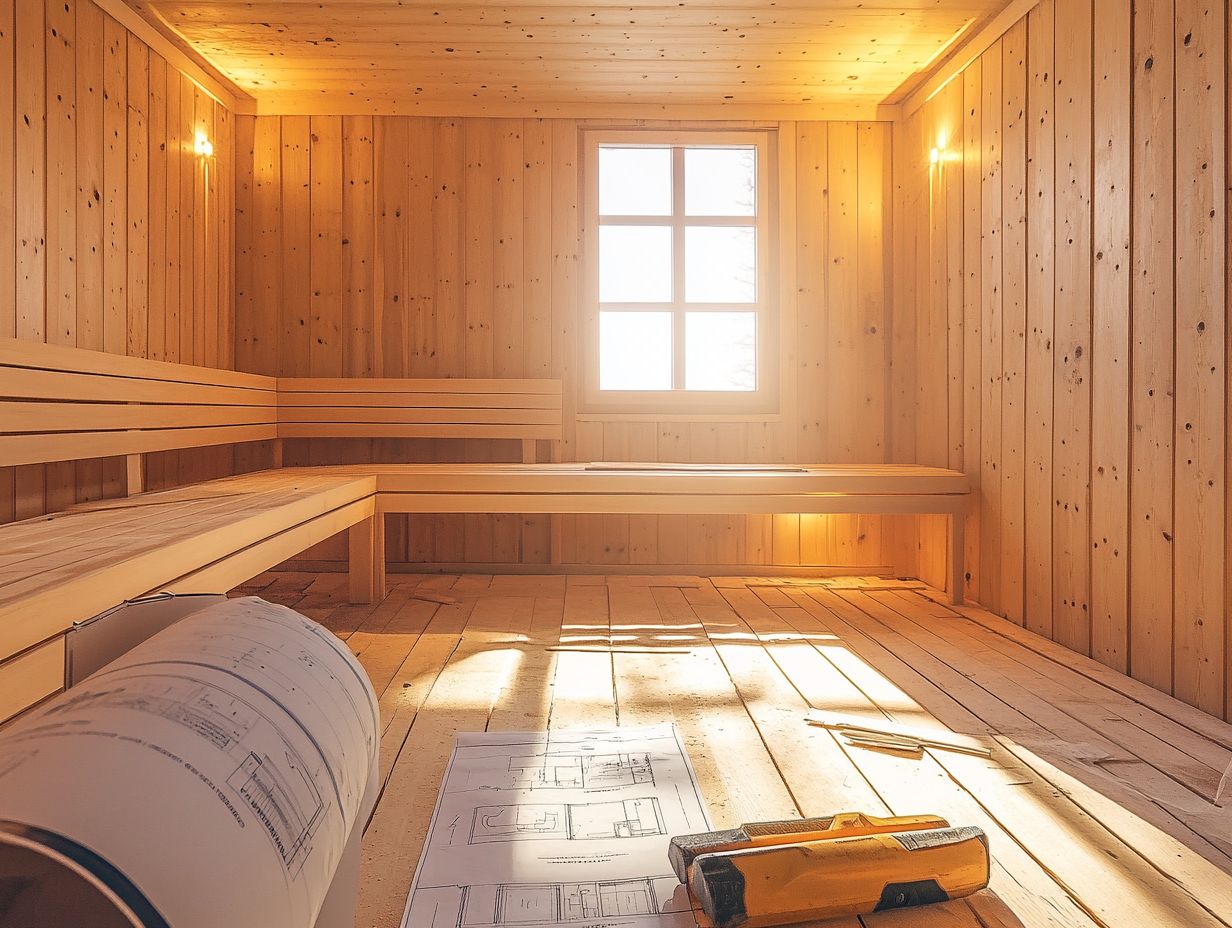
Yes, it is possible to install a DIY sauna in your home. However, it is important to have some knowledge and experience with construction and electrical work to ensure a safe and successful installation.
What materials do I need for a DIY sauna installation?
You will need sauna panels, a heater, rocks, benches, and a door. You may also need insulation, a vapor barrier, and electrical wiring materials if they are not included in the sauna kit.
Do I need a building permit for a DIY sauna installation?
In most cases, you will need a building permit for a sauna installation. Check with your local building department to determine the specific requirements for your area.
How much space do I need for a DIY sauna?
The size of your sauna will depend on your personal preference. As a general rule, you will need at least 4 feet by 6 feet of space, with additional space for changing and relaxation areas.
Start planning your sauna installation today to enjoy the benefits of a home sauna!
Can I install a sauna in any room in my home?
Imagine relaxing in your very own sauna! You can install one in almost any room in your home.
Just ensure there is enough space and good air flow. Avoid putting a sauna in a carpeted room or one with drywall, as these materials can be damaged by heat and moisture.
Do I need any special tools for DIY sauna installation?
Most sauna kits include the necessary hardware and instructions. However, you will need basic tools like a drill, level, and screwdriver for installation.
It’s also helpful to have a partner to assist you during the process.


