“Essential Tools for DIY Sauna Installation”
Building your own sauna is an exhilarating DIY endeavor that can elevate both your home and personal well-being.
To achieve a successful DIY installation, you ll need the right tools and a solid understanding of the installation process. This guide outlines the essential categories of tools required for each stage of sauna construction from measuring and planning to electrical installation and those final finishing touches.
You ll also find valuable safety gear to keep you protected throughout the entire sauna construction journey.
Let s jump in and create your dream sauna retreat together!
Contents
- Key Takeaways:
- 1. Measuring and Planning Tools for Your Sauna
- 2. What Are the Key Measurements for Your Sauna?
- 3. How Can These Tools Help with Planning the Layout of Your Sauna?
- 4. Construction Tools for Your Sauna
- 5. Electrical Tools for Your Sauna
- 6. Finishing Tools
- 7. Additional Tools for Customization
- 8. Safety Gear and Equipment
- Frequently Asked Questions
- What are the essential tools needed for a DIY sauna installation?
- Do I need any specialized tools for a DIY sauna installation?
- Can I use a regular saw for cutting sauna boards?
- How important is a stud finder for a DIY sauna installation?
- Do I need a drill for a DIY sauna installation?
- Can I use a regular hammer for a DIY sauna installation?
Key Takeaways:
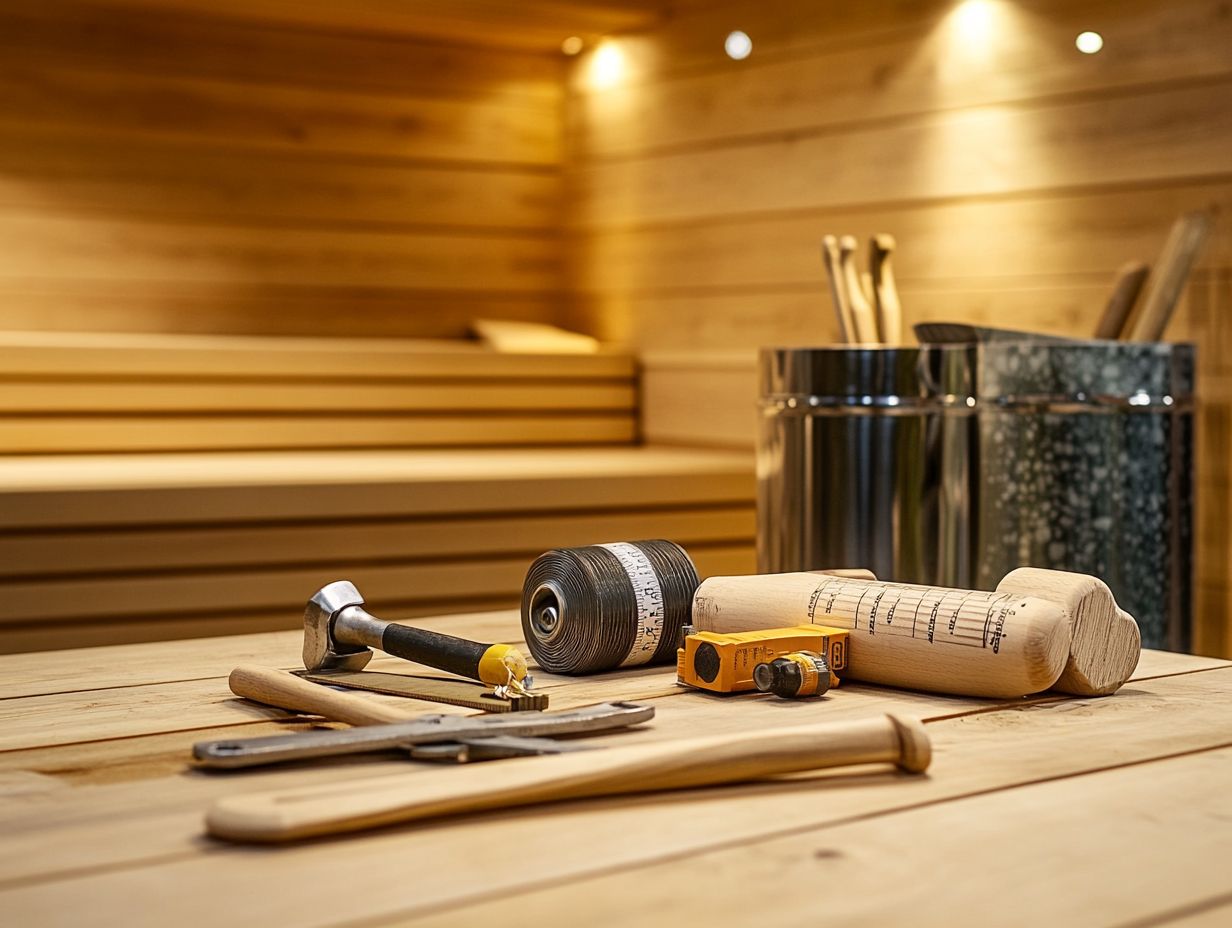
- Measuring tools help you install your sauna accurately and efficiently.
- Construction tools are essential for building a sturdy sauna.
- Electrical tools aid in safely wiring the sauna for lighting and heating.
1. Measuring and Planning Tools for Your Sauna
Installing an indoor sauna is an exciting journey. Understanding measuring and planning tools is key for creating a space that blends comfort, safety, and efficiency.
Proper measurements are crucial. They help you select the right size and materials for an optimal layout that fits your space and insulation needs.
These tools also help account for vital features, such as proper ventilation, privacy considerations, and the desired temperature settings, enhancing your overall sauna experience.
By using various measuring tools like trusty tape measures for straightforward tasks and laser distance meters for quicker assessments you’ll streamline the planning process for your sauna.
When selecting the location for your sauna, consider:
- Proximity to electrical outlets for sauna heating systems.
- Adequate ventilation to maintain air quality and humidity levels.
Good placement ensures privacy and easy access. This makes your sauna experience more enjoyable.
2. What Are the Key Measurements for Your Sauna?
The key measurements for your sauna are crucial to ensuring that the space is both functional and comfortable. Essential dimensions include the overall size of the sauna, the height of the ceiling, and the width of the benches.
Standard sauna dimensions typically range from smaller designs for one or two people to larger configurations for bigger groups. The ceiling height should ideally reach at least 7 feet for optimal performance and comfort.
Bench width is equally important, often recommended at around 2 feet, ensuring adequate seating while maintaining comfort.
If you’re considering customization, adding your preferences like extra space for accessories or adjustable bench heights will enhance usability and overall experience.
Understanding insulation thickness helps keep your sauna warm, while properly sized ventilation openings allow for fresh air circulation without compromising heat retention. This will guarantee a safe and relaxing experience tailored just for you.
3. How Can These Tools Help with Planning the Layout of Your Sauna?
Utilizing the right planning tools can greatly enhance the layout of your sauna. This ensures the space is optimized for both comfort and functionality while adhering to safety standards, including electrical safety.
These tools help you visualize the design, considering the placement of benches, heaters, and ventilation systems. This creates an inviting sauna environment.
Incorporating advanced design software and intuitive layout templates enables a comprehensive approach to sauna design. By thoughtfully planning each aspect from seating arrangements to accessibility features you enrich the overall experience, transforming it into a personal oasis.
Careful consideration of privacy elements further elevates the sauna setting. This allows you to unwind without distraction and enjoy your personal space. Using planning tools contributes to a harmonious space that promotes well-being and relaxation.
4. Construction Tools for Your Sauna
The construction of a sauna requires a precise set of tools. These tools empower you to assemble various materials, resulting in a robust and visually appealing structure.
These tools ensure precision, which is essential for the sauna’s overall performance and aesthetic charm. For example, levels and measuring tapes are essential for achieving the correct dimensions.
A quality saw ensures clean cuts, reducing the risk of splinters. Choosing sauna kits can significantly simplify your project, offering a cohesive package of components.
By selecting high-quality materials in these kits, such as cedar or hemlock, you boost durability and performance. This allows you to savor your serene sauna retreat for years to come.
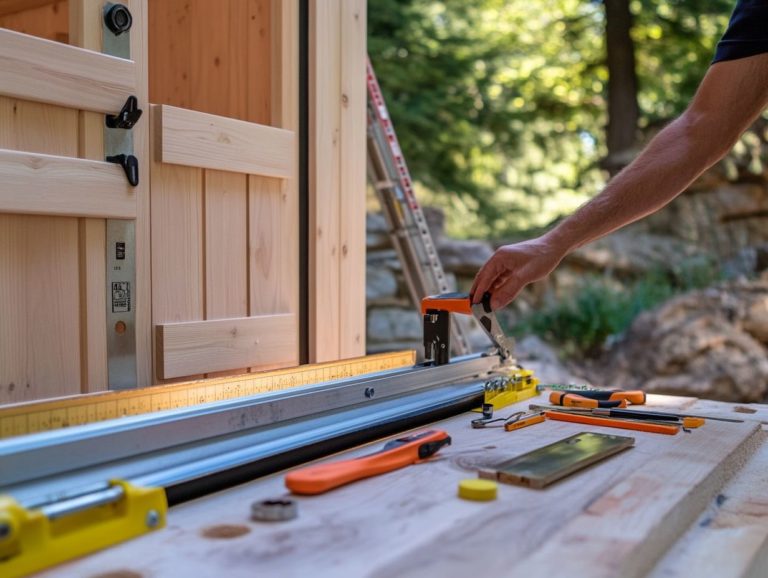
What Are the Essential Tools for Building Your Sauna?
Building a sauna requires specific essential tools to ensure high-quality assembly. These tools enhance durability and functionality.
A circular saw is crucial for making precise cuts in wood. Maintaining the sauna’s heat retention and overall performance depends on this.
Using a level helps ensure surfaces are even, preventing future structural issues. A nail gun can speed up assembly, allowing for quicker construction without sacrificing strength.
Also, don’t overlook measuring tapes and square tools; they are vital for achieving accurate dimensions. Lastly, the trusty hammer provides the necessary force to secure components tightly.
To source quality tools, visit local hardware stores and specialty sauna outlets. Dive into online reviews or seek recommendations to confidently choose reliable brands.
Start planning your perfect sauna today with these tools!
How Can These Tools Help with the Construction Process of Your Sauna?
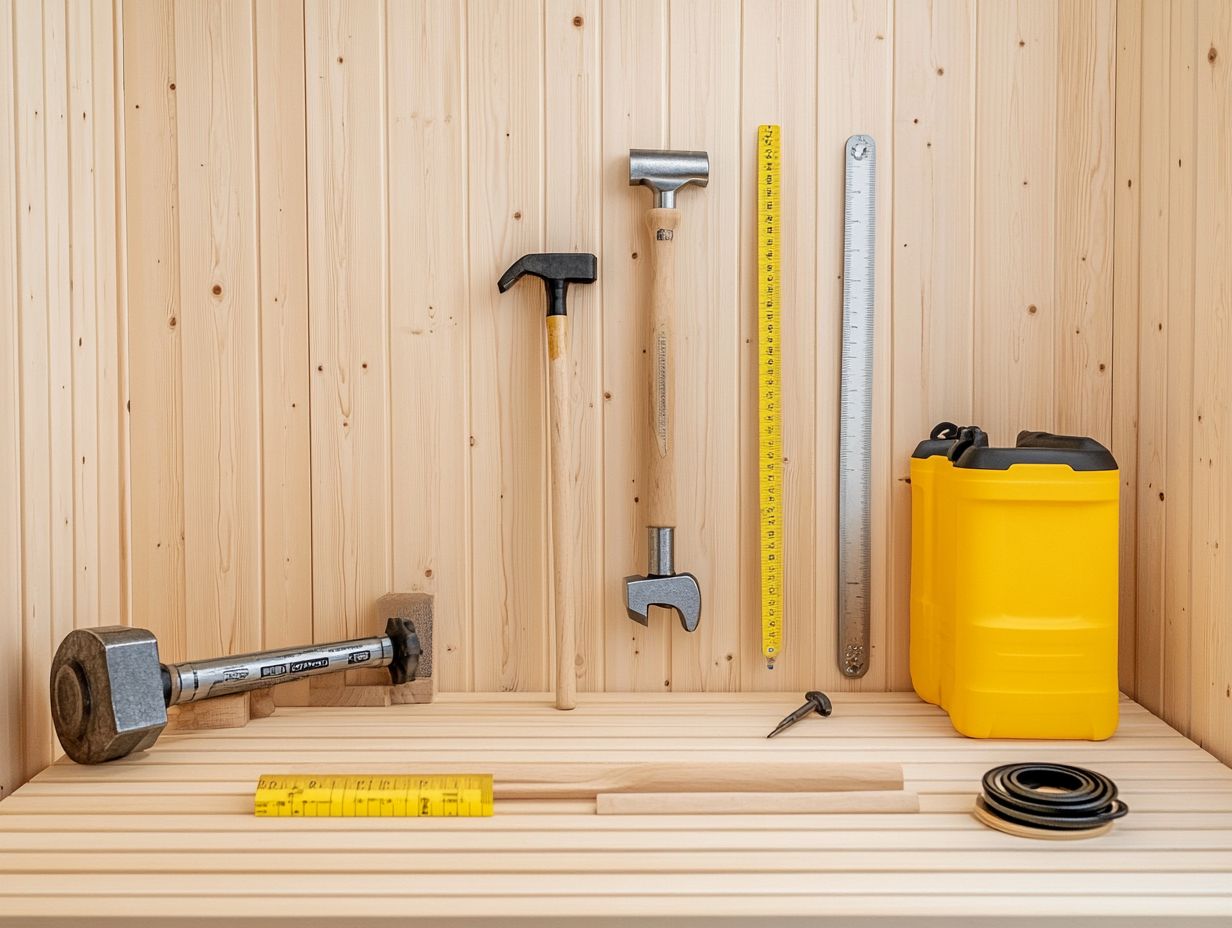
Using the right construction tools can greatly enhance the efficiency of your sauna assembly process. This results in a streamlined and effective installation for your new sauna. These tools allow for precise cuts, accurate measurements, and secure connections. This ensures that each component fits together seamlessly, which is essential for maintaining your sauna s insulation, comfort, and overall structural integrity. By leveraging high-quality tools, you can achieve a professional finish while simplifying the construction process.
When tackling your sauna project, having a reliable circular saw is a game changer for cutting wooden panels to size. A level ensures that your walls remain perfectly vertical. A common challenge during sauna assembly is alignment; using clamps can help stabilize components before securing them, significantly reducing the risk of misalignment. A tape measure with both metric and imperial units can make communication with suppliers easier and assist in precise planning for your sauna materials.
By emphasizing careful planning alongside these tools, you not only save time but also create a sauna that can stand the test of time, enhancing your relaxation experience.
5. Electrical Tools for Your Sauna
Installing electrical components in a sauna is no small task; it requires specialized tools and a commitment to safety protocols, especially regarding electric sauna heaters. Good electrical performance is key to enjoying your sauna, whether it’s traditional or infrared, and it sets the overall ambiance of your relaxation space.
A multimeter is invaluable here; it measures voltage and current, helping ensure everything works correctly for your sauna’s electrical system. This tool allows you to troubleshoot or verify the system’s functionality before you turn on your sauna for the first time.
Wire strippers are equally important for sauna installation, helping you prepare and connect wiring securely while preventing fraying. You ll also want to use circuit testers, which are crucial for assessing the safety of your sauna s electrical setup. This gives you peace of mind that everything operates smoothly.
Always prioritize safety; adequate ventilation is vital to prevent overheating and minimize electrical hazards. Adhering to local electrical codes isn t just a legal necessity it s fundamental for crafting a safe and enjoyable sauna experience.
What Are the Necessary Tools for Installing Electrical Components in a Sauna?
Installing electrical components in a sauna requires specific tools designed for safety and efficiency. It’s essential to be thoroughly equipped before starting the project.
Without the right tools, you risk complicating matters and potentially endangering yourself. For instance, insulated pliers are vital for gripping and twisting wires, while a multimeter is essential for testing voltage and current levels.
Understanding safety protocols is crucial. Using personal protective equipment like gloves and goggles is critical to preventing accidents.
Compliance with local regulations is equally important. This ensures that you meet building codes and protect users from potential electrical hazards. By approaching the installation methodically and responsibly, you achieve effective performance while prioritizing safety in your sauna project.
How Can These Tools Help with the Electrical Installation Process?
Specialized electrical tools can greatly improve your sauna installation. They ensure that each component is connected safely for the best performance.
These tools assist you in measuring current accurately, checking connections, and troubleshooting issues. This makes the installation experience seamless.
Using the right tools minimizes the risk of electrical hazards, creating a safer environment for you and future users.
These tools can also identify bad wiring or weak connections. For example, a multimeter is a tool that measures electrical current; it checks voltage levels and helps diagnose common problems like short circuits or irregular current flow.
During installation, it s essential to follow safety protocols. Always turn off power at the breaker box and ensure no live wires are present. If electrical issues arise, seek professional guidance or consult available online resources for quick solutions.
6. Finishing Tools
The finishing touches you apply to your sauna are crucial for achieving a professional, polished look. The right tools are essential for visual appeal and ongoing upkeep.
When selecting finishes for sauna environments, choose products designed to withstand high humidity and heat. Common options like natural oils, stains, and varnishes not only enhance the wood s beauty but also protect against moisture damage.
Regular maintenance is vital for preserving your sauna’s look and functionality. Routine cleaning and reapplying protective finishes ensure your sauna remains inviting and functional for years to come.
What Are the Essential Tools for Finishing a Sauna?
Completing a sauna project requires specific tools that enhance its aesthetic charm and ensure easy maintenance for the long term.
A quality chisel set is essential for precise detailing. It allows you to create clean joints and finished edges that showcase your craftsmanship.
A staple gun is useful for securing fabric or insulation in key areas, improving thermal efficiency.
Don t overlook sealants and varnishes; they provide a moisture barrier that protects the wood from wear and decay. When used correctly, these finishing tools contribute to a visually stunning environment and enhance the sauna’s durability.
This careful approach ensures that with routine maintenance, your sauna remains a sanctuary for relaxation and wellness for many years. This enhances your overall health and comfort.
How Can These Tools Help with Achieving a Professional and Polished Look?
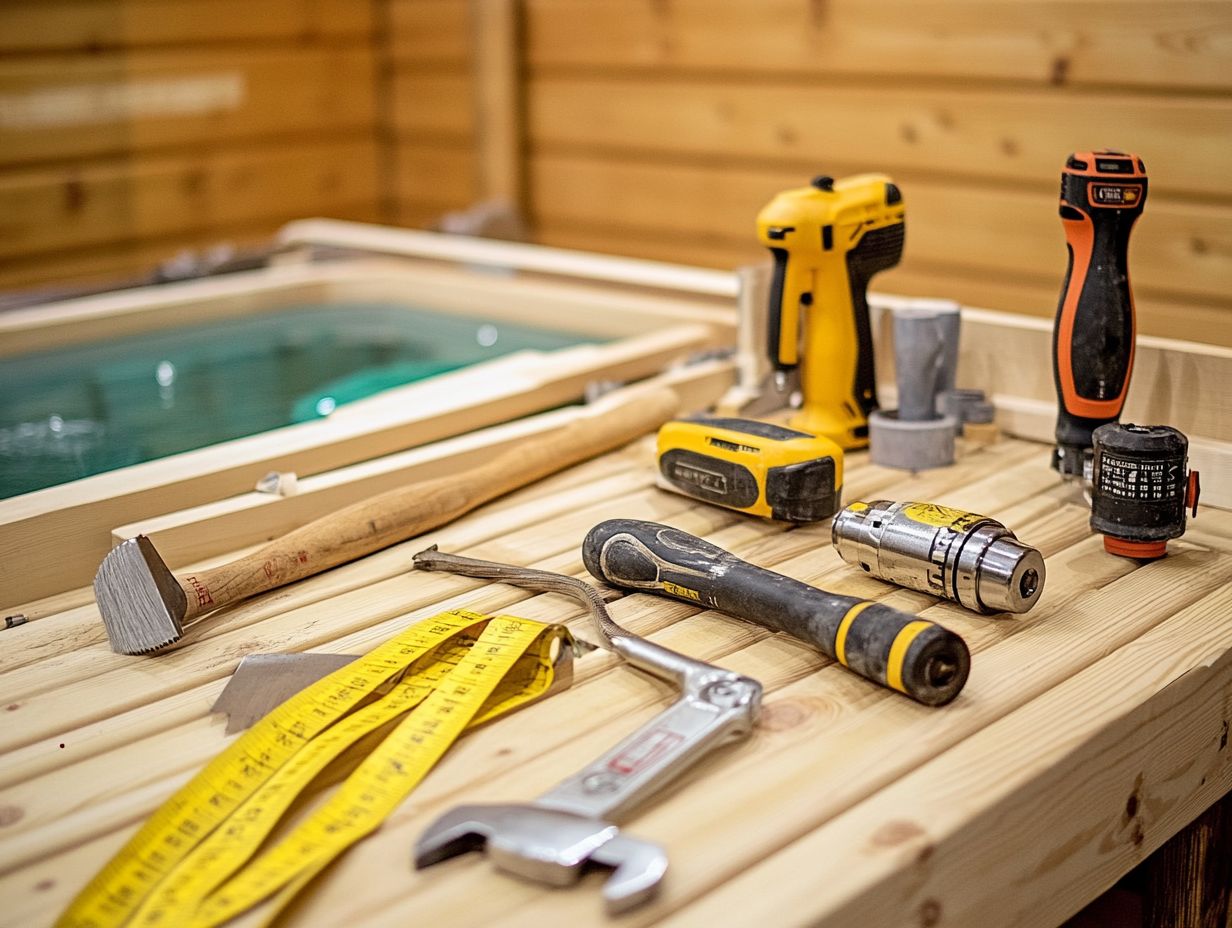
Using the right finishing tools is key to a polished sauna. They enhance its look while keeping its charm for years to come.
These tools help create smooth surfaces and apply finishes that protect the wood while showcasing its natural beauty.
A polished sauna doesn t just look fantastic; it also makes maintenance and cleaning a breeze. This contributes to a more enjoyable experience.
The impact of choosing high-quality brushes, rollers, and sprayers can be significant. They facilitate an even application of stains and sealants, ensuring that every nook and cranny of the sauna receives the protection it deserves.
This protection is vital for maintaining a welcoming space.
It’s wise to adhere to best practices, such as sanding the wood before application and ensuring proper ventilation when working with fumes.
Regular upkeep is equally important. Routine cleaning with gentle, non-abrasive solutions preserves your sauna s aesthetic and extends its lifespan.
This consistent attention to detail boosts visual appeal. It also cultivates a welcoming and relaxing environment for everyone who steps inside, reinforcing the sauna’s role as a personal retreat.
7. Additional Tools for Customization
Customizing your sauna lets you shape the experience exactly to your liking. Having the right additional tools can elevate both functionality and comfort.
Explore exciting tools for customization like routers that allow you to carve unique designs into wooden surfaces.
LED lighting kits can set the perfect mood, while accessories like sauna rocks and aromatherapy diffusers enrich your sensory experience.
By integrating these distinct features, you can transform your sauna into a personal retreat that mirrors your style. This amplifies your overall relaxation.
Incorporating sound systems immerses you in calming music or guided meditations. This promotes a deeper state of tranquility.
Adjustable heating elements allow you to set personalized temperature preferences. This caters to the varying tastes of users.
Heating panels that use infrared light to warm your body directly offer enhanced health benefits. Adding a customizable control panel enables seamless management of all these features.
This provides an intuitive way to tweak settings on the fly.
With these thoughtful enhancements, any sauna enthusiast can craft a sanctuary perfectly tailored to their relaxation needs. This makes it an ideal space for health and wellness.
What Are Some Optional Tools for Customizing a Sauna?
Optional tools for customizing your sauna can significantly enhance both its functionality and aesthetic appeal.
These tools offer unique features that personalize your experience. For instance, programmable thermostats allow you to set the perfect temperature.
Meanwhile, built-in sound systems provide entertainment that keeps the ambiance lively.
Decorative elements like distinctive wooden accents and personalized lighting can transform your sauna into a space that truly reflects your tastes and preferences.
Integrating aromatherapy diffusers can elevate your relaxation with soothing scents. This creates an atmosphere that promotes well-being.
You might also consider installing digital control panels for effortless adjustments. This ensures that all settings are just a fingertip away.
Ergonomic seating options further enhance your comfort, allowing you to enjoy longer sessions without any strain.
If you love entertaining, an external deck or lounge area adjacent to the sauna can seamlessly connect your indoor experience with nature.
This encourages social interactions and extends your leisure time.
These thoughtful additions not only make your sauna experience more enjoyable but also create a harmonious blend of functionality and beauty in your personal retreat.
Start customizing your sauna today for the ultimate relaxation experience!
How Can These Tools Help with Adding Unique Features to a Sauna?
Using the right tools for customization allows you to add unique features to your sauna, enhancing both its functionality and your user experience! Imagine transforming your sauna into a personal oasis with LED lighting kits that create a soothing environment and built-in speakers that play music, making your relaxation sessions a delightful escape.
These tools elevate your overall experience while providing avenues for personal expression and creativity in your sauna design. Incorporating features like aromatherapy dispensers personalizes the atmosphere, allowing you to tailor scents to match your mood and preferences. Advanced temperature control systems offer you the ability to make precise adjustments, ensuring each session is perfectly comfortable.
With these enhancements, you can transform your sauna into a personal sanctuary, a unique retreat from the stresses of daily life. By embracing these innovative tools, you elevate your sauna experience and infuse your personality into every element of design and functionality.
8. Safety Gear and Equipment
Ensuring your safety during the DIY installation of a sauna is absolutely crucial! Equipping yourself with the right safety gear protects you against potential hazards while working with tools and electrical components.
Think of gloves for hand protection, safety glasses to guard against flying debris, and hard hats if your project involves any construction work. Investing in high-quality safety equipment shields you during installation and cultivates a safe working environment, allowing you to focus on crafting a sauna that offers relaxation and privacy.
Non-slip footwear is essential to help prevent falls, especially when maneuvering heavy panels or equipment. It’s wise to secure your work area by clearing away unnecessary materials and ensuring ample lighting to avoid accidents.
Familiarize yourself with proper tool handling and use extension cords safely to boost your safety measures. Don’t delay in securing the right safety gear your well-being depends on it! Remember to take regular breaks to stay alert and keep a first-aid kit on hand to quickly address any minor injuries, ensuring your installation process remains smooth and secure, especially when dealing with electrical aspects of your sauna.
What Are the Necessary Safety Gear and Equipment for DIY Sauna Installation?
The necessary safety gear and equipment for your DIY sauna installation are crucial for both your well-being and the project’s integrity! Key items you ll want to have on hand include:
- Cut-resistant gloves to safeguard your hands,
- Proper ventilation to ensure safety during assembly,
- Safety goggles to shield your eyes from debris,
- Dust masks to keep harmful particles at bay.
Proper footwear and hard hats provide additional protection in a construction setting, allowing you to create a beautiful sauna without safety concerns weighing on your mind. Consider the design and size of your sauna as well.
Using kneepads prevents discomfort and injury when working on the floor, and don t underestimate the importance of hearing protection when operating power tools that crank up the noise! Effective safety measures start with not just having the right gear, but also knowing how to use it properly. For example, ensure your gloves fit snugly to enhance dexterity, which is essential during installation.
Regularly inspect your equipment for wear and tear to boost safety, promoting longevity and reliability as you tackle your projects. Create a dedicated workspace that s free of clutter to significantly contribute to a smoother and safer installation process, particularly when working with materials like cedar or poplar for your sauna.
How Can These Tools Help with Ensuring the Safety of the Installer?
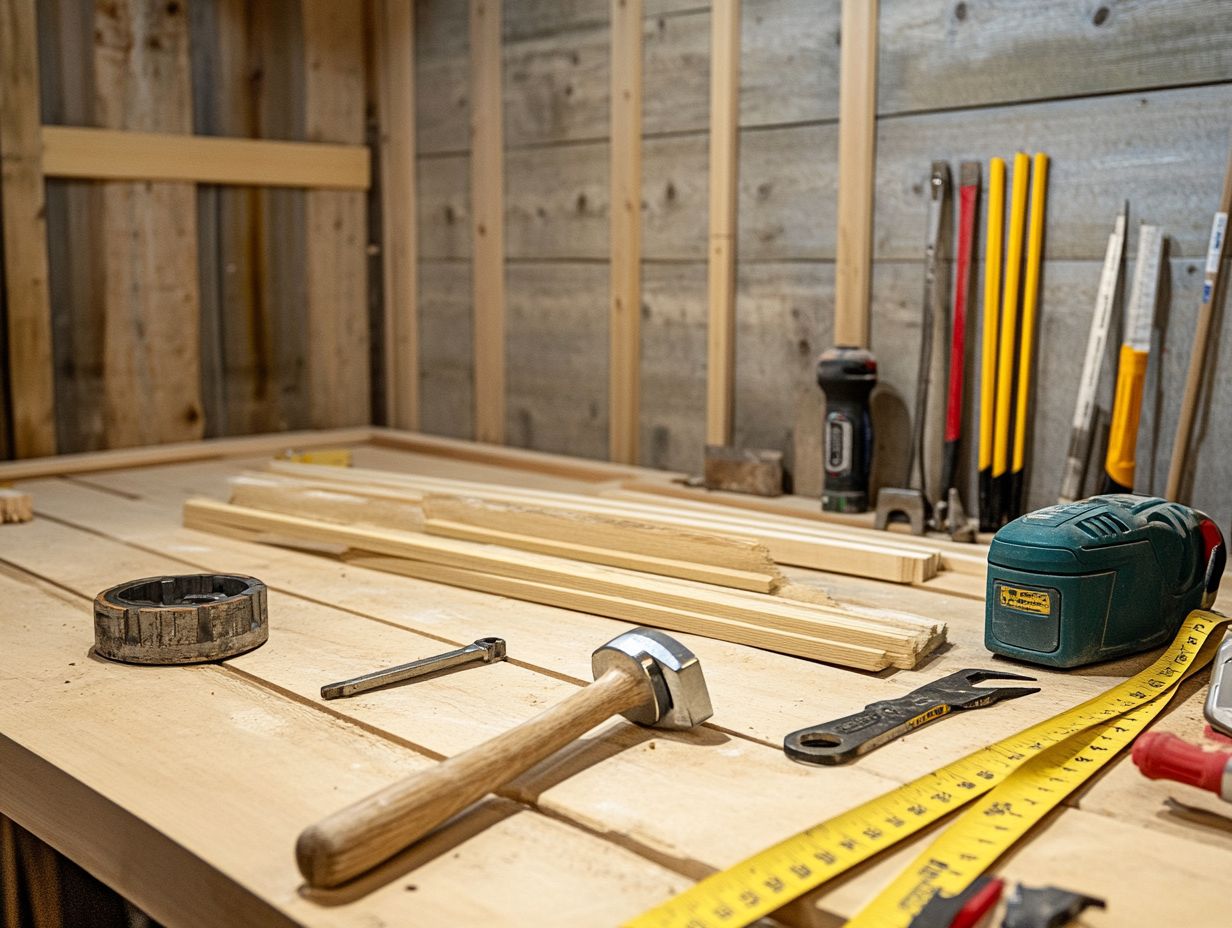
Using the right safety tools is essential for ensuring your safety during sauna installation. This significantly reduces the risk of accidents and injuries. Proper safety gear protects you from physical hazards and helps you stay careful and safe.
Utilizing equipment like harnesses when working at height and ensuring proper ventilation (ensuring enough airflow) when handling electrical components keeps your workspace safe and secure while effectively completing your projects. This is vital for enjoying the health benefits of your sauna.
Integrate practices such as regular safety audits and training sessions to deepen your awareness of potential hazards. Encourage your team to communicate openly about safety concerns. This collaboration fosters a responsible atmosphere where everyone looks out for each other s well-being, especially when considering various sauna options.
Implement checklists tailored specifically to sauna installation as a valuable reminder to stick to necessary precautions, thereby minimizing risks. This is crucial for ensuring proper maintenance and smooth operation.
Don t wait! Prioritize your safety tools now. By cultivating a proactive safety culture, you protect yourself and contribute to the effective execution of the project, enhancing the overall comfort and aesthetic appeal of your sauna.
Frequently Asked Questions
What are the essential tools needed for a DIY sauna installation?
The essential tools for a DIY sauna installation include:
- Stud finder
- Level
- Measuring tape
- Circular saw
- Hammer
- Drill
- Screwdriver
- Rubber mallet
Having the right tools is key for a successful setup.
Do I need any specialized tools for a DIY sauna installation?
No, you do not need specialized tools for a DIY sauna installation. The essential tools listed above should be enough for the installation process, as long as you follow the proper instructions.
Can I use a regular saw for cutting sauna boards?
Yes, you can use a regular circular saw for cutting sauna boards. However, it is recommended to use a saw blade specifically designed for cutting wood in high temperatures to ensure optimal performance.
How important is a stud finder for a DIY sauna installation?
A stud finder is crucial for a DIY sauna installation. It helps locate the studs behind the sauna walls, ensuring proper and secure installation of the sauna boards and enhancing the insulation and overall efficiency.
Do I need a drill for a DIY sauna installation?
Yes, a drill is essential for a DIY sauna installation. It is used for drilling holes and screwing in the sauna boards. A cordless drill is recommended for easier maneuverability, especially in confined spaces.
Can I use a regular hammer for a DIY sauna installation?
Yes, a regular hammer can be used for a DIY sauna installation. However, it is recommended to use a rubber mallet to avoid damaging the sauna boards during installation, preserving the design and integrity of the wood.

