“Understanding the Costs of DIY Sauna Installation”
Building your own sauna is an exciting project that enhances your home and boosts your health! This guide explores the advantages of opting for a DIY sauna instead of professional installation, allowing you to save money while adding your unique flair.
You ll find a breakdown of the factors that influence installation costs, a list of essential materials and tools you ll need, and a step-by-step guide to help you create your oasis. You ll also find tips to help manage your budget. Now is the perfect time to create your sanctuary!
Contents
Key Takeaways:
- DIY saunas offer cost savings and a sense of accomplishment.
- Factors such as size, location, and materials can affect the cost of installing a sauna.
- To save money on DIY installation, consider alternative materials and cost-saving techniques.
The Benefits of a DIY Sauna
Building a DIY sauna presents a wealth of advantages that you can truly appreciate, such as significant cost savings, a personalized design that reflects your taste, and the luxury of enjoying health benefits associated with regular sauna use all from the comfort of your own home.
Whether you choose an indoor or outdoor sauna, crafting a custom space allows you the flexibility to select materials and sizes that align perfectly with your specific needs. Increasingly, homebuyers are on the lookout for properties that include a sauna, which enhances property value and adds a unique selling point.
With a DIY approach, you can achieve this without the burdensome installation costs typically associated with professional services.
Why Choose a DIY Sauna over Professional Installation
Opting for a DIY sauna rather than professional installation can lead to significant savings while offering you the flexibility to customize your personal spa experience right at home.
By taking the installation into your own hands, you can sidestep those hefty labor fees that often come with hiring experts, which can easily amount to hundreds or even thousands of dollars.
The assembly process for a sauna kit is designed to be intuitive and straightforward, complete with clear instructions and all the necessary components, making it accessible even with limited construction experience.
This hands-on approach not only saves you money but also cultivates a profound sense of accomplishment and ownership. Building your own sauna transforms the experience into a fulfilling project, ultimately enriching your wellness space and enhancing your overall enjoyment.
Factors that Affect Sauna Installation Costs
Understanding the factors that influence sauna installation costs is essential for anyone considering this investment, whether opting for a pre-made sauna or a custom sauna.
Key elements such as size, the type of sauna, labor expenses, and the materials needed will significantly impact your overall budget. Furthermore, aspects like electrical work (installing wiring and outlets) and plumbing requirements (setting up water supply and drainage) are crucial in determining the installation costs for both indoor and outdoor saunas. Understanding sauna safety is essential, prompting you to evaluate your options with care and precision.
Size and Type of Sauna
The size and type of sauna you choose be it an infrared sauna or a steam sauna are crucial in determining your installation costs and space requirements.
If you opt for a larger indoor sauna, be prepared for more extensive plumbing or electrical work, which can significantly affect your total expenses. On the other hand, a compact outdoor sauna may be more budget-friendly regarding installation, but it might require additional landscaping or a proper foundation.
Each sauna style comes with its own set of advantages. For example, infrared saunas heat up quickly and can be placed almost anywhere, offering versatility for various home spaces. In contrast, steam saunas create a luxurious ambiance and deliver notable health benefits, but they typically require more upkeep.
As a homeowner, it s essential to consider how these factors align with your lifestyle, available space, and budget constraints to make a well-informed decision.
Location and Accessibility
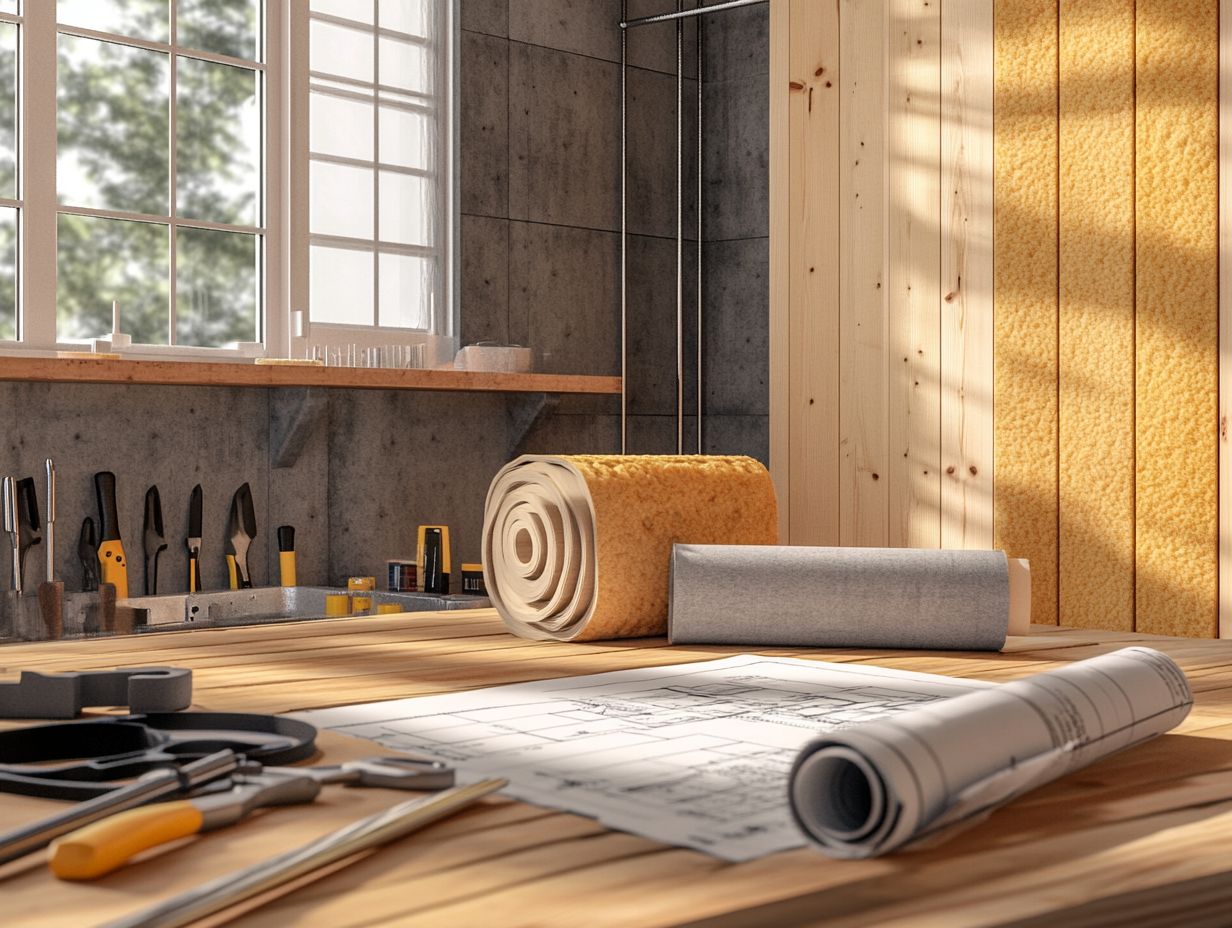
The sauna’s location, whether indoors or outdoors, greatly affects the installation process. It also influences the overall costs.
Consider the accessibility of the installation site; it plays a vital role in planning and labor expenses. A location that s easy to reach can speed up materials delivery, requiring less manpower and ultimately lowering your costs.
A more remote site may demand careful planning to transport equipment, leading to increased truckloads and labor fees. Specific site conditions, such as terrain and existing structures, can complicate installation and extend project timelines.
In the end, selecting the right location not only simplifies sauna installation but also enhances the overall efficiency and cost-effectiveness of the project, especially when you understand the physics of sauna heat.
Materials and Tools Needed for DIY Sauna Installation
A successful DIY sauna installation depends on your careful selection of materials and tools. Consider various wood types like cedar, redwood, hemlock, pine, and spruce. Each provides distinct advantages that enhance both the construction and ambiance of your sauna.
Your choices will influence the aesthetic appeal and overall experience as you create your personal retreat.
Essential Materials for Building a Sauna
When building a sauna, essential materials like quality wood, insulation, and components for electrical work and plumbing are vital for optimal performance and safety.
Selecting the right wood is crucial. Different species enhance the sauna’s aesthetic and influence how well it keeps heat inside and how well it resists water damage. For example, cedar is often favored for its natural oils that resist decay and emit a delightful aroma.
Proper insulation traps heat efficiently, ensuring your sauna is enjoyable and energy-efficient. It s wise to engage professionals for electrical and plumbing work to navigate the complexities involved. Adequate wiring for heating elements and proper drainage for steam or condensation are essential for safety and longevity.
Recommended Tools for Sauna Installation
Equipping yourself with the right tools is essential for a successful DIY sauna installation. Both power tools and hand tools will streamline the construction process.
Without the proper equipment, tasks can become more challenging and may compromise the quality of your sauna. Essential tools, like a circular saw, are critical for making precise cuts, while a drill is necessary for securing joints and fixtures. A level ensures everything is perfectly aligned, crucial for both aesthetics and functionality.
Don’t overlook items such as measuring tapes, safety goggles, and a stud finder; each plays a vital role in creating a seamless installation experience, transforming your vision into a beautifully finished sauna retreat.
Step-by-Step Guide to DIY Sauna Installation
Ready to create your dream sauna? Meticulous planning and execution are your keys to success! Follow these steps for a smooth installation: prepare the space, frame, and construct the sauna walls and ceiling.
Don’t overlook the installation of the sauna heater and essential finishing touches to complete your project. Each step is vital to ensure your sauna is both functional and a luxurious retreat, and understanding the benefits of DIY sauna maintenance can make a significant difference.
Preparing the Space and Framing the Sauna
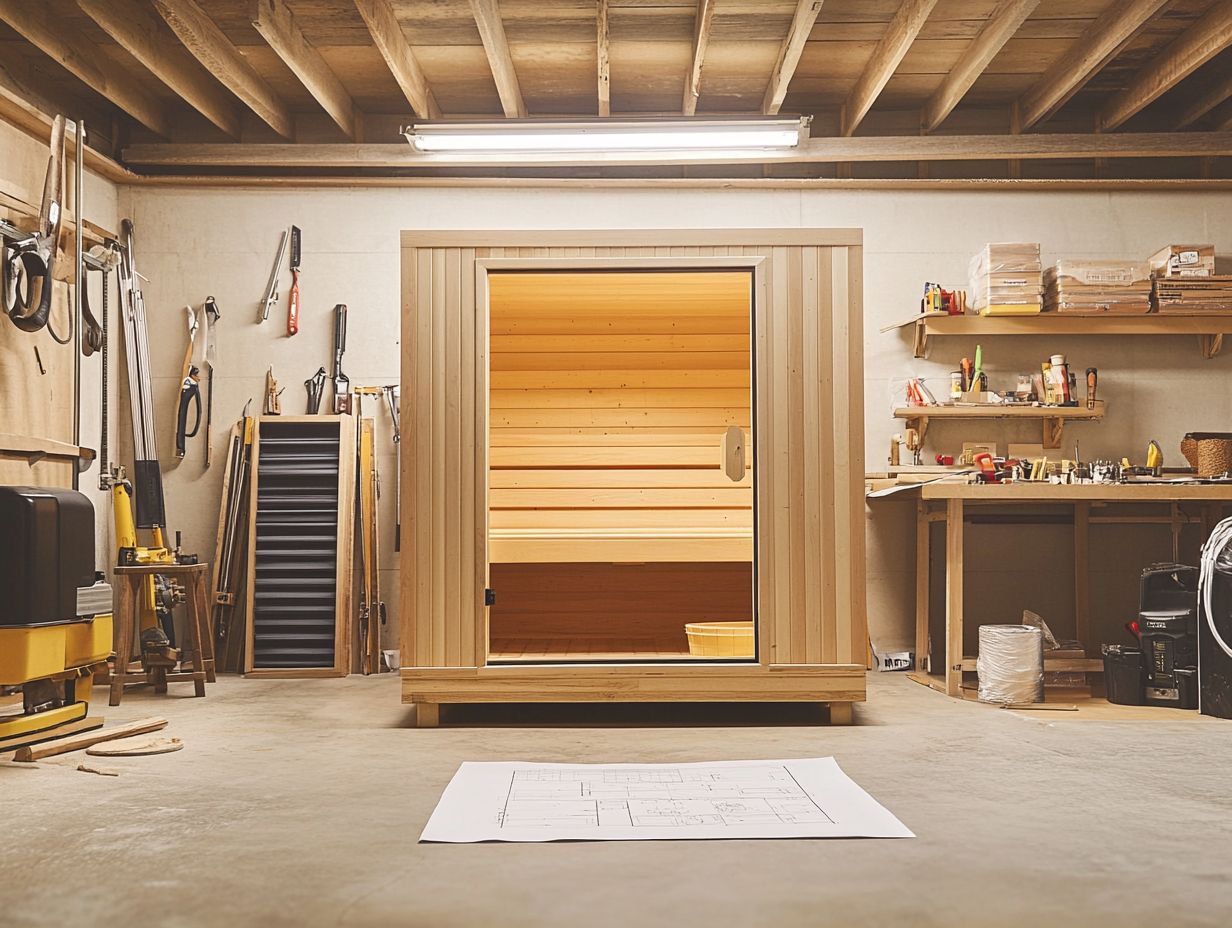
Preparing your space for a sauna requires a thoughtful assessment of your area. Evaluate the available floor space and ensure you meet size considerations. This first step is crucial. Getting the dimensions right will make your sauna safer and more enjoyable.
Good framing is key. Carefully building the structure will support the design and functionality of the sauna. Proper framing ensures that the sauna s walls and ceiling can withstand inevitable temperature fluctuations.
Also, consider electrical and plumbing needs during this stage. This will streamline the installation process, making it smoother and more efficient.
Installing the Sauna Walls and Ceiling
Installing sauna walls and ceiling is a crucial step that demands your careful attention to wood selection and insulation. This ensures not only energy efficiency but also an enjoyable sauna experience.
Start by choosing the right wood, as different species offer varying degrees of durability, heat retention, and aromatic qualities. Softwoods like cedar and hemlock are favored for their resistance to warping and bacteria, greatly enhancing the longevity of your sauna.
Good insulation is key. It keeps your sauna warm and saves energy. Proper insulation also minimizes the risk of moisture damage, preserving the structural integrity of your sauna.
Thoughtful installation techniques will further enhance the inviting ambiance, transforming your indoor sauna into a true sanctuary for relaxation.
Adding the Sauna Heater and Finishing Touches
Adding the sauna heater and putting those final touches on your DIY sauna marks the exciting conclusion of your installation journey. This step ensures that every electrical detail has been safely executed, setting the stage for an effective and enjoyable experience.
This phase does more than just solidify functionality; it also elevates the overall aesthetic appeal of your sauna space, whether it be an outdoor sauna or indoor sauna. As you navigate through the installation process, it s crucial to prioritize safe electrical practices think properly rated materials and secure connections.
Add fun design elements like decorative panels and ambient lighting to make your sauna feel special! By maintaining a strong focus on safety, you can be confident that your sauna will serve as a reliable source of relaxation.
Tips for Saving Money on DIY Sauna Installation
When planning your DIY sauna installation, you can employ several effective strategies to save money on installation costs. Wondering how to save on your sauna project? Explore alternative materials!
Alternative Materials and Cost-Saving Techniques
Exploring alternative materials can significantly lower the costs of your DIY sauna project, while smart cost-saving techniques help you manage ongoing maintenance expenses.
Consider using materials like bamboo, which is not only sustainable but also remarkably durable. This choice could transform your budget without sacrificing quality. Recycled wood is another excellent option, providing unique character and warmth without the steep price tag typically associated with traditional cedar.
To maximize your savings further, think about sourcing materials locally. This not only reduces shipping fees but also bolsters the local economy.
Incorporating insulation that enhances energy efficiency can significantly decrease long-term heating expenses, ultimately enriching the sustainability of your home sauna experience. By thoughtfully blending these materials and strategies, you can craft a welcoming space that endures over time while keeping your budget intact.
Frequently Asked Questions
What factors should I consider for DIY sauna costs?
Consider the size of the sauna, the materials needed, and any required permits or inspections. Also, think about whether you will do it yourself or hire a professional.
How much should I budget for materials?
Material costs for a DIY sauna vary widely. Generally, you can expect to spend between $500 and $3,000, depending on size and style.
What tools do I need for installation?
You will need basic tools like a saw, hammer, drill, level, and measuring tape. Ensure you have everything ready before you start.
Can I save money by doing it myself?
Yes, installing the sauna yourself can cut labor costs significantly. However, consider the time and effort required to do it correctly.
Possible hidden costs include permits, inspections, and unexpected issues during installation. Budgeting for these can help avoid surprises later.
What are the benefits of DIY sauna installation?
Installing a sauna yourself allows you to customize it to your liking. It can also be a fun project, especially if you enjoy hands-on work.

