How to Replace Sauna Walls: A Guide
Replacing sauna walls can breathe new life into your space! It’s time to enhance both the look and function of your sauna.
Whether you re aiming to refresh aging materials or seeking a more durable upgrade, understanding the various types of sauna walls is essential. This guide will lead you through the entire process from comparing materials and preparing for the replacement to a comprehensive, step-by-step installation.
You ll also find maintenance tips to keep your new walls looking pristine, along with a discussion on the associated costs and time investment. Prepare to transform your sauna into a sanctuary!
Contents
- Key Takeaways:
- Types of Sauna Walls
- Preparing for Replacement
- Step-by-Step Guide to Replacing Sauna Walls
- Maintenance and Care for New Sauna Walls
- Cost and Time Considerations for Your Sauna Project
- Frequently Asked Questions
- What are the steps involved in replacing sauna walls?
- What tools and materials do I need to replace sauna walls?
- How hard is it to replace sauna walls?
- How long does it take to replace sauna walls?
- What are the best materials to use for sauna walls?
- Do I need to do any maintenance on my sauna walls after replacing them?
Key Takeaways:
- Choose the right material for sauna walls cedar, pine, or stone based on budget and desired look.
- Proper preparation and using the right tools, such as a saw and level, are crucial for successful sauna wall replacement.
- Regular maintenance, including cleaning and sealing, will help prolong the lifespan of new sauna walls and save on future replacement costs.
Why Replace Sauna Walls?
Replacing your sauna walls is essential for maintaining a functional, visually appealing, and enjoyable sauna experience, especially if you have an older installation or if moisture damage may have affected its quality. Ensuring proper insulation and a layer that prevents moisture from damaging walls is crucial for retaining heat efficiently.
This prevents issues related to temperature and humidity that can develop over time. Outdated materials simply can t match the performance of newer alternatives, making replacement not just a maintenance necessity but also an opportunity for enhancement.
Upgrading the walls can significantly boost moisture retention, ensuring that steam is effectively managed and dispersed throughout the space. This leads to a more satisfying sauna session and protects the underlying structure from mold and mildew.
Choosing materials like cedar or hemlock can improve how well it keeps heat, allowing for consistent temperature control and greater energy efficiency. A decor refresh not only revitalizes the space but also elevates the overall experience, creating a welcoming atmosphere that encourages relaxation and rejuvenation.
Types of Sauna Walls
You have a variety of sauna wall options at your disposal, each presenting unique advantages. However, wood reigns supreme as the most favored choice, thanks to its exceptional insulation and captivating look.
Whether you lean towards the aromatic cedar, the resilient hemlock, the smooth aspen, or the striking redwood, there’s a perfect wood type to match your personal style and preferences in infrared or traditional wood-burning heater styles.
Comparing Different Materials
When you re weighing different materials for your sauna walls, consider how well it keeps heat, durability, and how it looks. Cedar is often celebrated for its natural aroma and remarkable resistance to warping, while hemlock stands out as a more budget-friendly option without skimping on excellent thermal properties for an electric or infrared heater.
Both of these woods bring unique atmospheres to your sauna experience. Cedar, with its rich reddish-brown hue, insulates effectively and creates a soothing ambiance that many enthusiasts cherish.
Its enticing scent and resilience in high humidity make it a favorite among sauna-goers. On the flip side, hemlock offers a lighter color and smooth finish, delivering a contemporary vibe.
People often choose it for its strength and fine texture. When evaluating insulation effectiveness, you ll typically find cedar’s density to be superior, but don t underestimate hemlock it performs admirably, ensuring both options keep your sauna comfortably warm during use.
Preparing for Replacement
Preparing for the replacement of sauna walls requires meticulous planning on your part. You’ll want to gather all the necessary tools and materials and familiarize yourself with the existing plumbing setup.
Cultivate a clear vision of the final outcome. Whether you’re leaning toward a sleek modern electric sauna or a classic wood-burning heater installation, having a well-defined plan will set you on the path to success.
Tools and Materials Needed
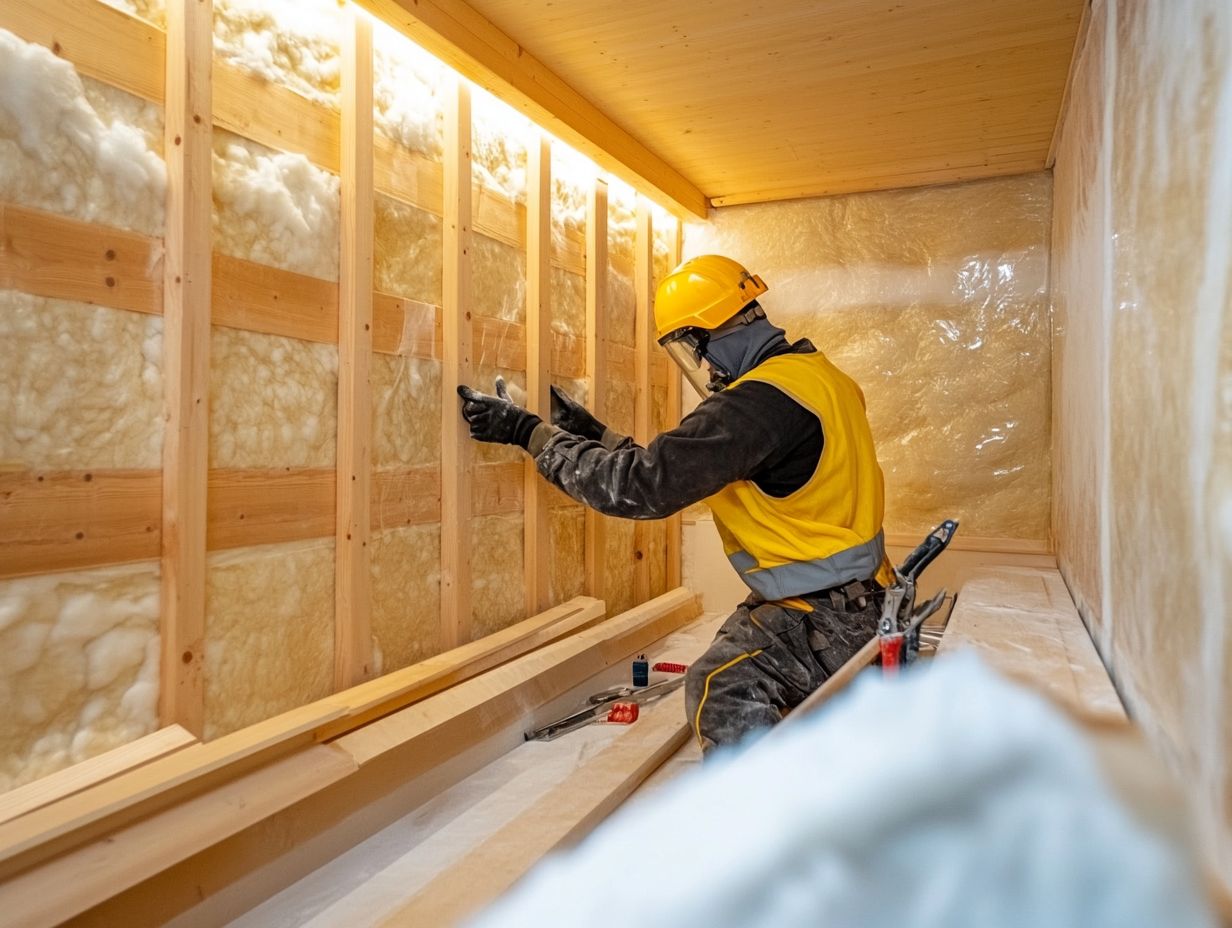
To successfully replace sauna walls, you’ll need a variety of tools and materials. These include saws, insulation boards, vapor barriers, a sauna door, and effective drainage solutions. This ensures the longevity and functionality of your new installation.
Choosing high-quality insulation materials is essential, as they maintain the sauna’s temperature while helping to cut energy costs. Proper insulation also prevents moisture buildup, which can lead to mold and structural damage over time. Adequate drainage is equally important; it prevents water accumulation that could compromise the condition of the wood and other materials used in sauna construction.
These components work together to enhance your sauna experience and extend the life of the installation. Therefore, careful thought to each element is crucial for a successful renovation.
Step-by-Step Guide to Replacing Sauna Walls
Ready to transform your sauna? By following this exciting step-by-step guide, you ll breeze through the process with ease.
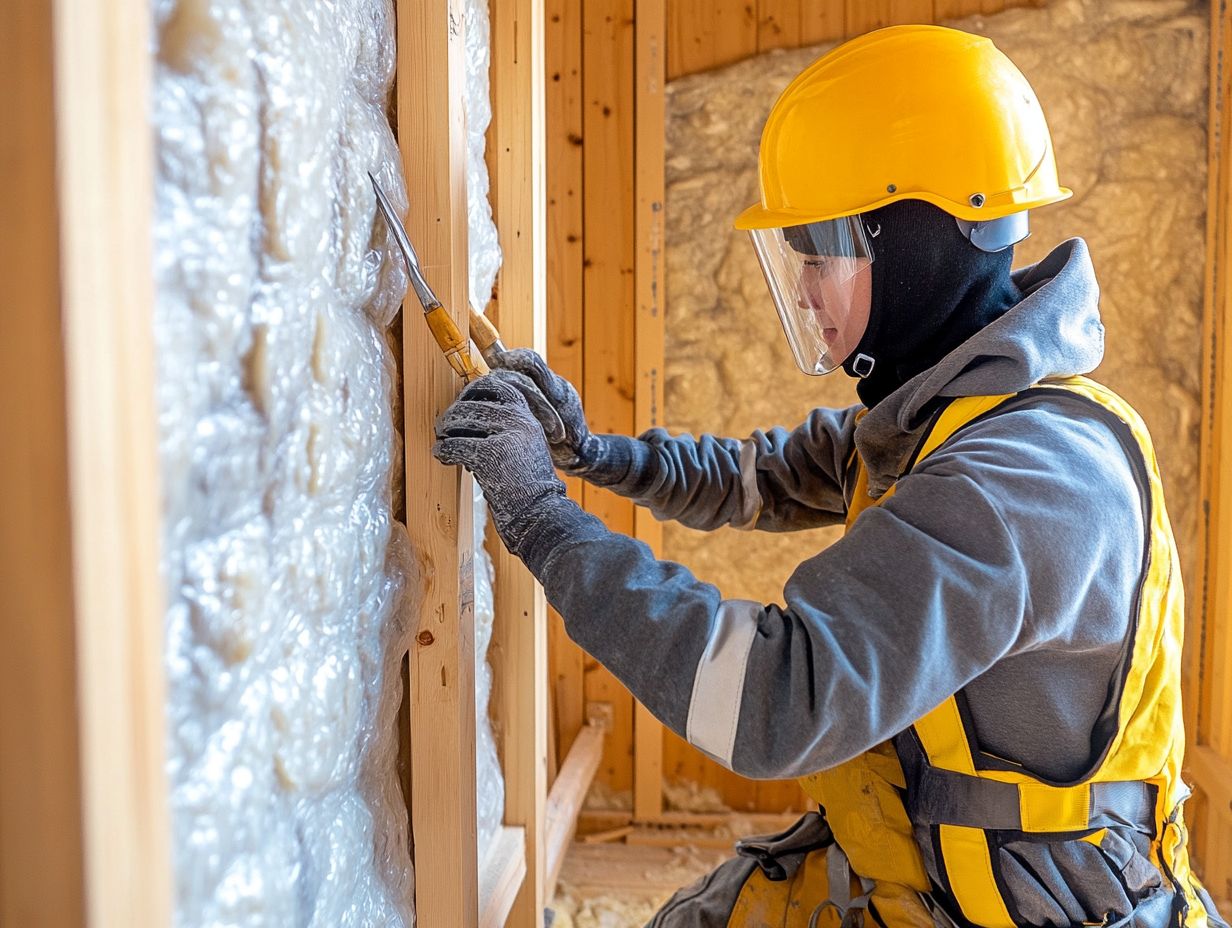
- Begin with the careful removal of the old walls, ensuring you maintain the condition of the space.
- Next, focus on proper insulation installation to enhance efficiency.
- Finally, secure new materials thoughtfully to create a more efficient and enjoyable retreat.
Removing Old Walls
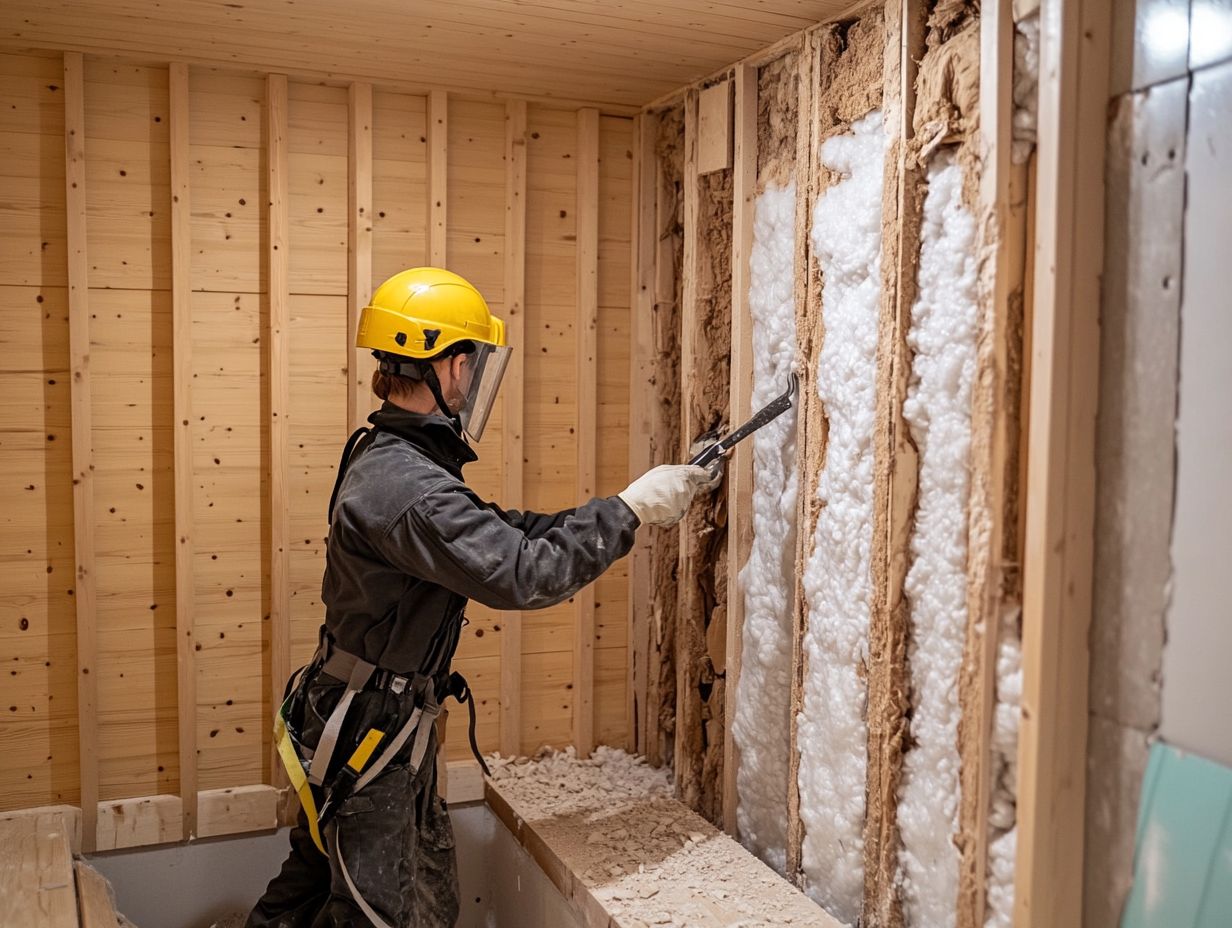
Removing old sauna walls is a crucial first step that demands the right tools and techniques for safety and efficiency. You ll want to inspect the existing drainage systems carefully to prevent any moisture buildup.
Start this initial phase with a meticulous approach by gathering essential tools such as a pry bar, hammer, and saw. These are your trusty companions for dismantling the panels and framing. Don t forget to gear up with protective equipment like gloves and safety goggles to guard against flying debris.
As you dive into this process, evaluate the condition of the drainage system. This assessment is vital to uncover any potential issues that could lead to water accumulation later, protecting the structure of the sauna. By taking these necessary precautions, you streamline your renovation efforts and foster a healthier environment when it s time to reassemble the sauna.
Installing New Walls
Installing new sauna walls requires your utmost attention to detail. You ll need to take precise measurements, ensure proper insulation is in place, and securely mount the sauna door, while considering any plumbing adjustments needed for optimal functionality and aesthetic appeal.
To start, it s essential to measure the space where your sauna will be situated. Pay close attention to height, width, and any irregularities in the existing structure. Once you ve confirmed these dimensions, selecting the right insulation materials designed for high-temperature environments is crucial for energy efficiency and effective heat retention.
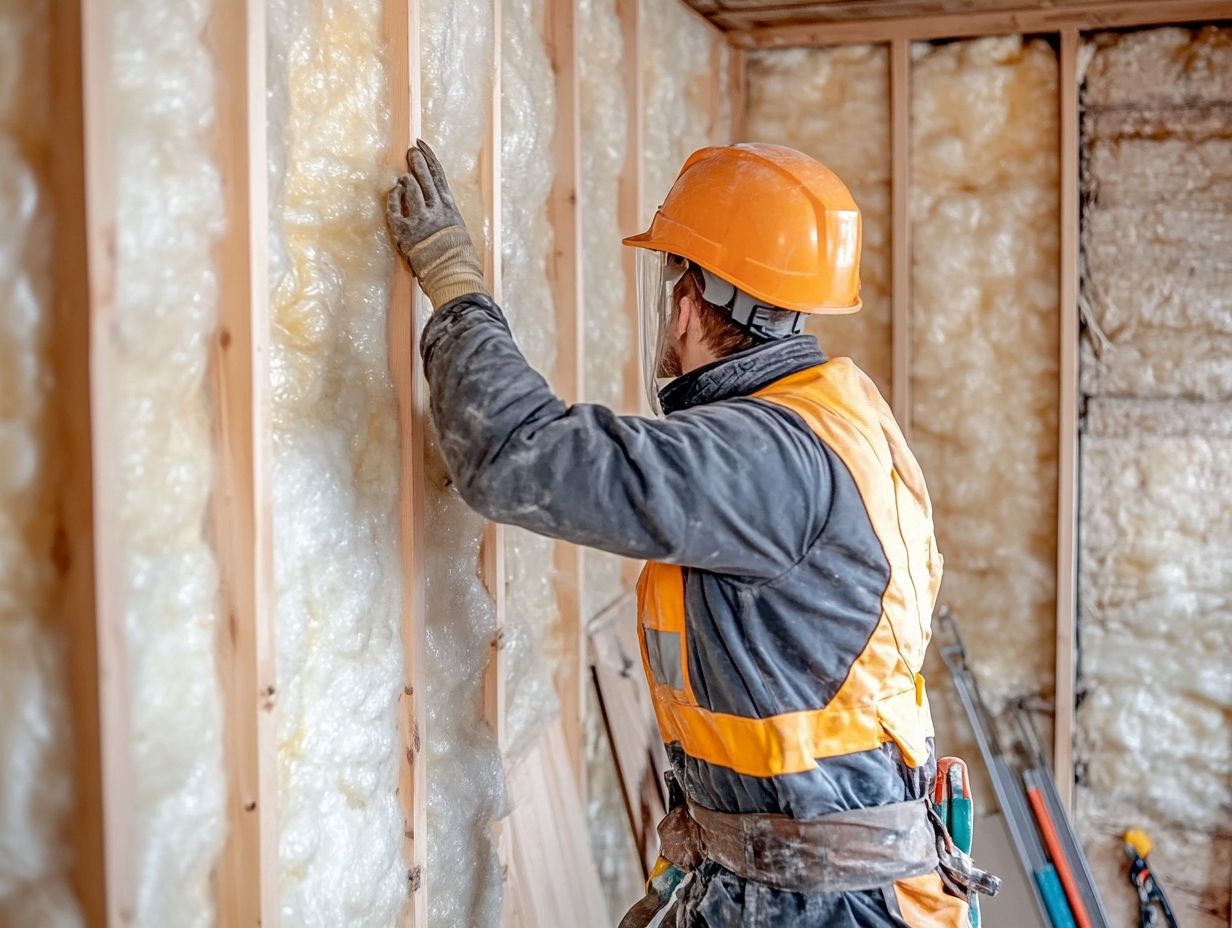
When you place the insulation, make sure it fits snugly between the wall studs without any gaps to prevent heat loss.
As for the sauna door, precise alignment and secure mounting are vital to ensure a tight seal. This enhances both functionality and overall design of your sauna while accommodating any plumbing needs, such as electrical connections or water lines required for additional features.
Maintenance and Care for New Sauna Walls
Don t wait! Proper maintenance and care for your new sauna walls are essential for extending their lifespan and ensuring optimal effectiveness. Conduct regular checks on humidity levels, the integrity of the insulation, and the overall condition of the structure to ensure your sauna remains a comfortable retreat.
This diligence will guarantee a safe and enjoyable experience every time you step inside your sauna, whether it’s electric or infrared.
Tips for Keeping Walls in Good Condition
Keeping your sauna walls in top-notch condition requires regular maintenance. This means you need to monitor humidity levels closely, ensure proper insulation, and promptly address any signs of wear and tear to stave off more extensive damage, especially if you have sauna benches installed.
Here s a quick tip: check moisture levels and maintain the ideal temperature for optimal function. A hygrometer is a device that measures humidity levels; it provides real-time readings and helps you avoid excessive moisture buildup that can tarnish wood and other materials.
Don t overlook insulation checks. They re essential for retaining heat effectively, which reduces energy costs and protects the sauna s structure. Regularly inspecting for gaps or cracks in the insulation can save you from costly repairs down the line.
By staying vigilant and proactive, you can ensure the longevity and safety of your sauna walls, allowing for an optimal sauna experience.
Cost and Time Considerations for Your Sauna Project
Understanding the cost and time considerations for replacing sauna walls is essential for planning. Factors like material selection, labor, and the complexity of the installation can greatly affect your expenses and timelines.
By evaluating these elements, you can ensure a smooth transition and make informed decisions that align with your budget and schedule.
Estimating Expenses and Time Needed
Estimating the expenses and time required to replace sauna walls involves a meticulous evaluation of material costs, labor rates, and the complexity of the installation process. This attention to detail helps you create a more accurate budget and timeline.
In the initial phase, determine the type of materials you desire, whether cedar or hemlock. Each option has its own unique blend of durability and aesthetic appeal.
Next, look closely at regional labor costs, as these can vary significantly based on your location and the experience level of the contractors you consider.
Remember to check how the specific layout of your sauna can impact the overall time needed. A simple design may require less labor, while intricate details could extend the project s duration. Also, account for other variables such as disposal fees for old materials and any necessary permits to create a comprehensive estimate.
Frequently Asked Questions
What are the steps involved in replacing sauna walls?
To replace sauna walls, follow these steps:
- Measure and purchase the appropriate materials for your sauna.
- Remove the old walls carefully, keeping any insulation intact.
- Prepare the new walls by cutting them to the correct size and shape.
- Install the new walls, making sure they are level and secure.
- Add any finishing touches, such as trim or paint, to complete the replacement.
What tools and materials do I need to replace sauna walls?
You will need the following tools and materials to replace sauna walls:
- Measuring tape
- Hammer
- Pry bar
- Utility knife
- Saw
- Nails or screws
- Insulation
- Sauna wall materials (e.g., cedar wood, tiles, etc.)
- Adhesive (if using tiles)
- Paint or stain (optional)
- Protective gear (gloves, mask, etc.)
- A suitable electric heater or infrared heater, a type of heater that uses infrared light to warm up the sauna.
How hard is it to replace sauna walls?
It depends on your DIY skills and the complexity of the project. If you have experience with home renovations and feel confident in your abilities, you can likely do it on your own. However, if you are unsure or the project seems challenging, it is best to seek professional help to ensure the walls are replaced correctly and safely.
Ready to give your sauna a makeover? Start planning your project now!
How long does it take to replace sauna walls?
Replacing sauna walls varies based on the size of your sauna and your experience. Generally, it takes a few hours to a full day.
What are the best materials to use for sauna walls?
Choose materials that can handle heat and moisture. Cedar wood is a popular choice because it withstands high temperatures well.
Other good options include redwood, hemlock, and specially designed tiles.
Do I need to do any maintenance on my sauna walls after replacing them?
Yes, regular maintenance is essential to keep your sauna walls in great shape. Wipe them down with a mild cleaner and check for any damage.
Sealing the walls helps prevent moisture from causing issues.


